
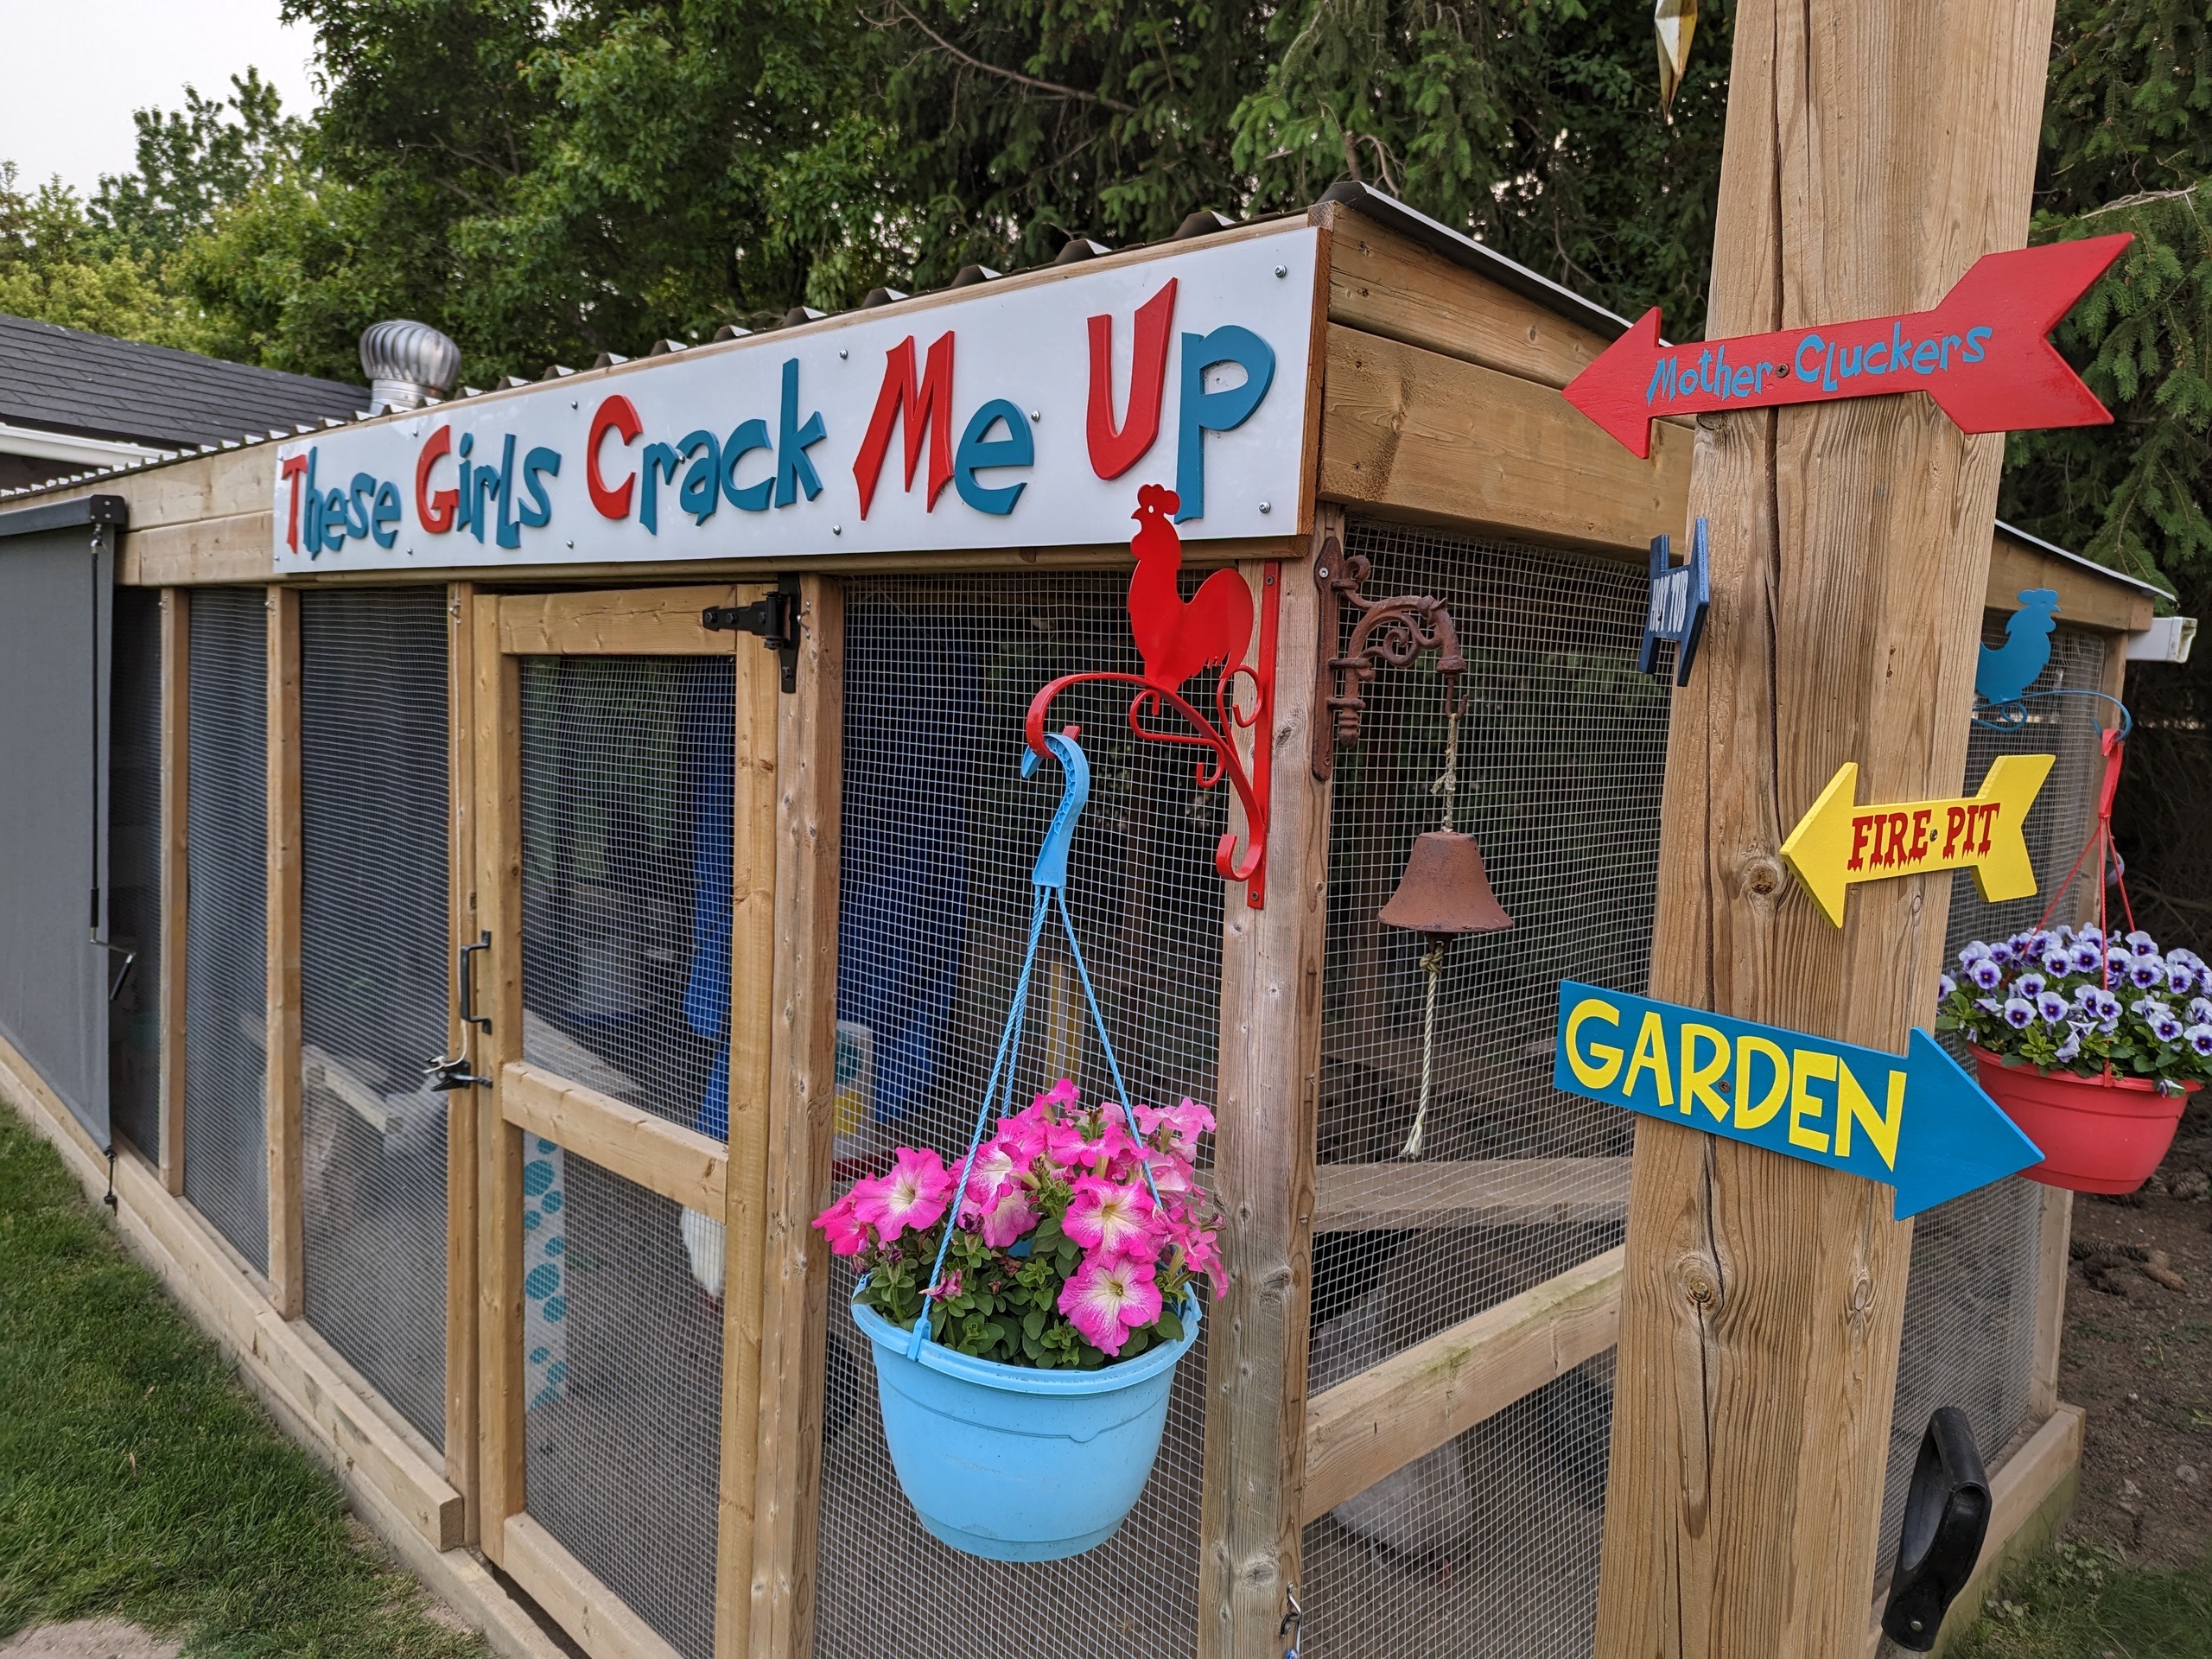
When I came across a Facebook account with the name These Girls Crack Me Up and then saw their coop I knew I had to reach out to them to see if they’d like to be part of my cool coop build series. It turns out Denise and Darren, fellow Canadians, are from my home province of Ontario – and are situated just north of Lake Erie between Buffalo and Detroit.
All too often folks get chickens and then expand the size of their flock without being able to expand the size of their coop, resulting in overcrowding, stress and bullying.
This couple designed and built a versatile coop and run with each component being able to be divided in half. That flexibility allows them to configure their flock in different ways as well, such as integrating new birds or creating a sick bay for an injured bird. They’ve also incorporated the most features and gadgets I’ve seen including an array of beautiful decor.

We started our chicken journey in March 2018 with two ready-to-lay ISA Browns and three ISA day old chicks. We currently have seven ladies: two Lavender Orpingtons, a Plymouth Barred Rock, an Azure Blue, two Midnight Majesty Marans and a Silver Laced Wyandotte. The most we’ve ever had is ten.
Our very first coop in 2018 was a tiny little thing that was built from the scraps of a room in our basement that Darren tore down. He built it in the basement (in sections) over the wintertime and then in the spring he assembled it outside. Darren started our current coop in April/May 2019 and we also extended our run.


We built our very first coop using Google searches of cute coops. We never really had ‘plans’. Darren just winged it as he went along. He did all of the work and I supervised to ensure it was done correctly.
It took about a month to build the current coop which was done while also working full time so it was an evening and weekends project. Once the new coop was built we also had to extend our run so the old coop could be removed and the new one attached to it.
We didn’t really have a budget. The current coop was probably around $1000, but that doesn’t include the run or all of the upgrades we have done to it over the last four years. If we had to guess, with everything we are probably around $5000.
Coop: 5’ x 9’


Features
- Most of our electrical items are ‘smart controlled’ by our phones
- Google Nest Mini speaker in the coop
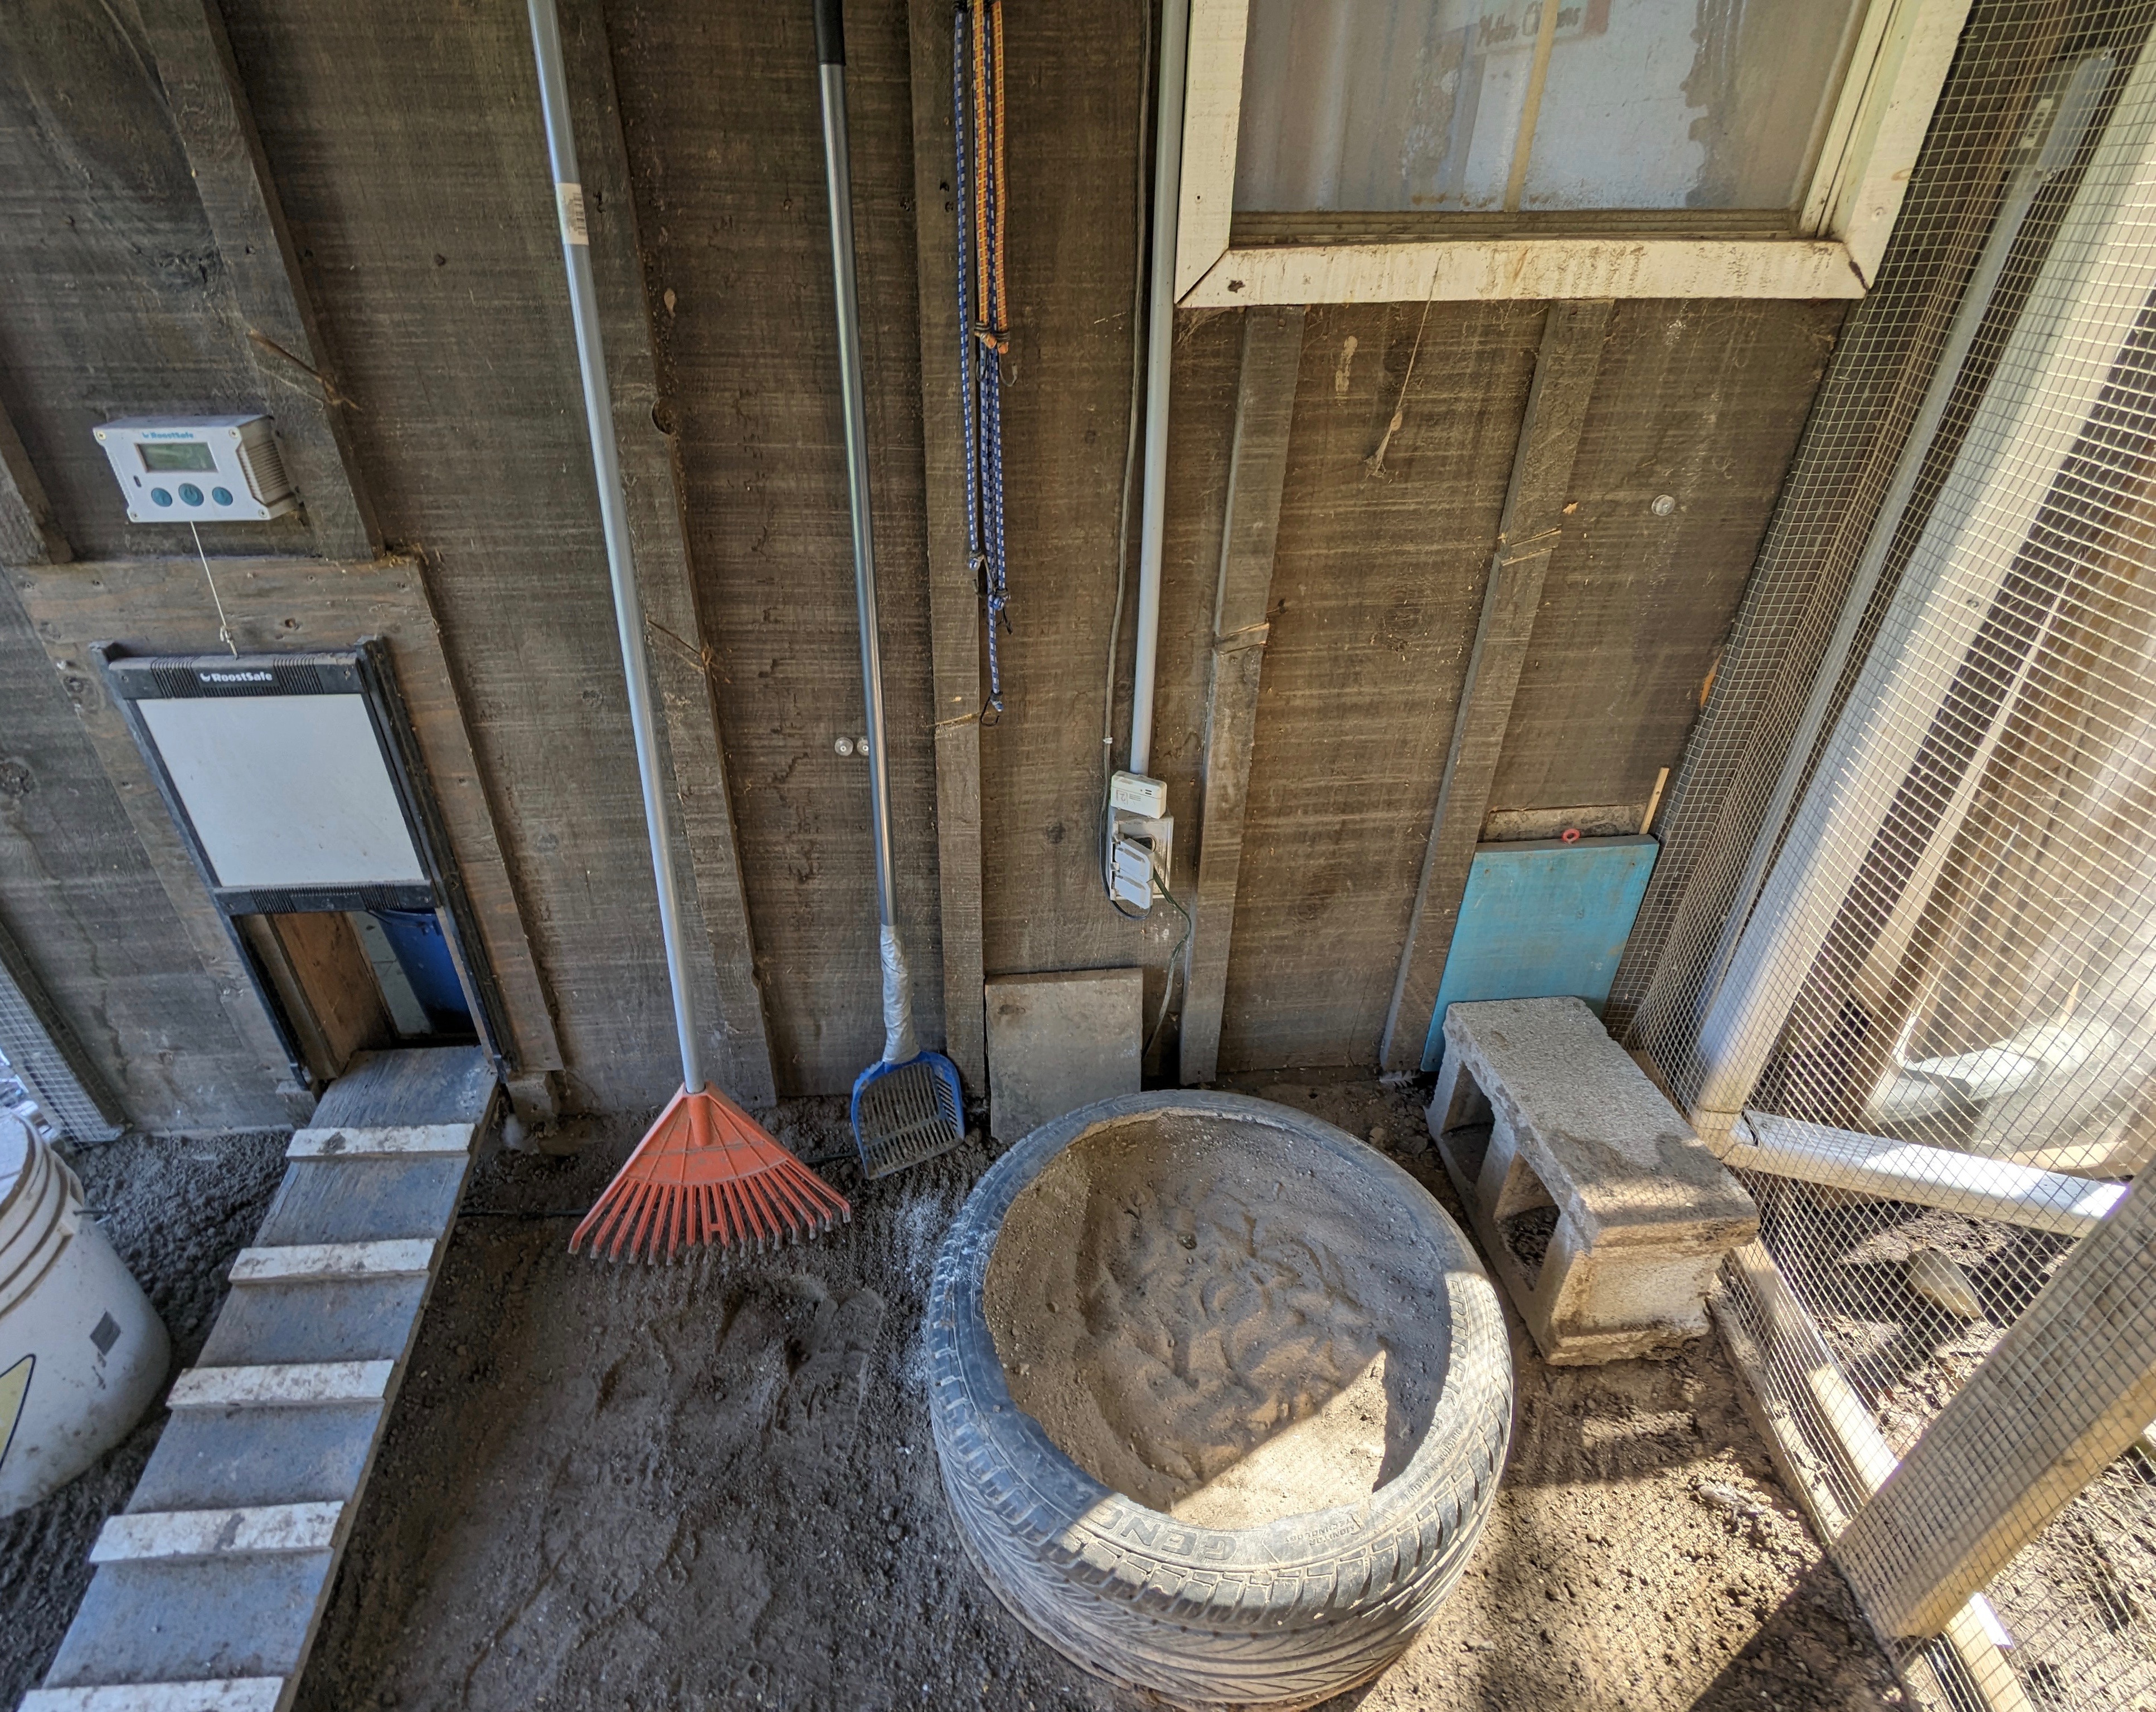
- Automatic Door
- Six Wyze cameras (viewed on our phone): two in the coop and three in the run
- Cozy Coop Heater
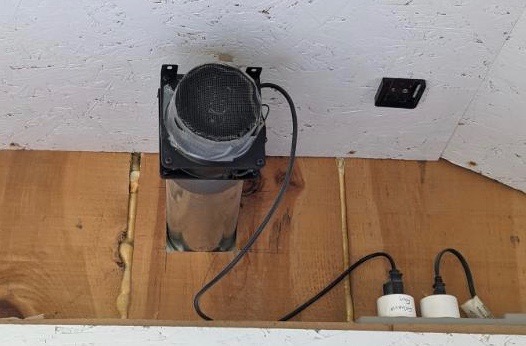
- Exhaust fans for drawing air outside and bringing in fresh air in
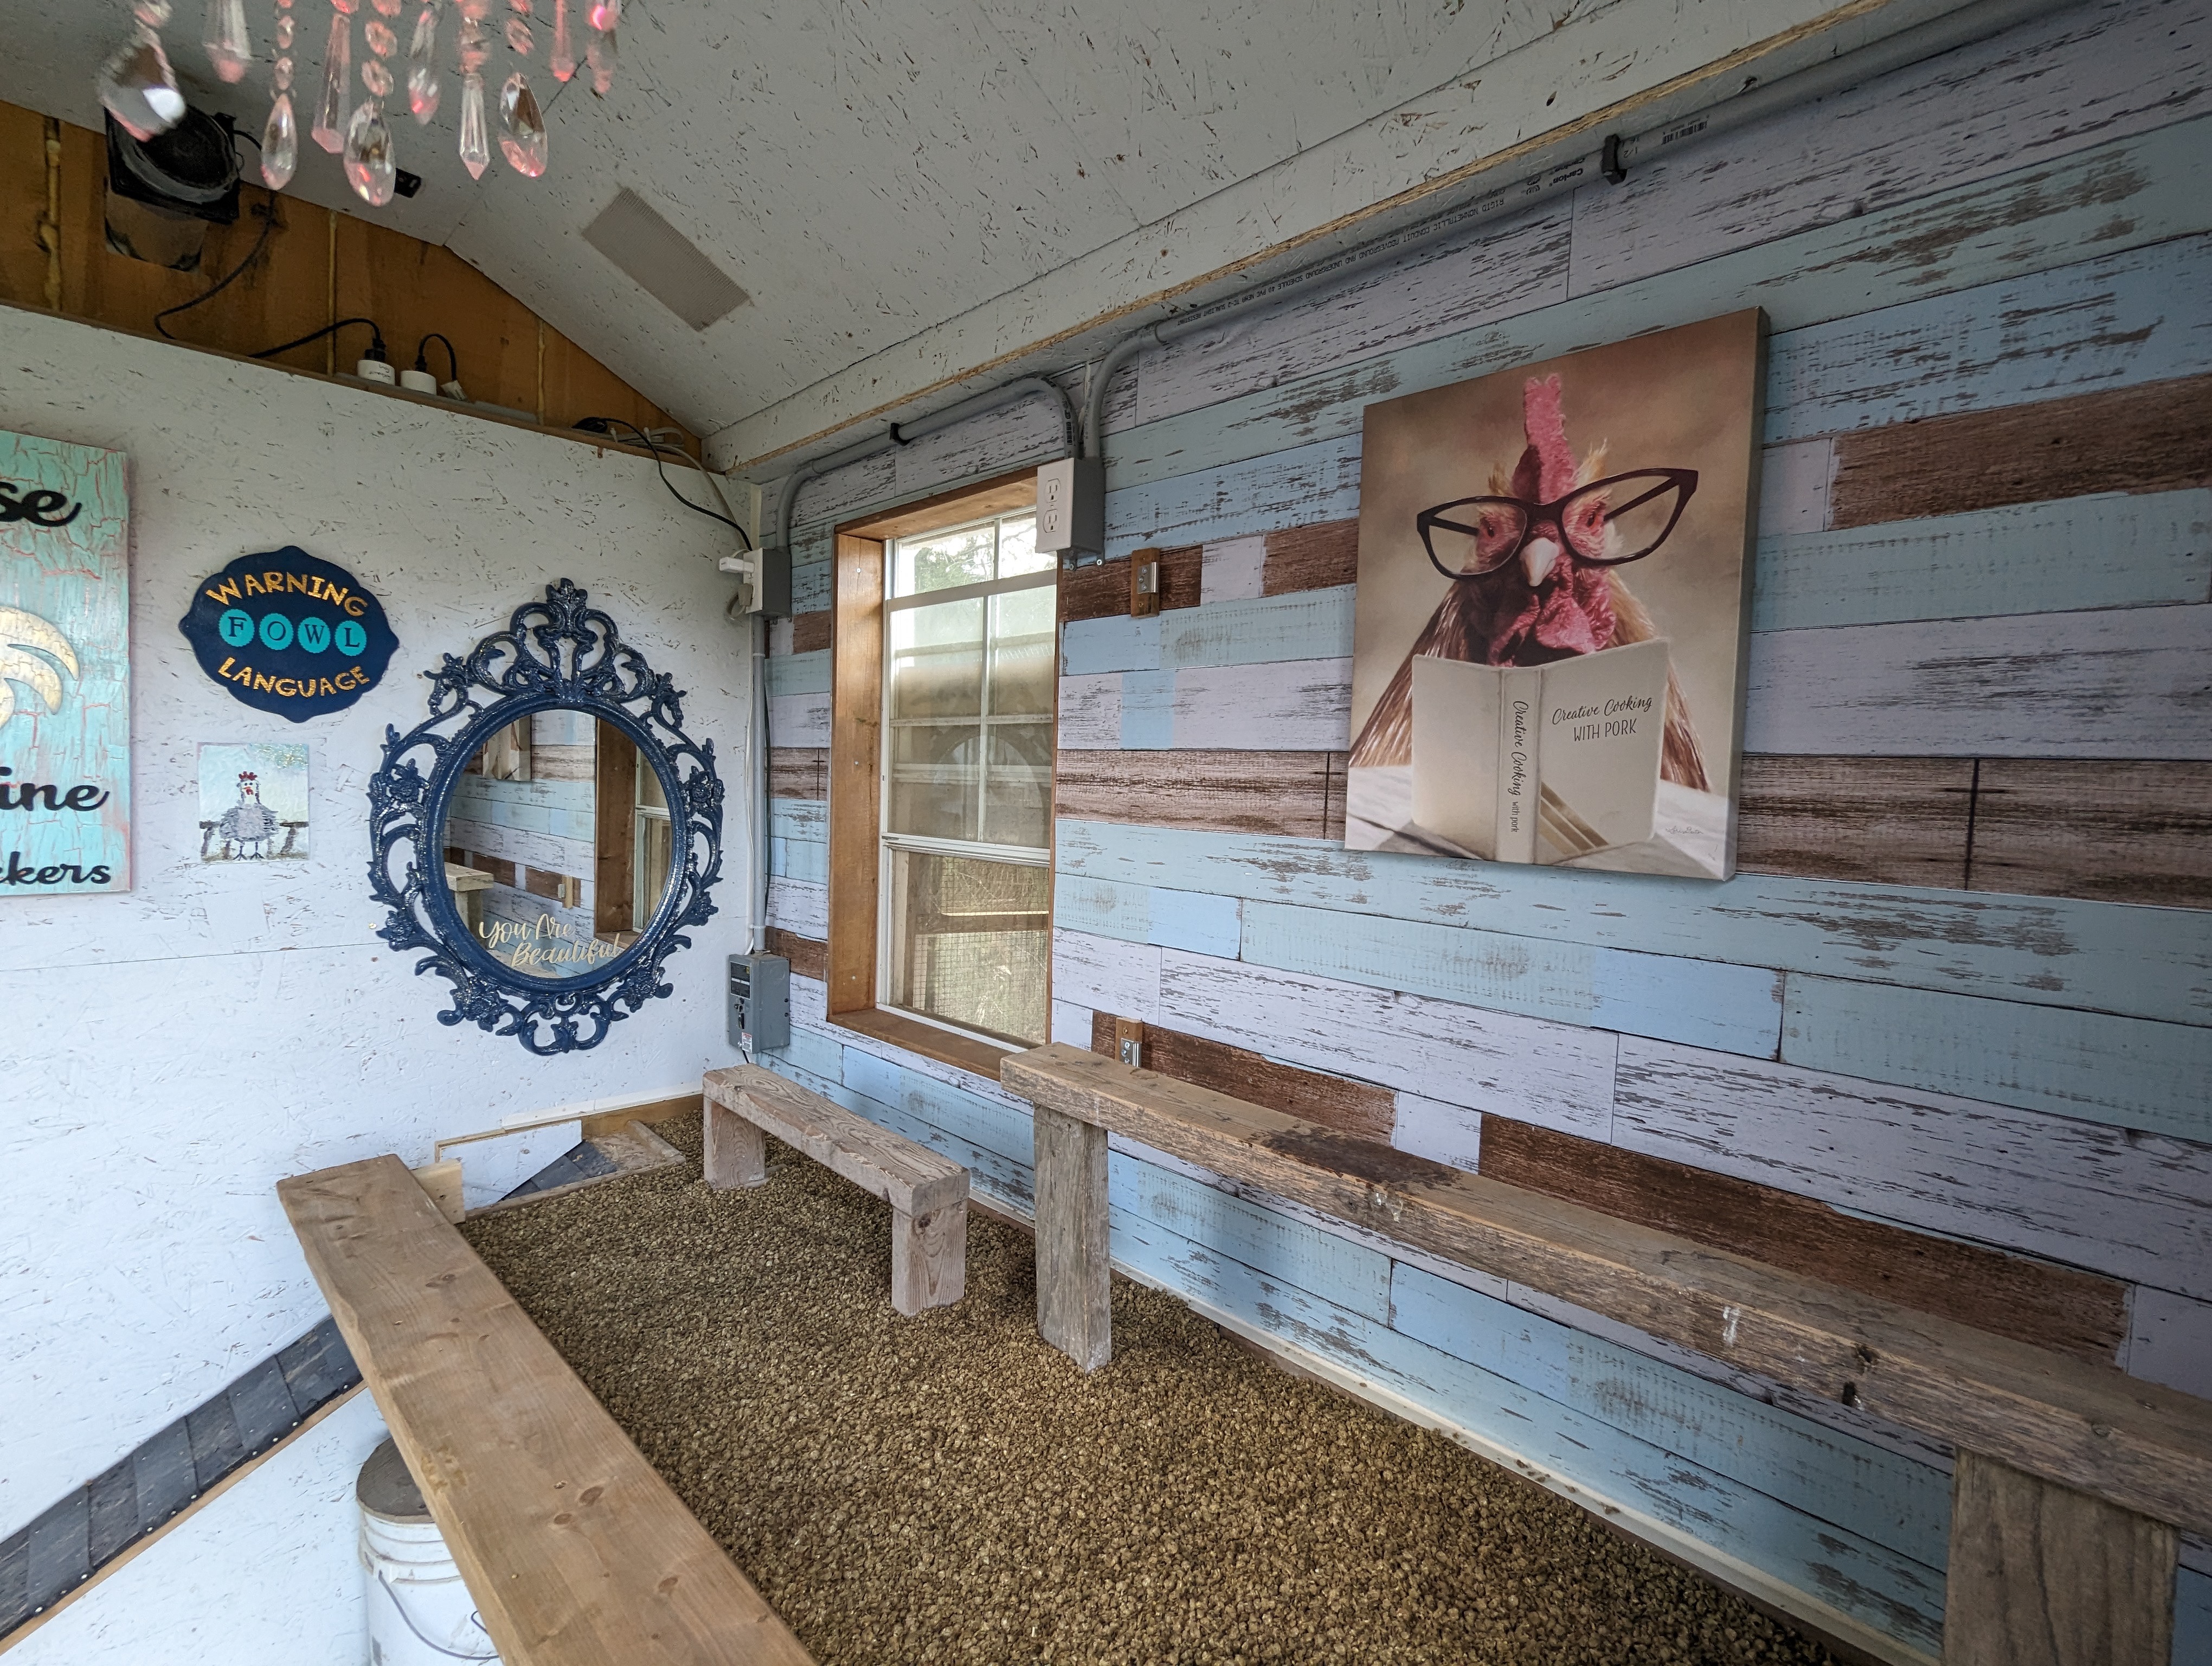
- Coopalier (aka chandelier) that I made
- Small red night light in the nesting box area
- Fully Insulated walls, ceiling and roof
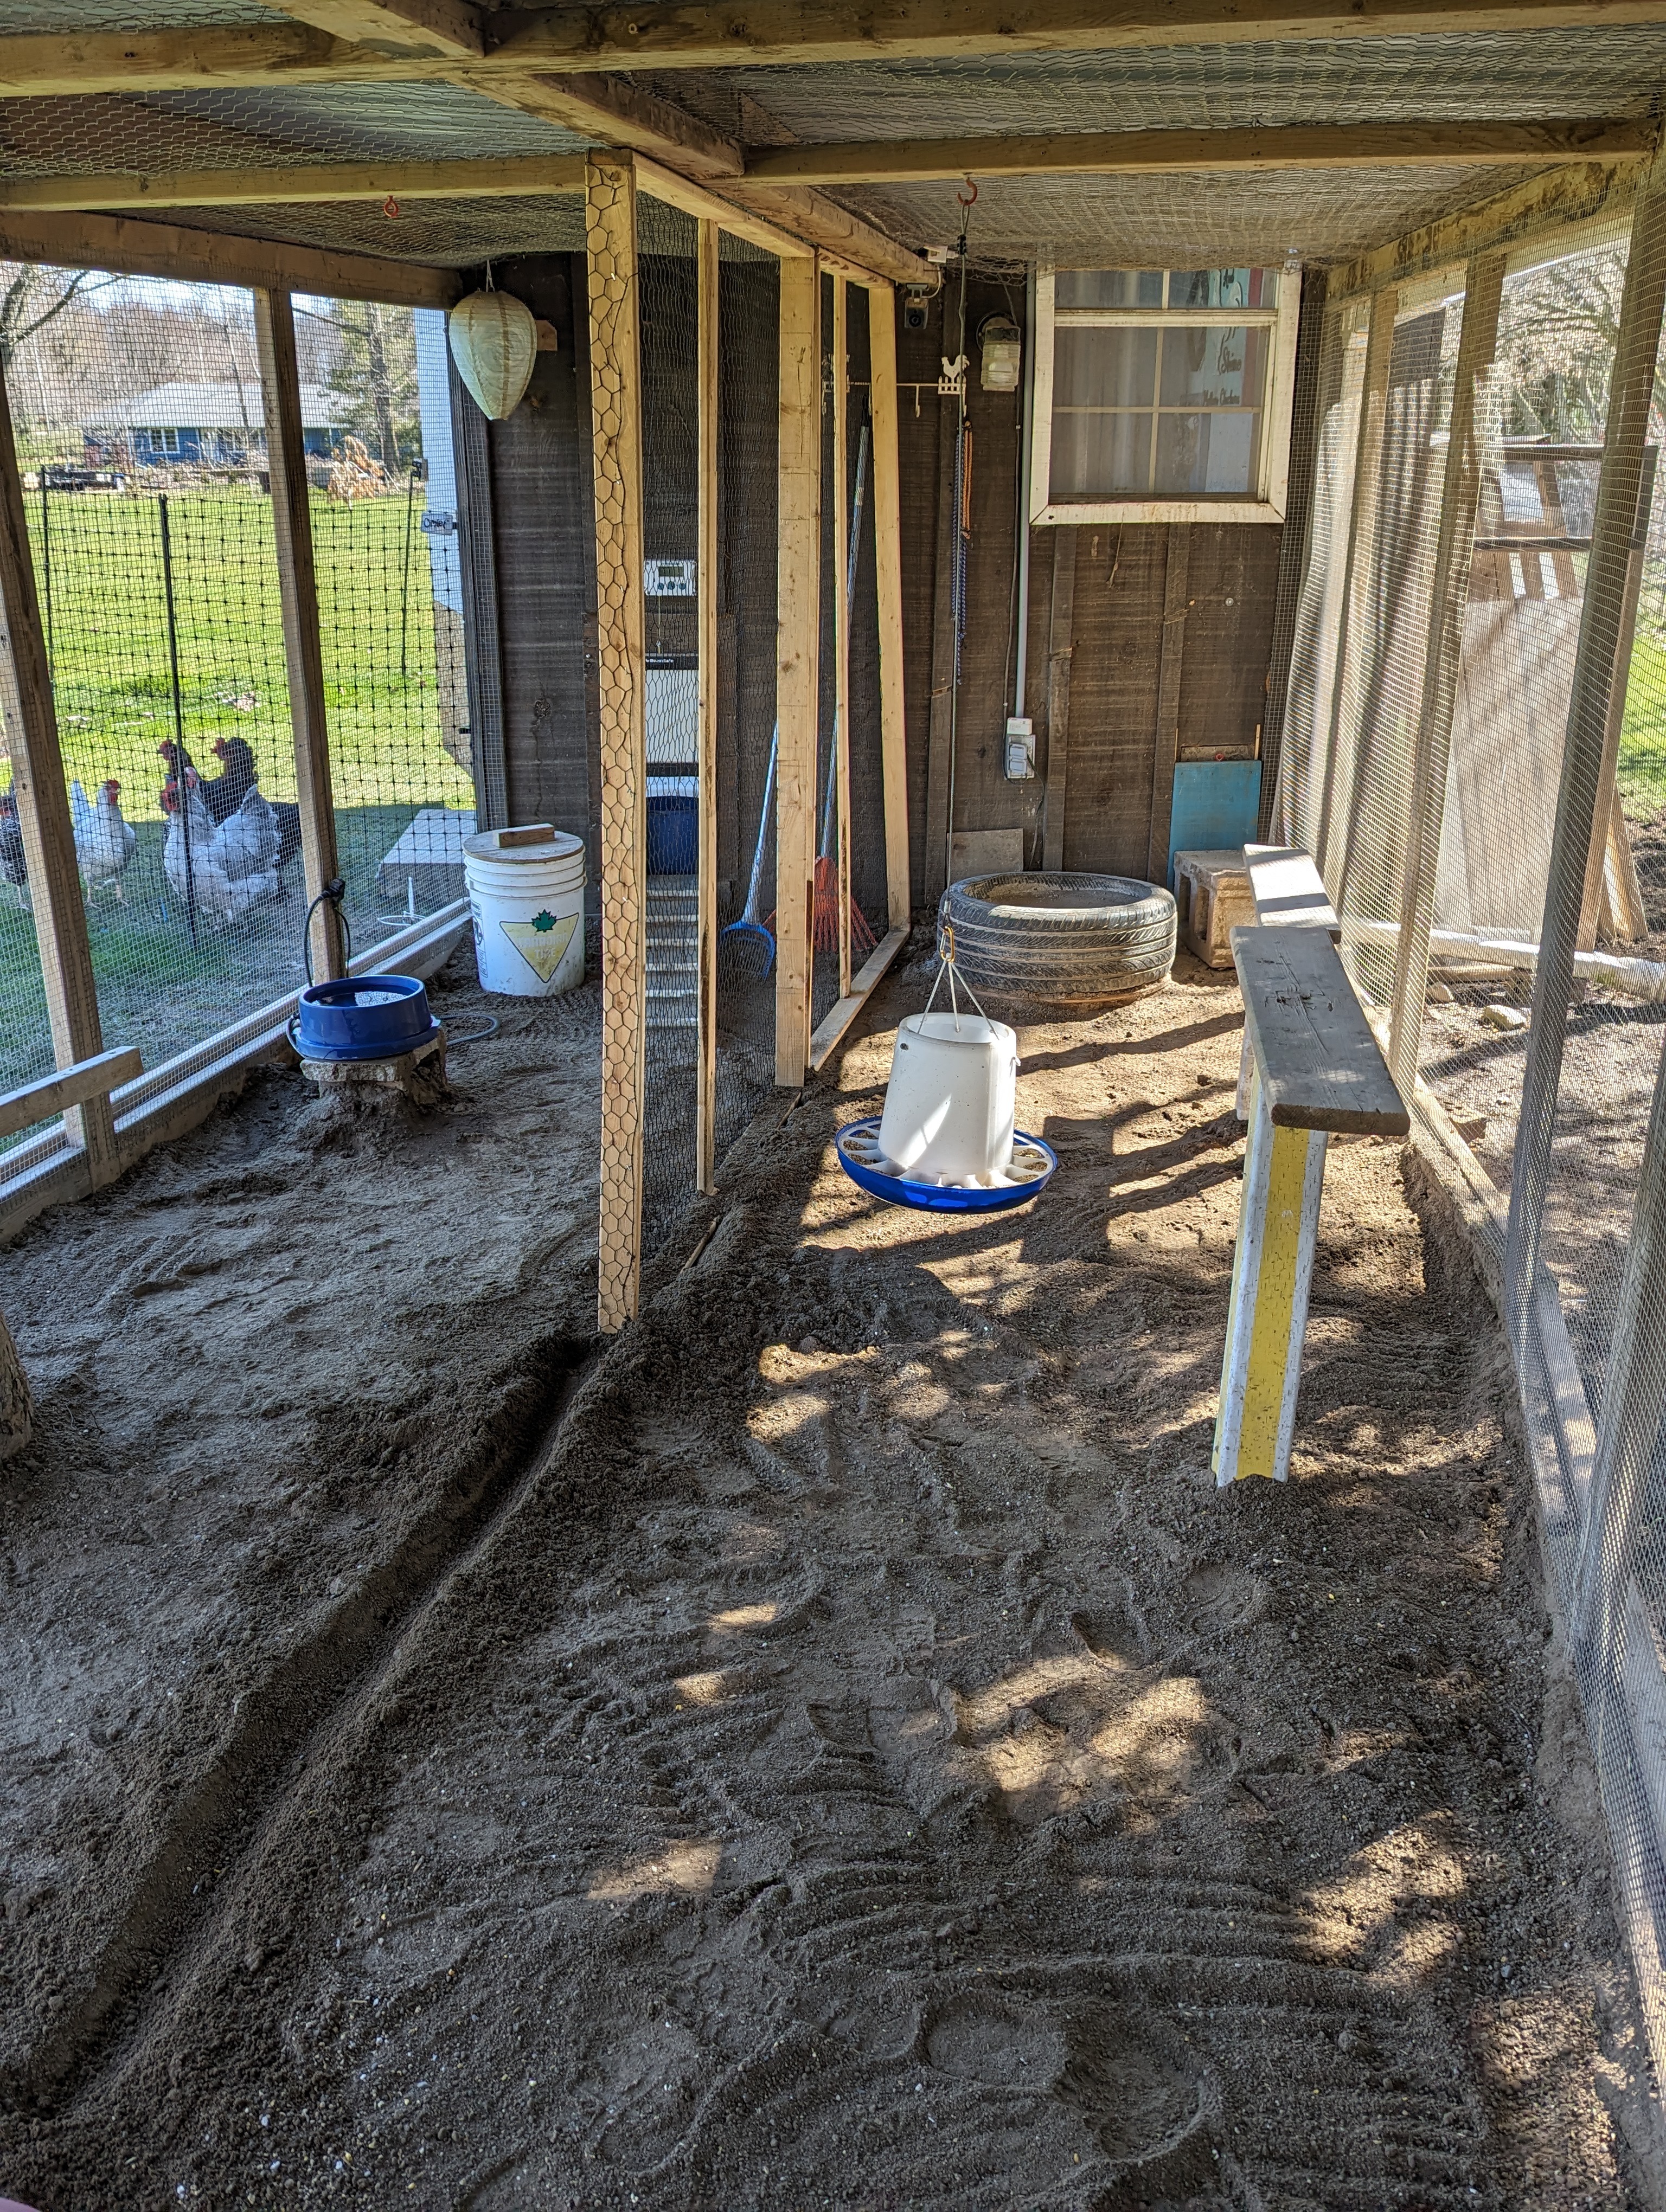
- Upper level: roost section with sand for easy cleaning
- Lower level: nest boxes; our girls prefer to use plastic totes to lay their eggs. We did have actual nest boxes but they like totes better.
- Two big windows
- Rain guttering (with future intentions of a rain barrel system for my garden)
- Roof vent
- The back wall of the roosting section looks like wood paneling, but it is actually a vinyl tablecloth that we stapled to the wall. It is extremely easy to clean (if needed) and very inexpensive if we wanted/needed to replace it.
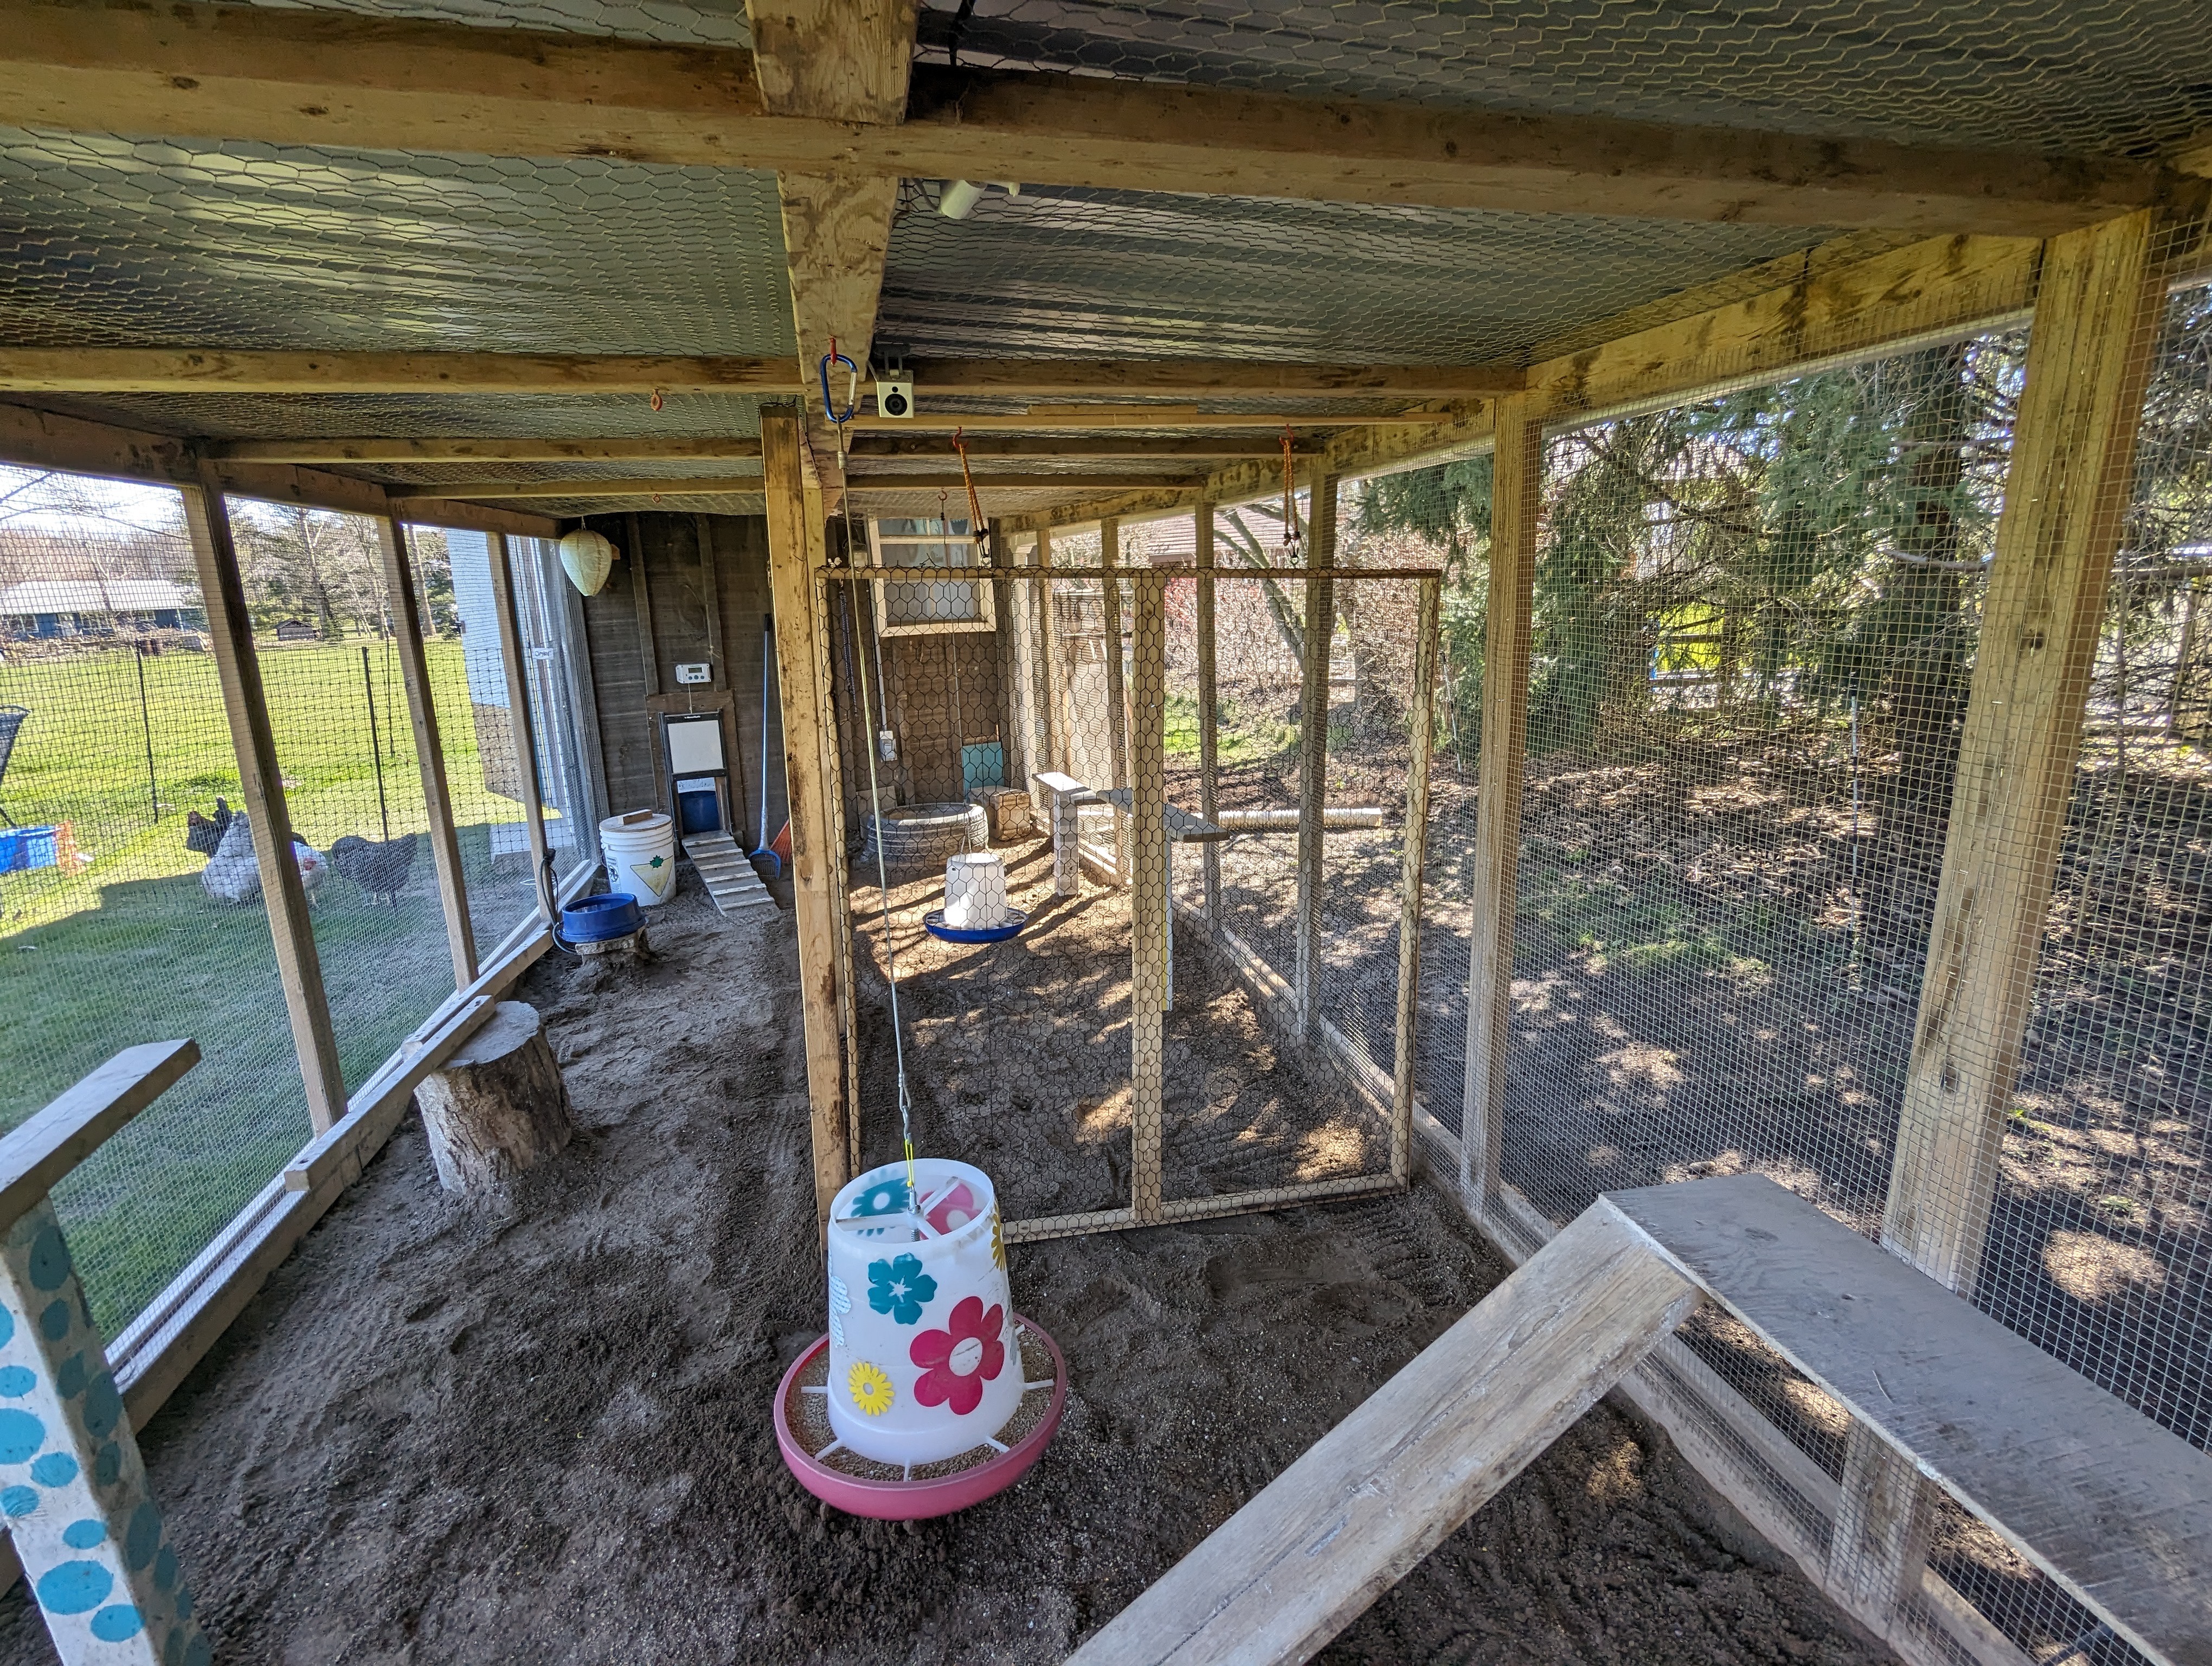
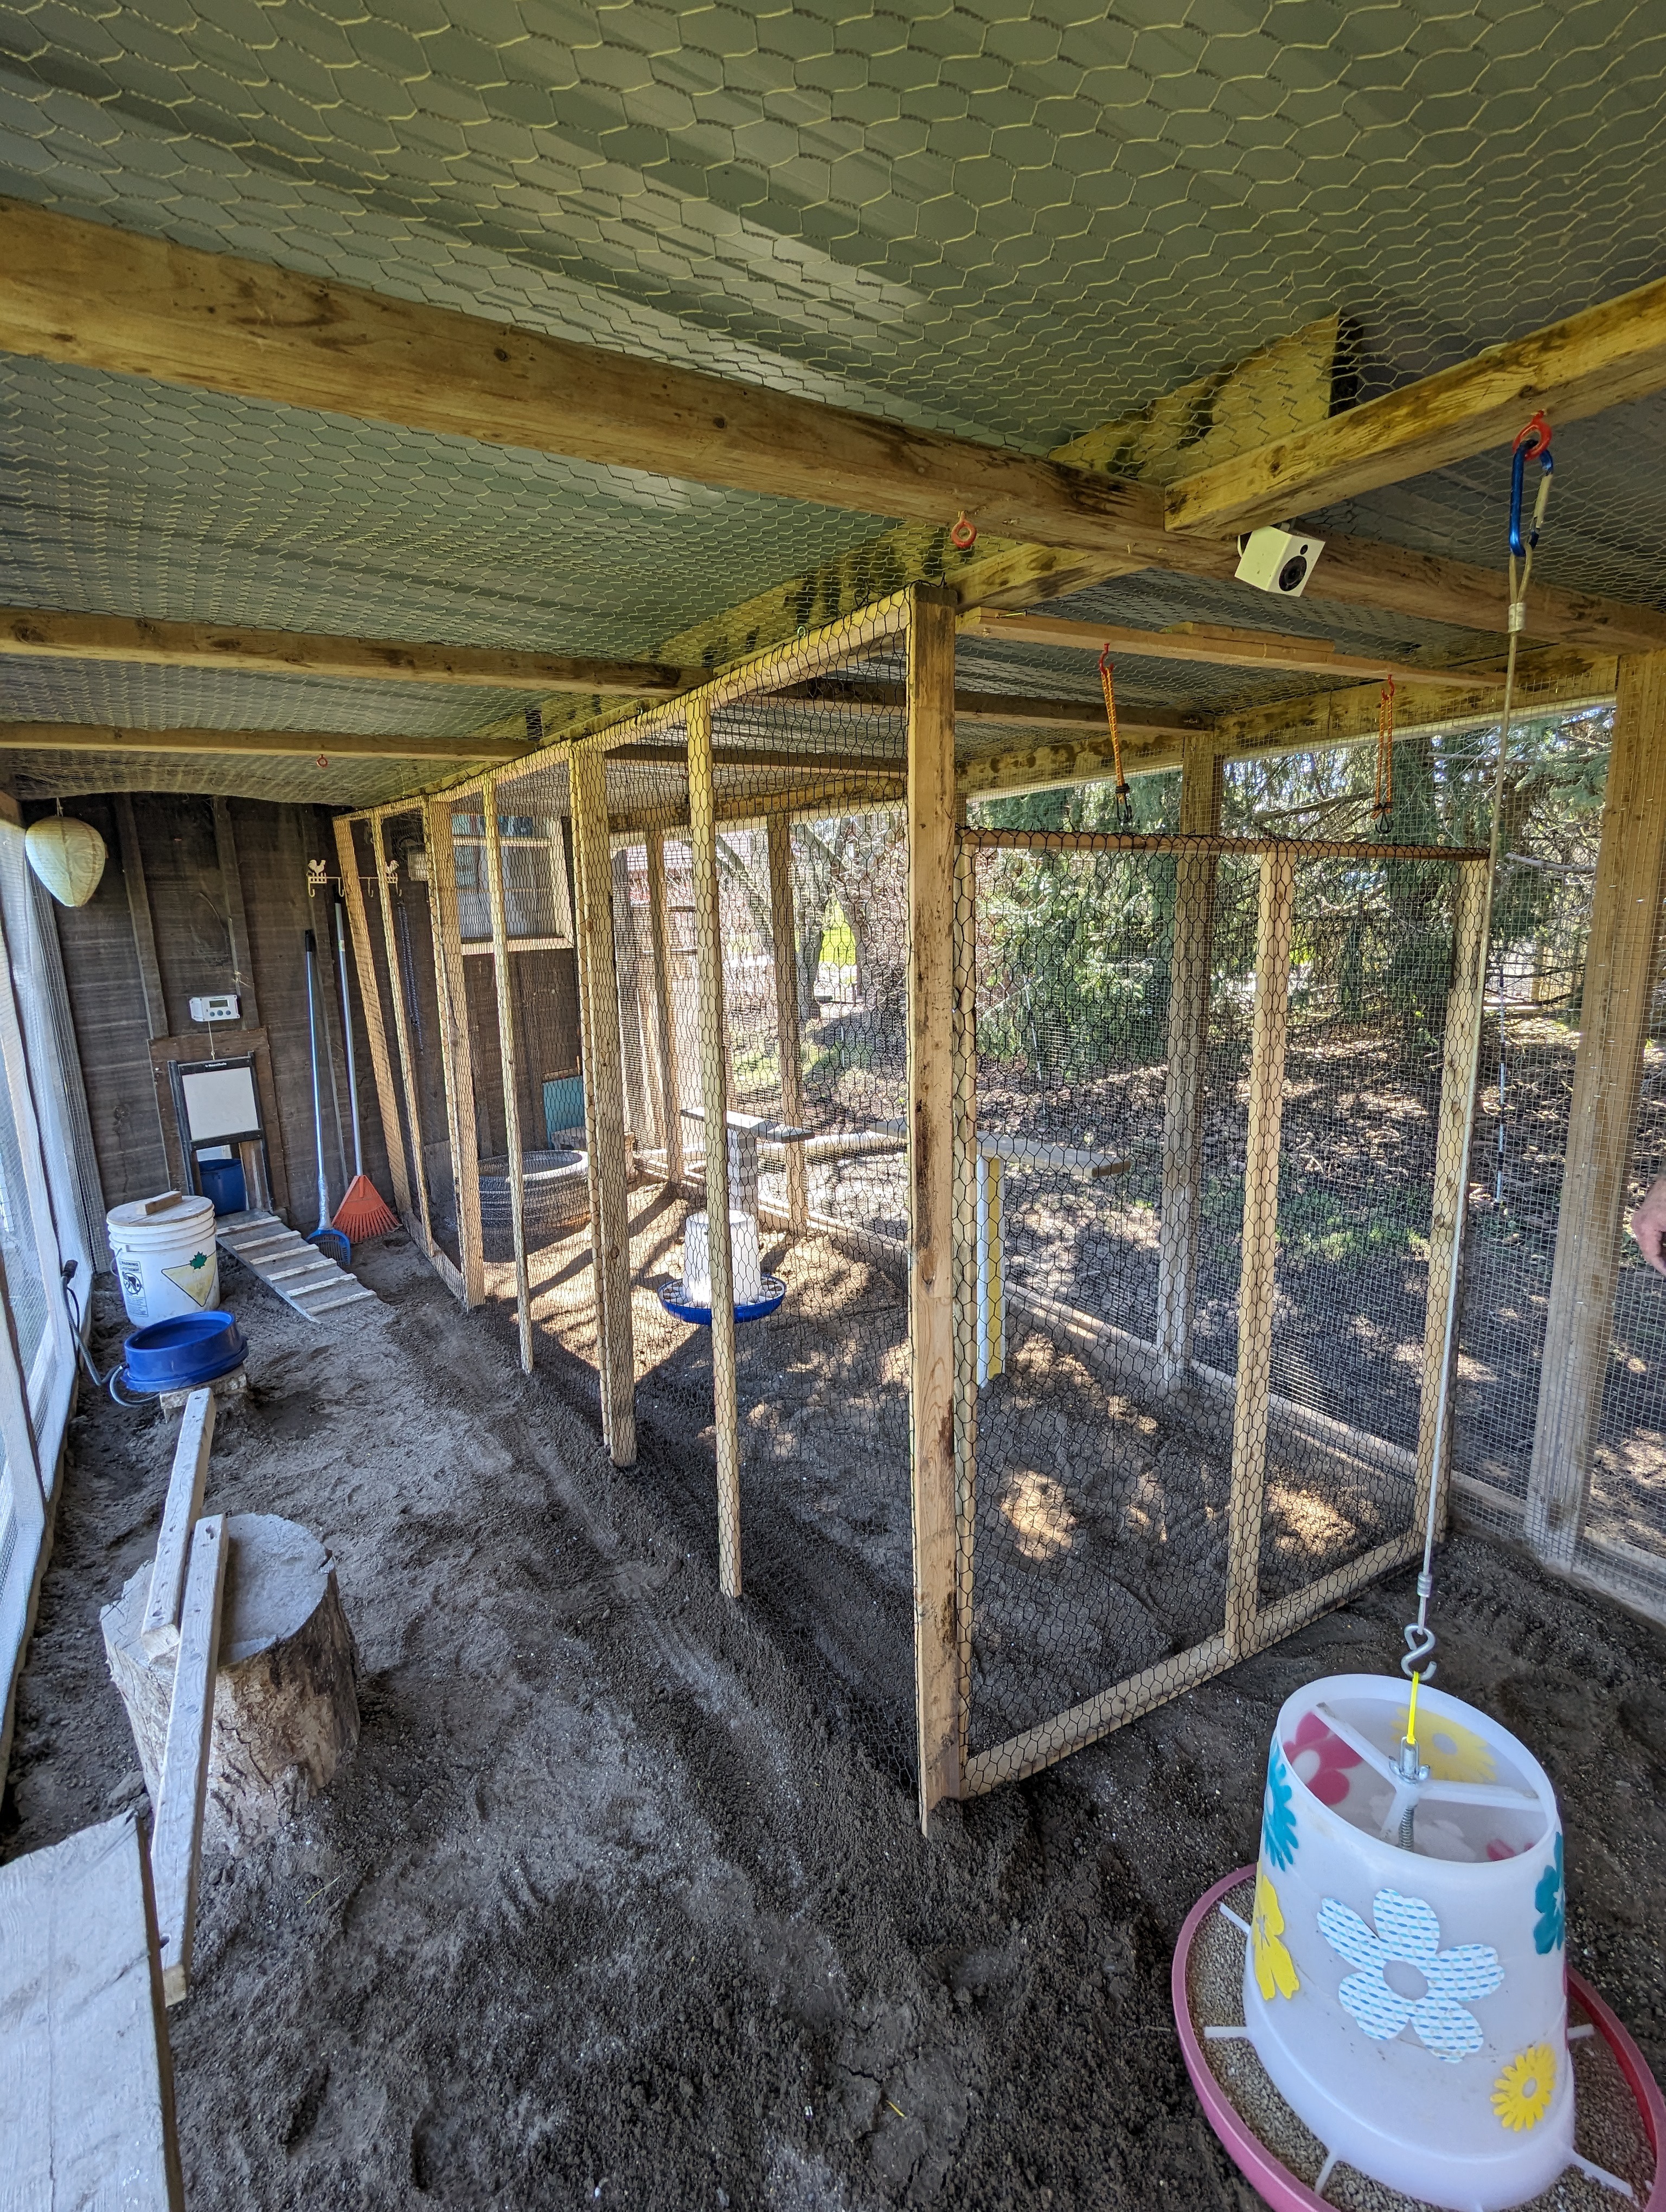
Run: 9’ x 26’


Features
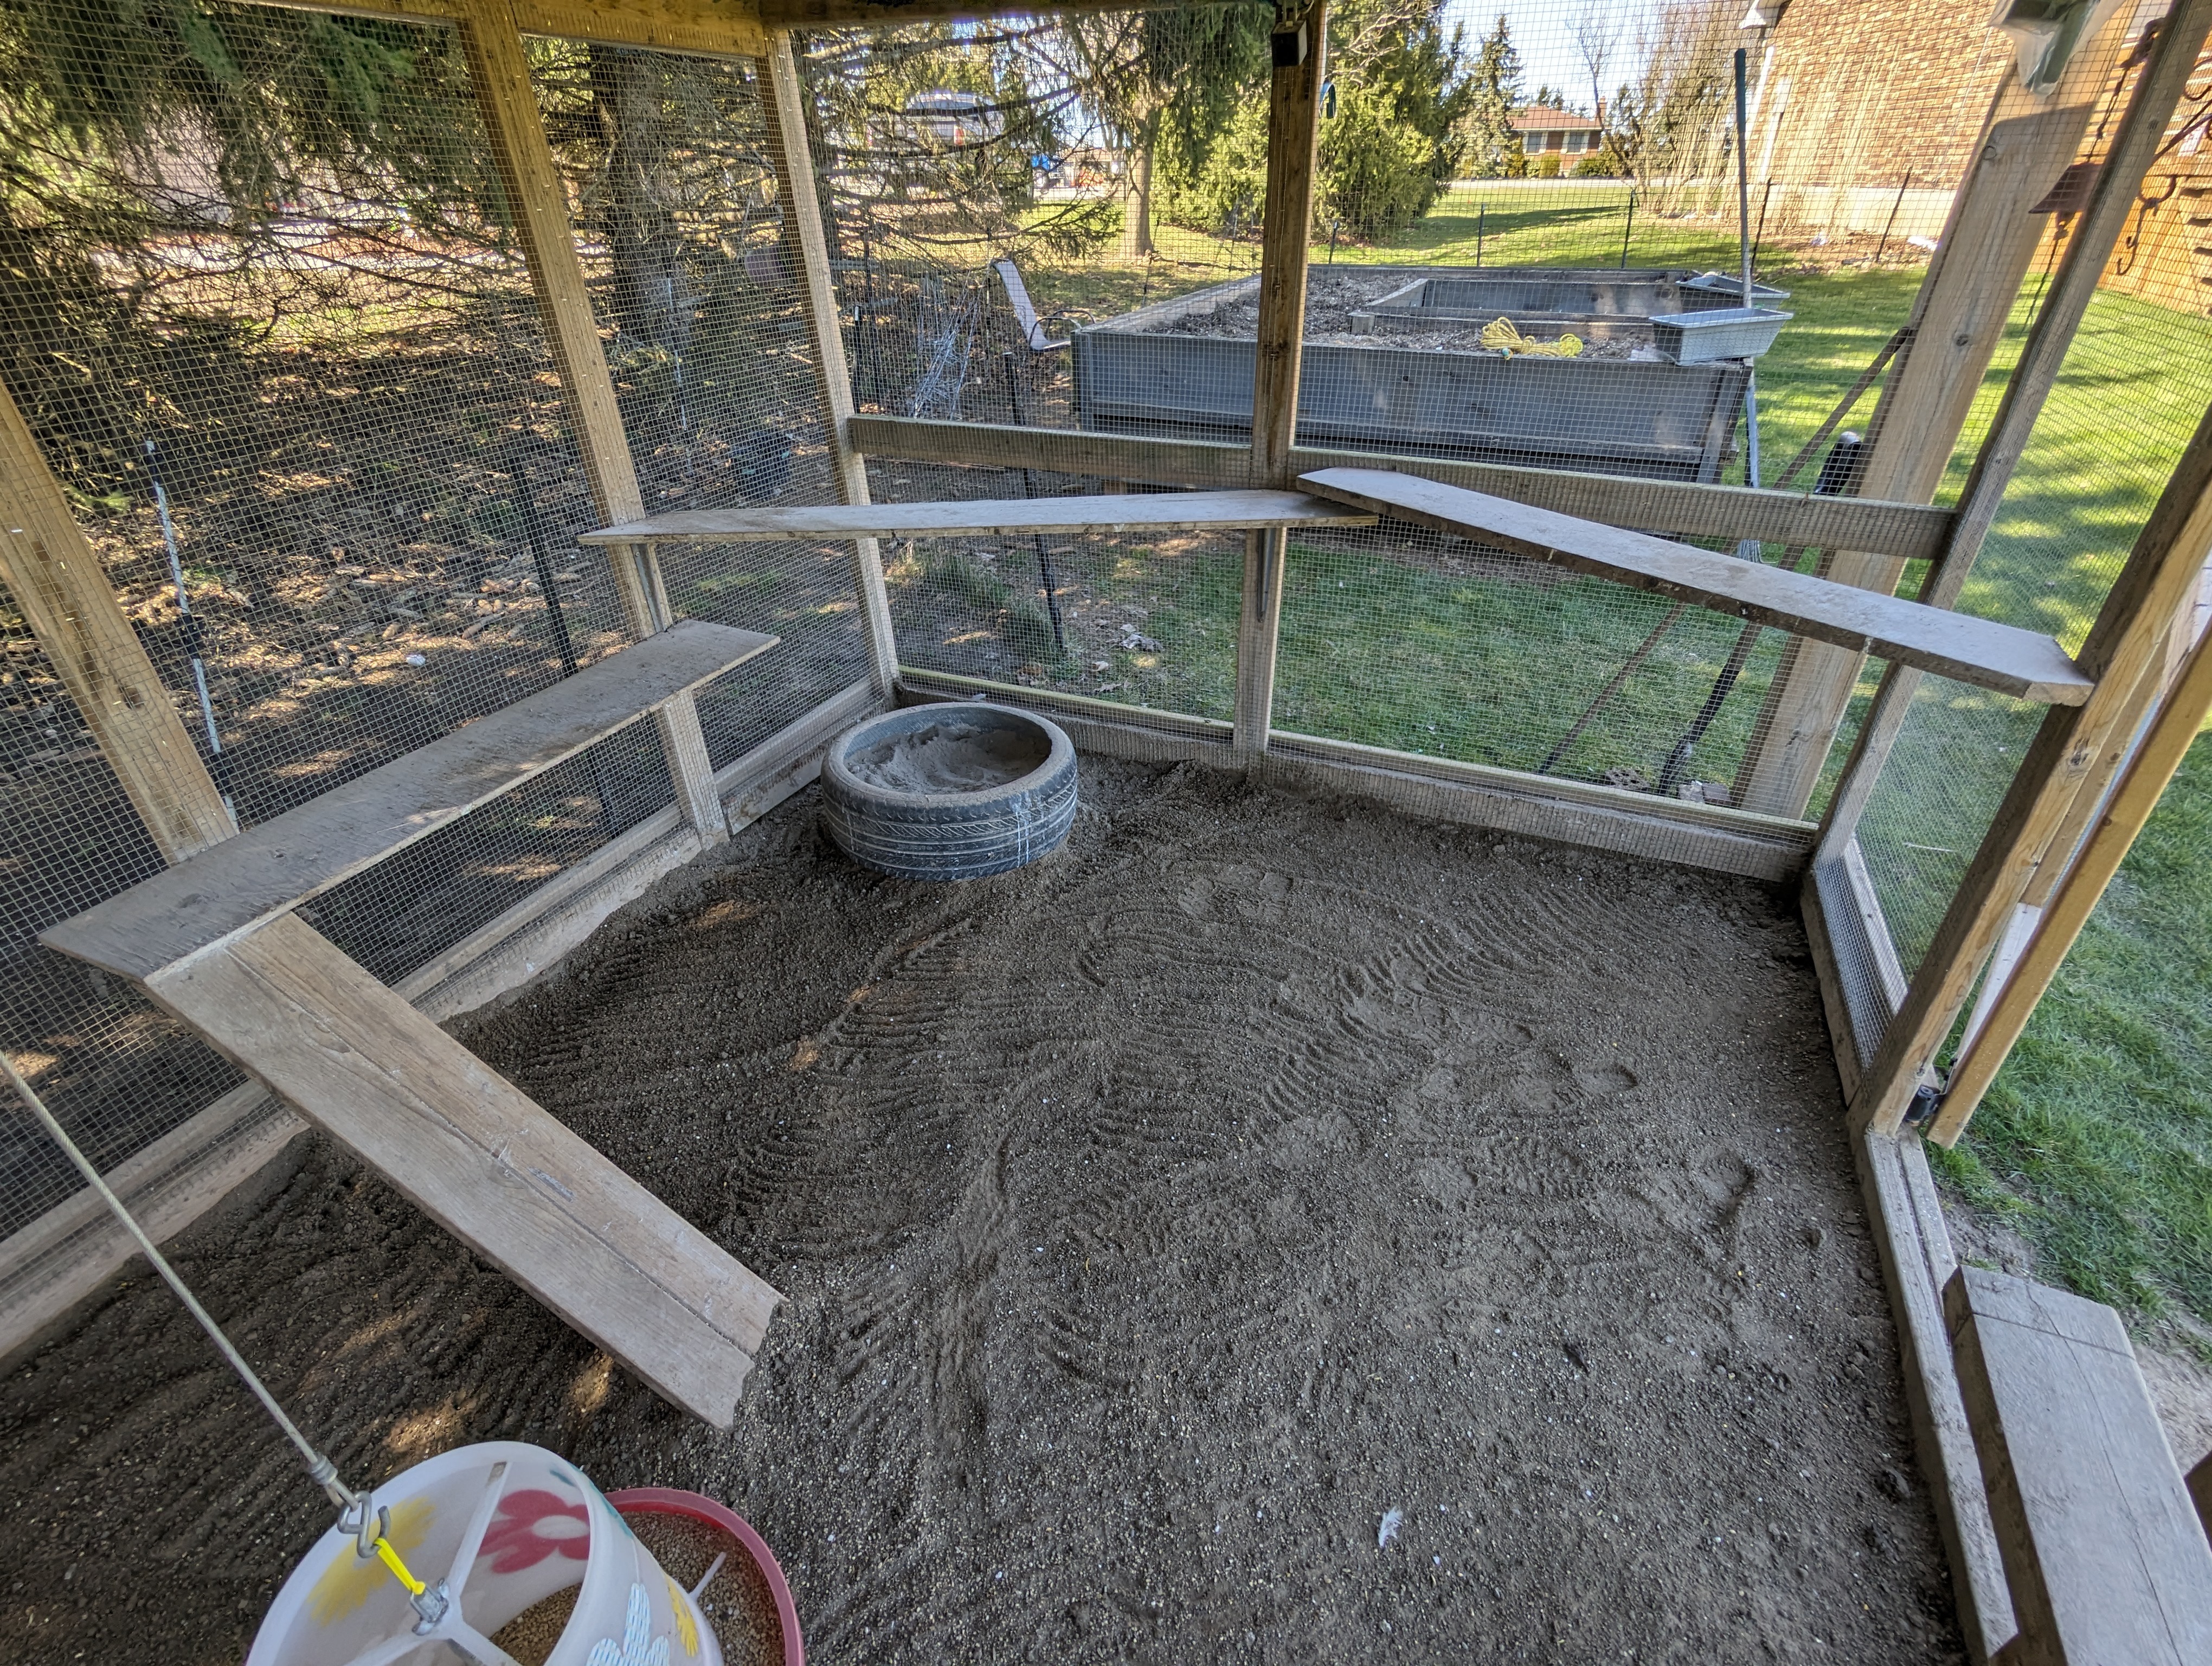
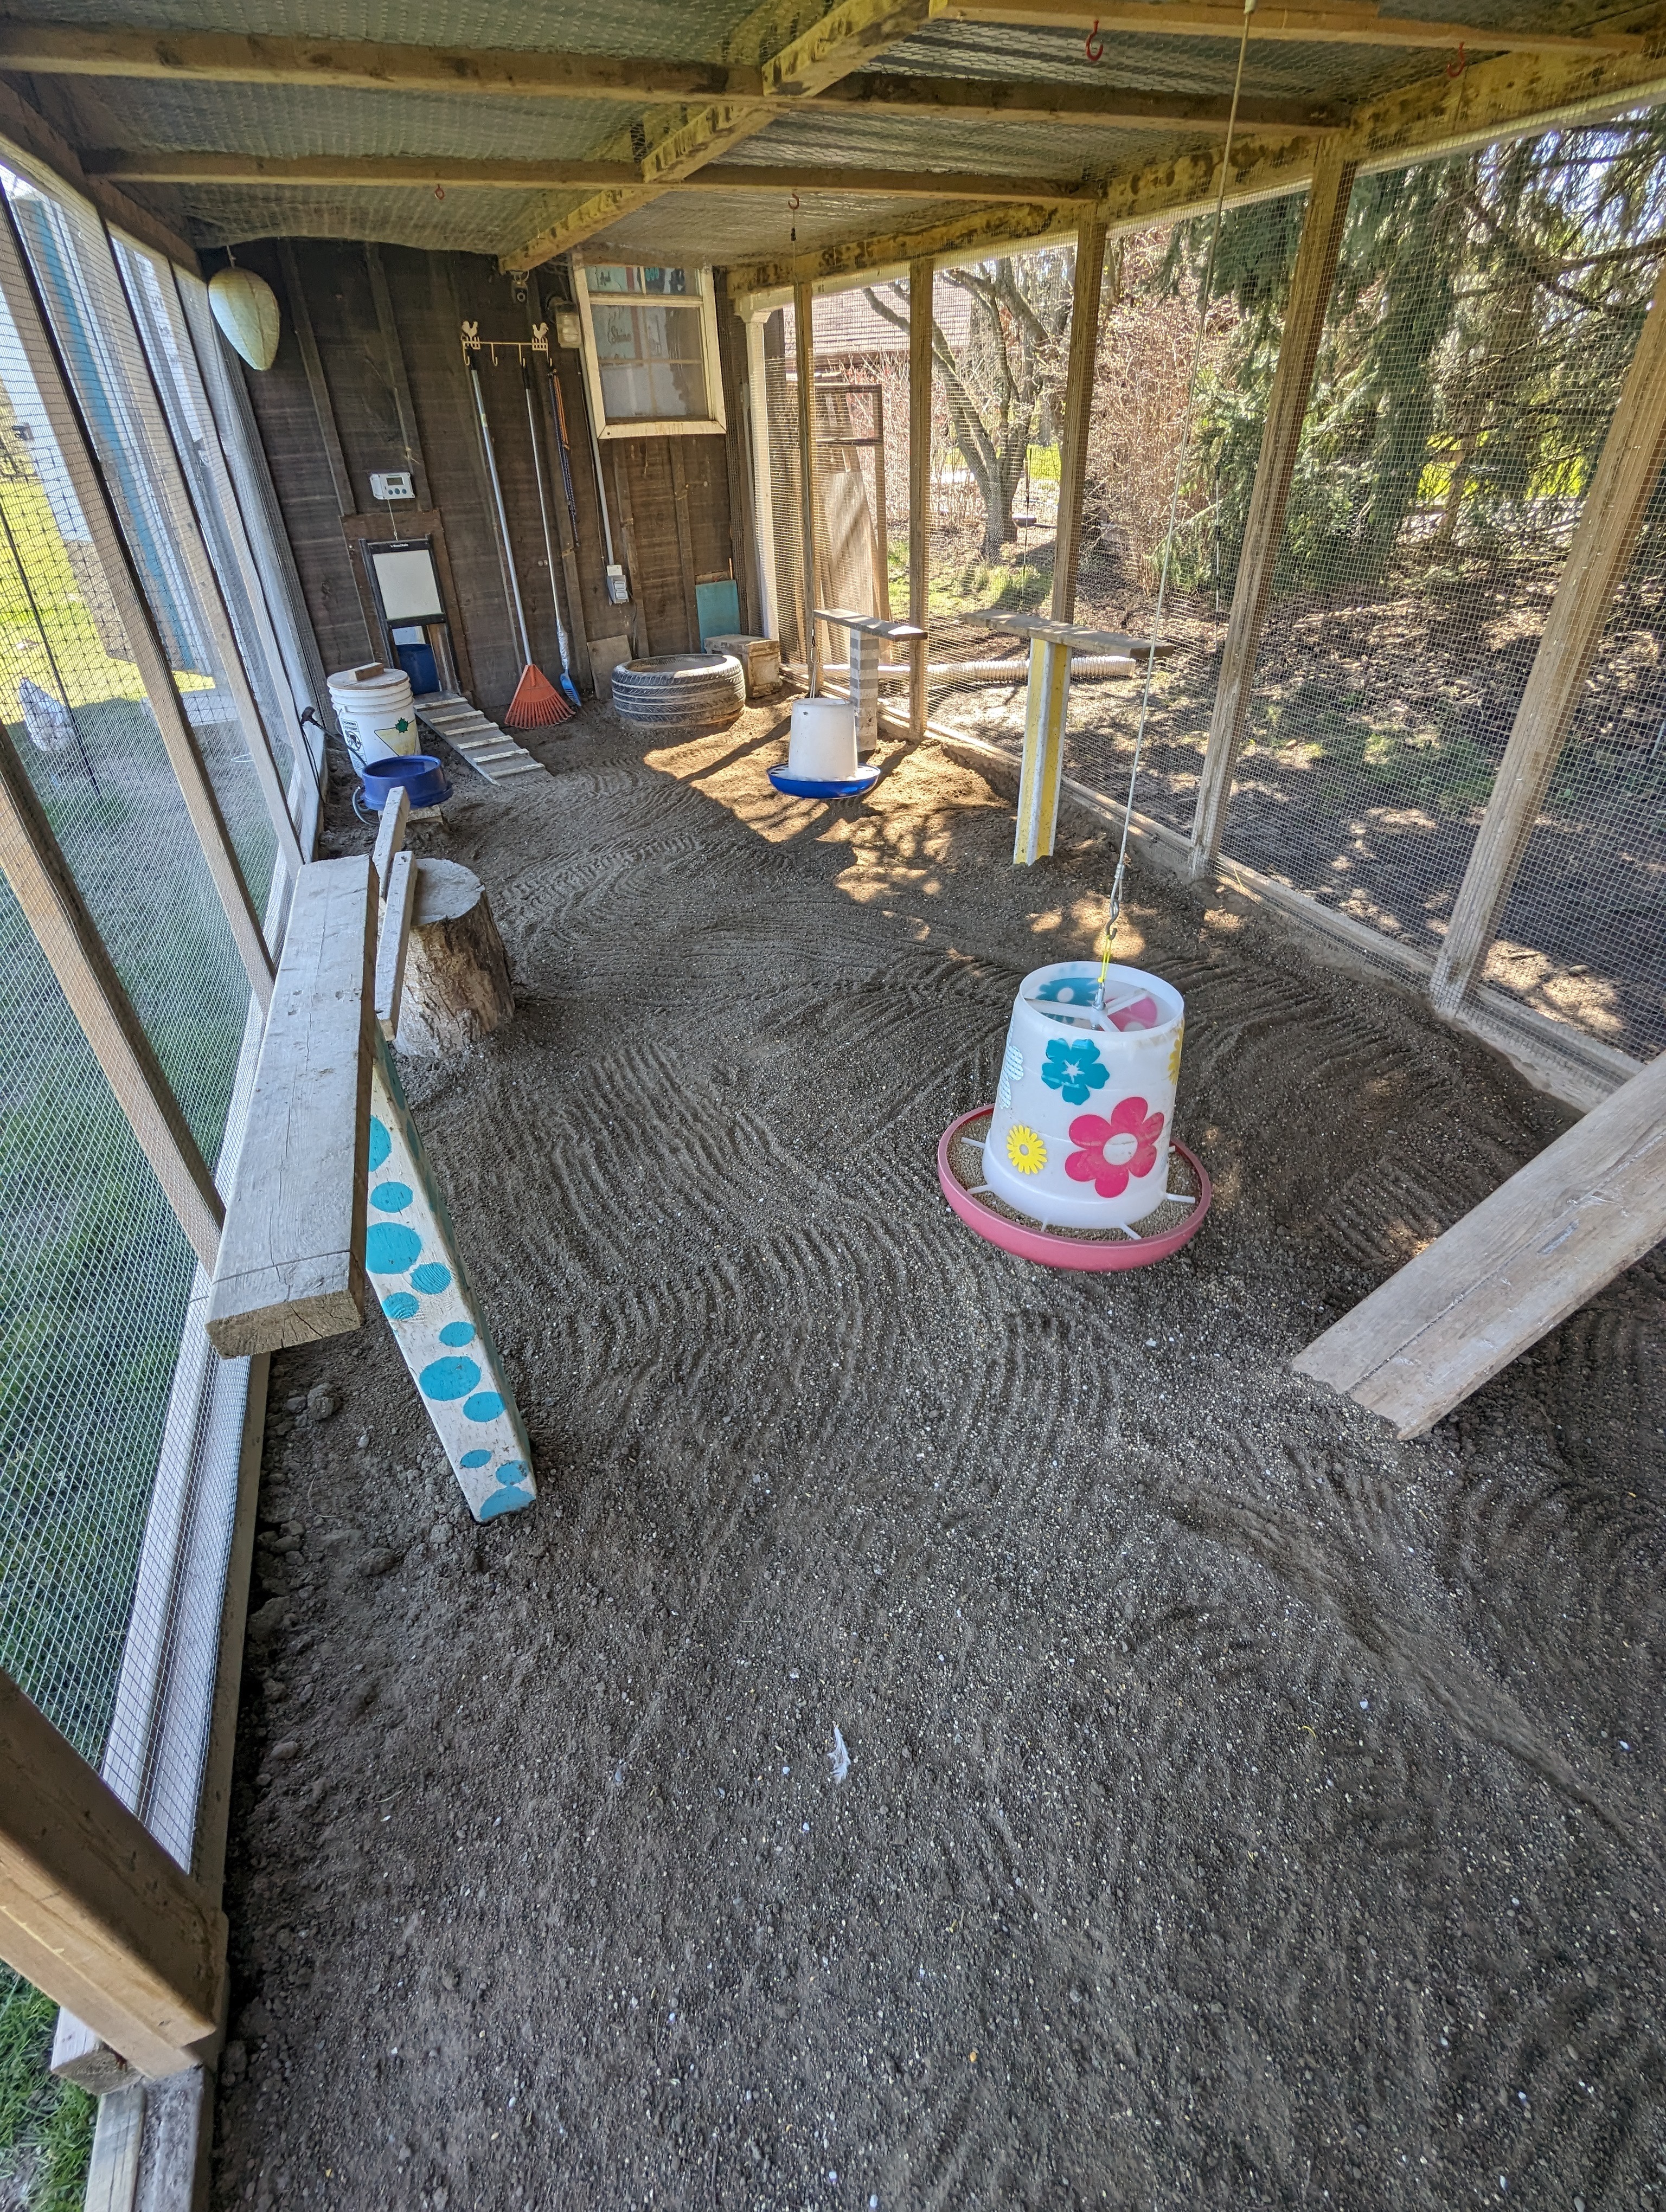
- The base in the run is sand, at least one foot deep. I would never change this to anything else because it is extremely easy to clean, it never smells and the girls love it. It’s great as grit and they are always dust bathing in it.
- Two big tires in the run filled with sand for extra dust bathing areas
- Multiple shelves, ramps and perches in the run and they use them all
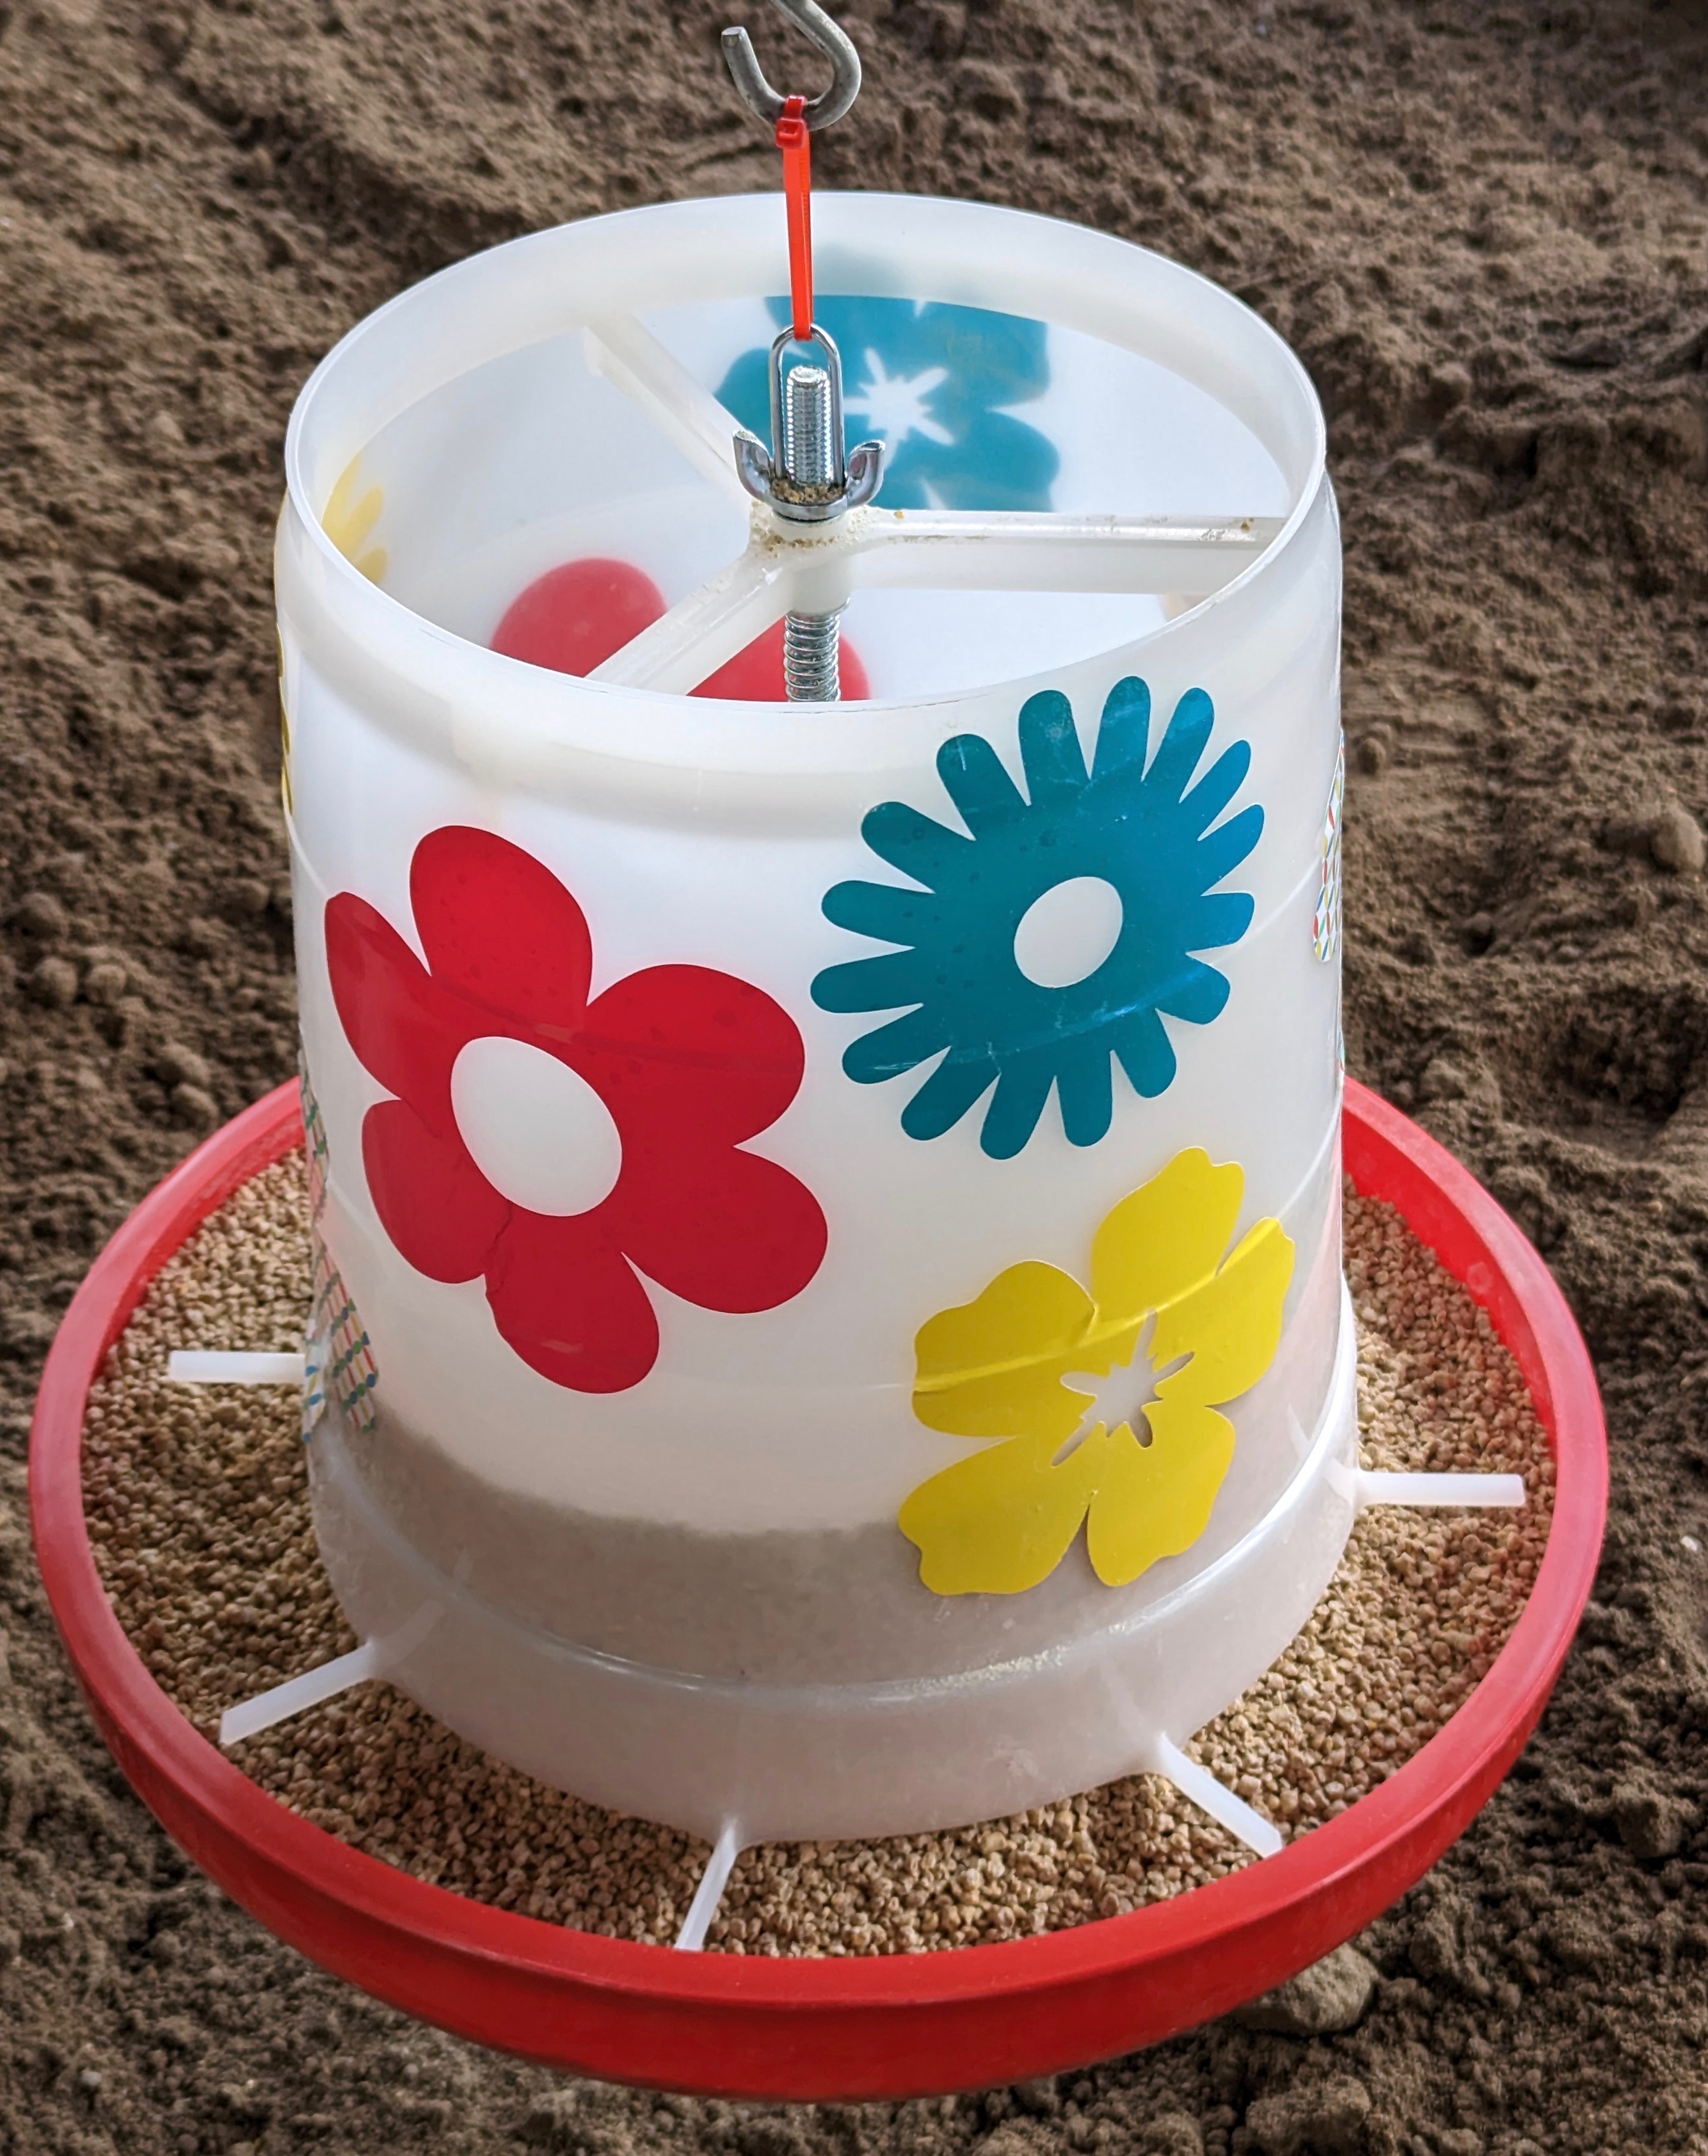
- Two hanging feeders

Adaptable Features
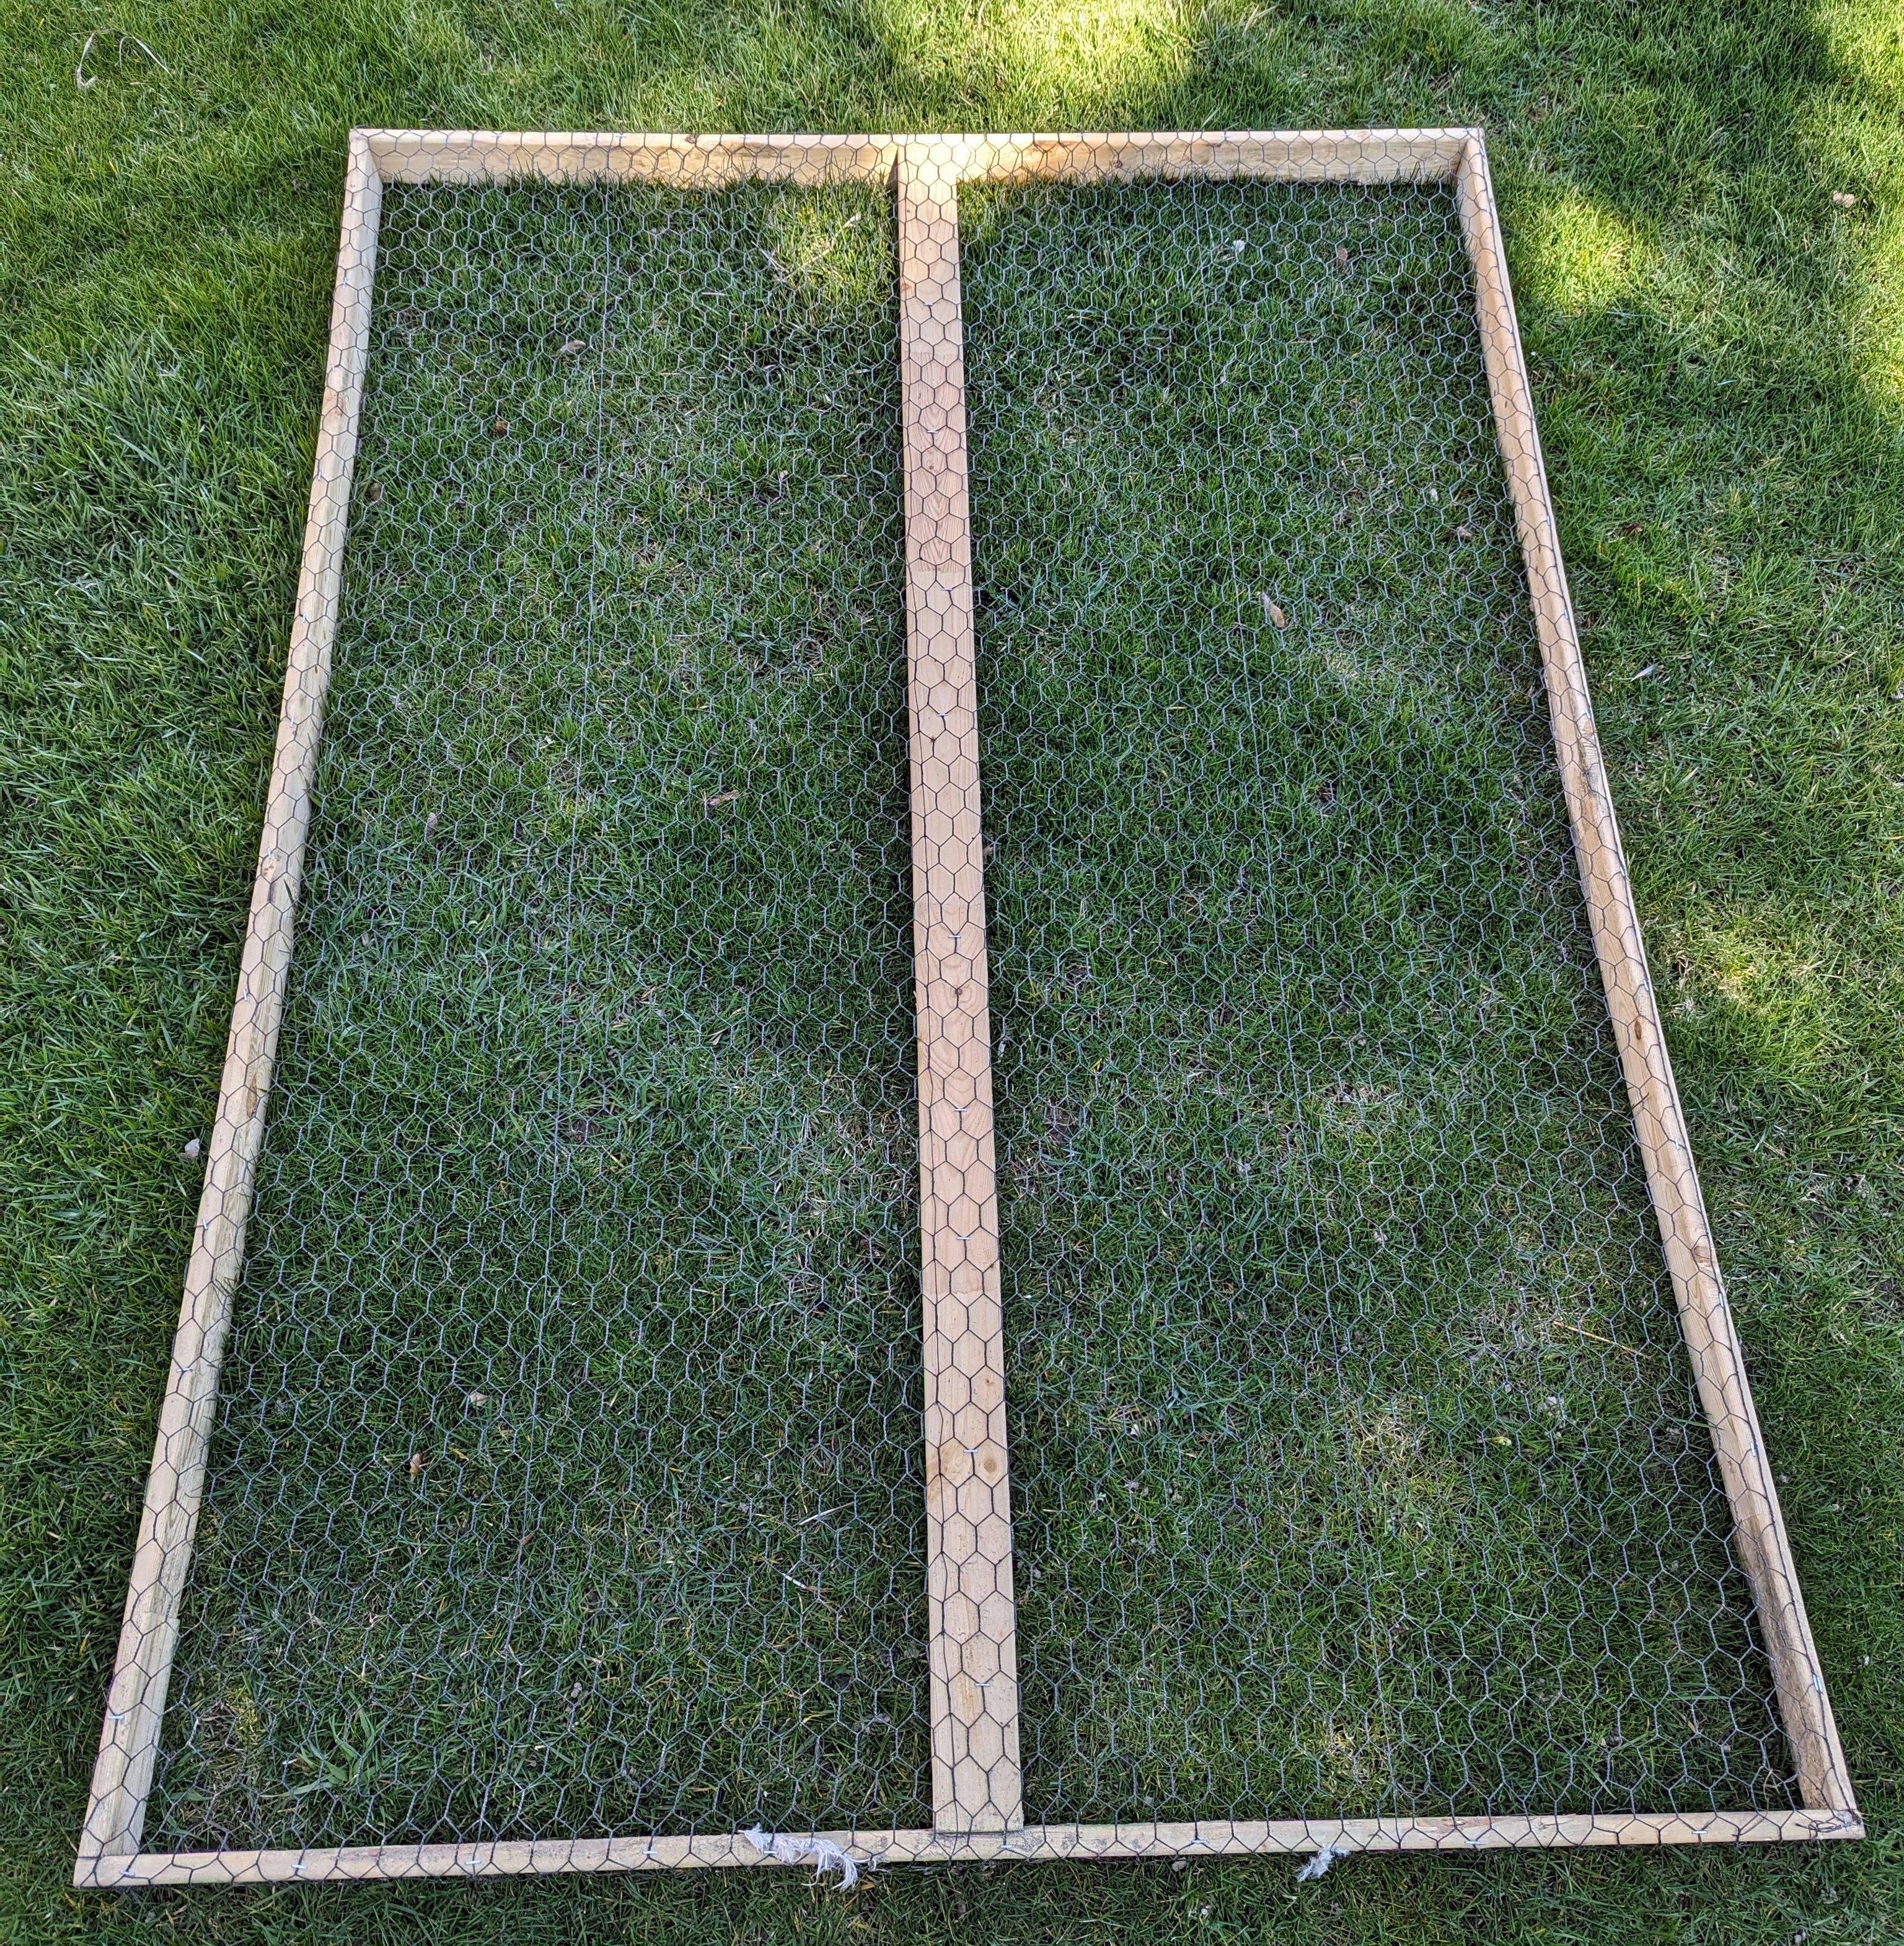
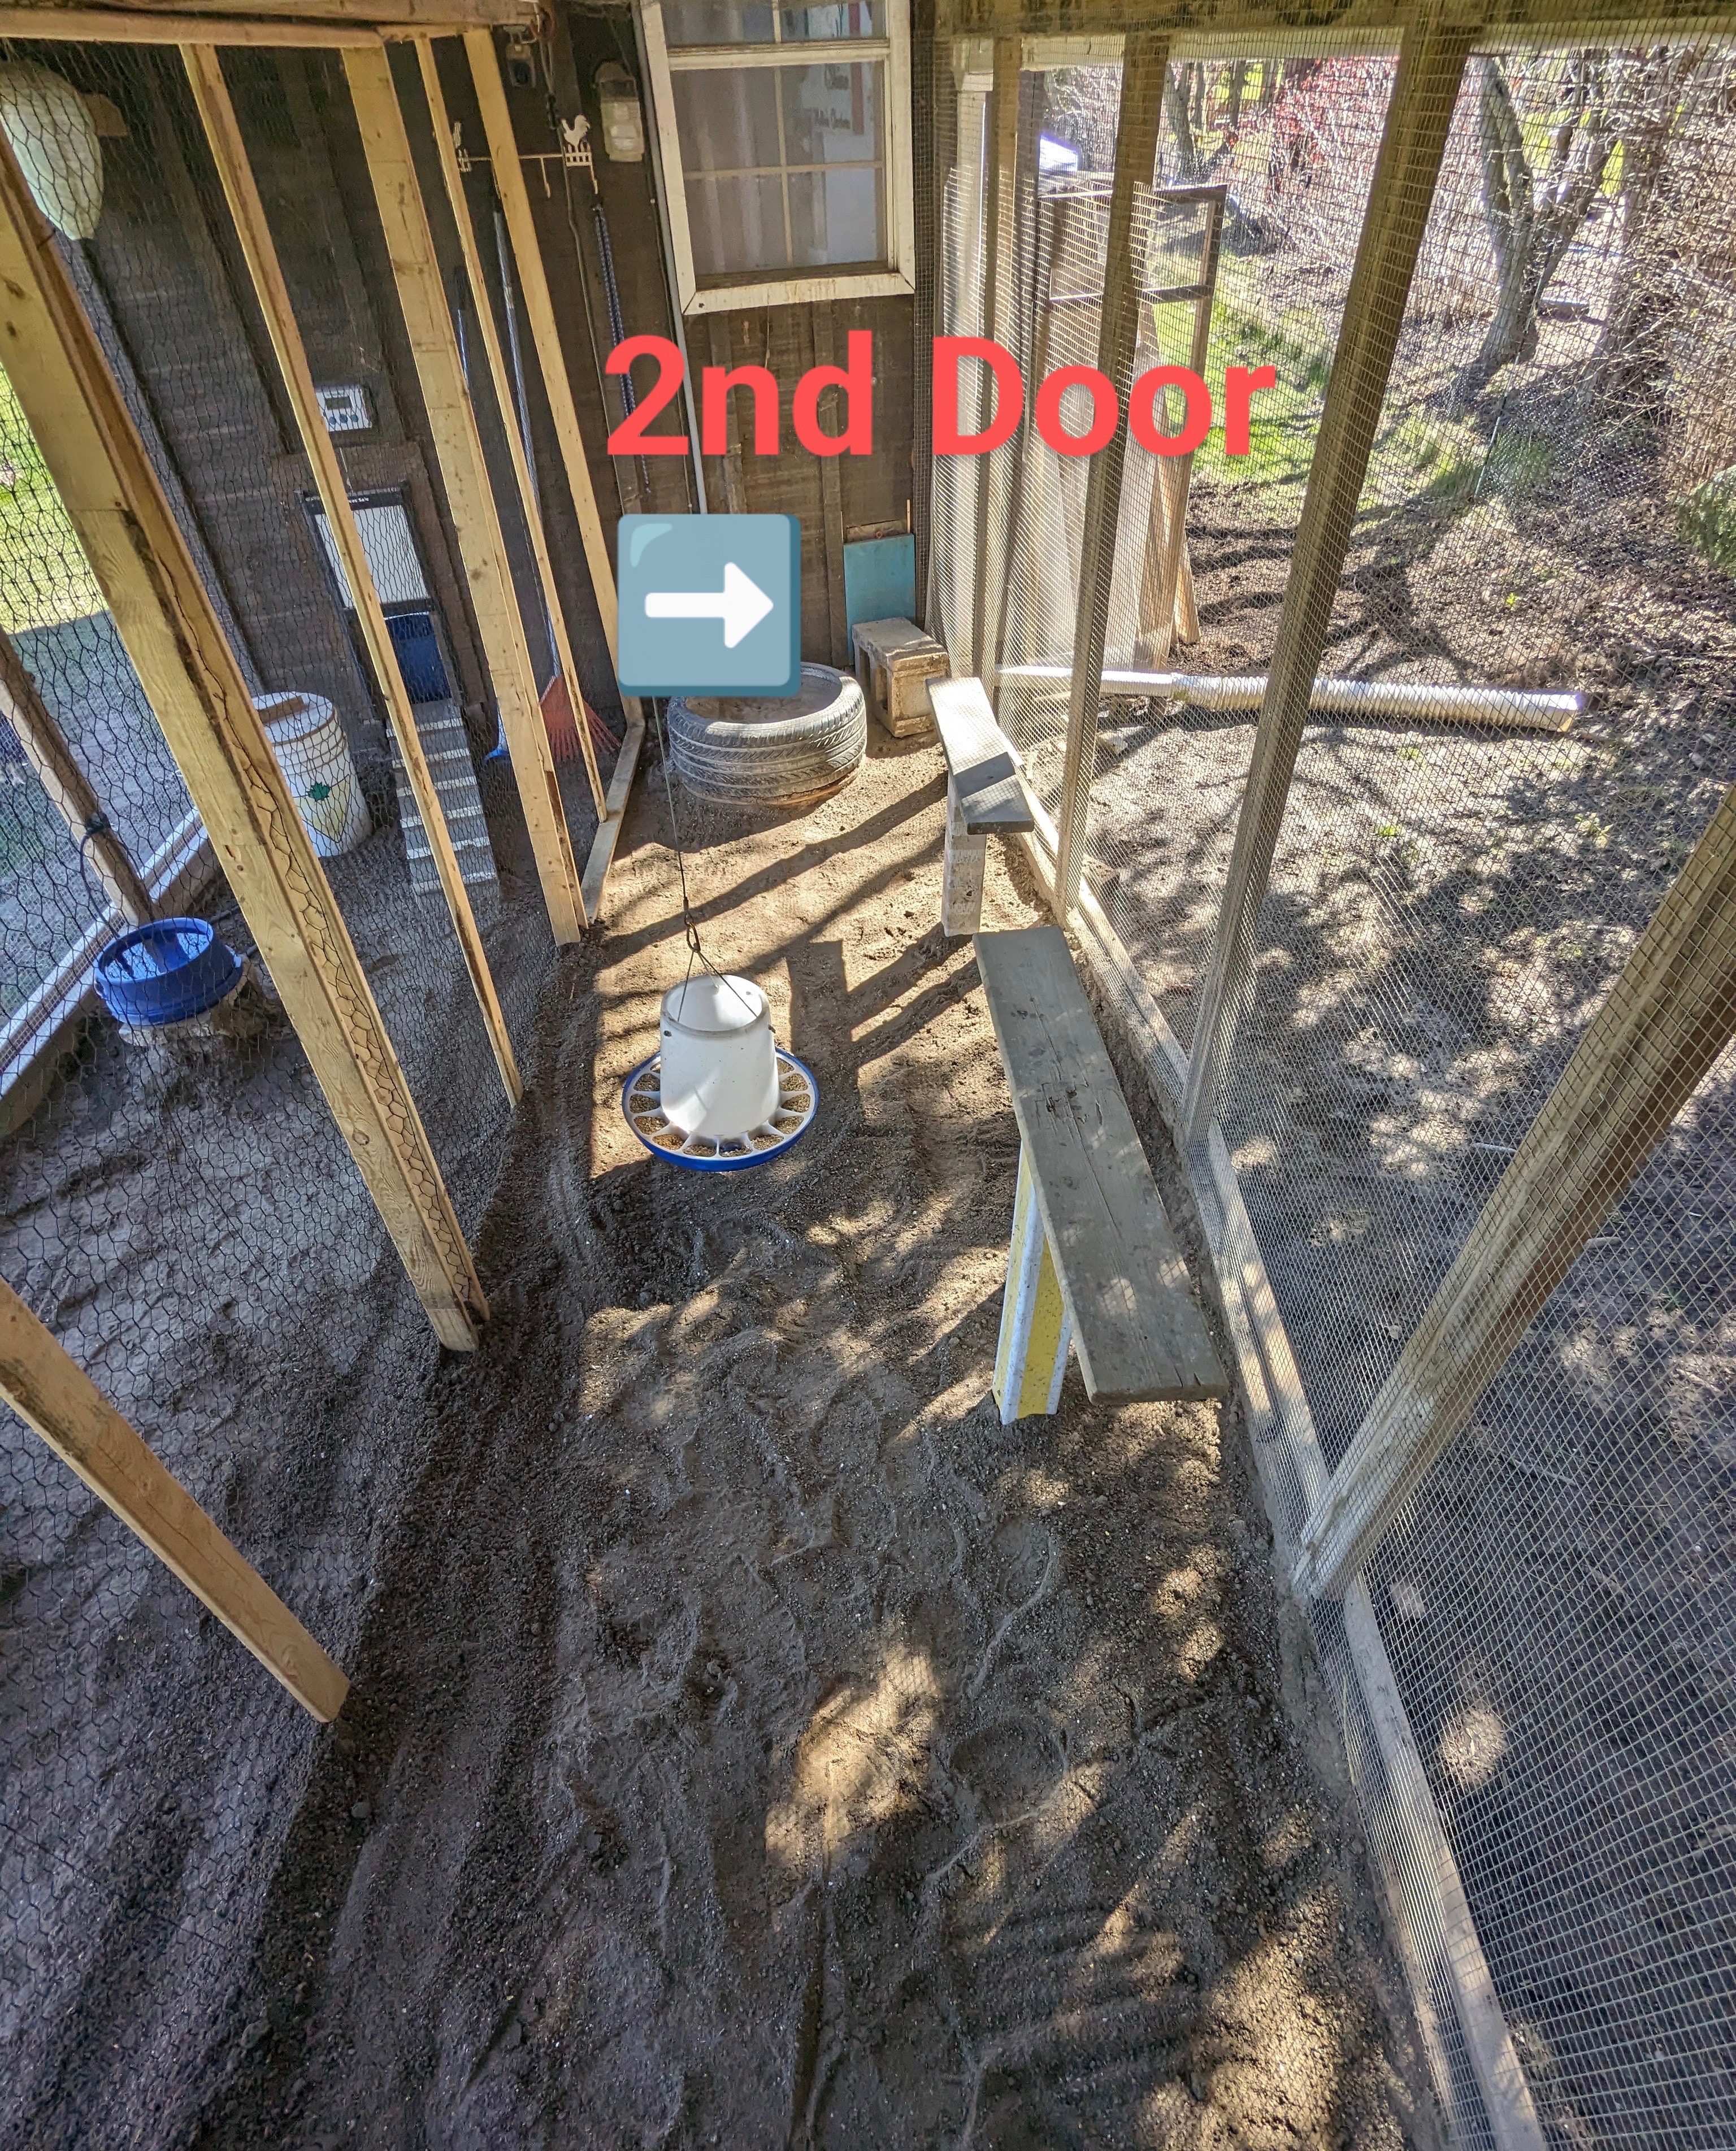
- Our coop (and run) can also be split into two sections very quickly when we need to separate one or more ladies, integration etc. When this is done, we have a second ramp (to get up to the roost) that just folds into place, and a second door that comes and goes into the separated area in the run. It is only a few minutes for us to turn our coop and run into two complete sections. Darren built framed sections using 2”x2”s and PVC-coated chicken mesh. These frames attach quickly into our run and into the coop to turn it into two sections. The added section in the run can be different sizes, based on how many ladies are in that area.


- Winter Panels: we enclose our run using fitted panels we made. The frames of the panels are 2”x2”s, we used 8 gauge clear vinyl and the top section is a small section of screen for airflow. These fit quickly into each section of our run to fully enclose it. They have worked out amazingly for us and are extremely versatile, especially with the weather changing so much it allows us to remove any panel, if the weather permits.
- 6’ roller shade for a section of our run (water end). Our coop and run get full sun from morning till afternoon so this really helps on the hot days.
- In the cold months I use large heated dog bowls, which I prefer over our big heated chicken waterer because they are easier to fill and clean. It also allows me to add things to the water very easily (like ACV, vitamins, medications etc)
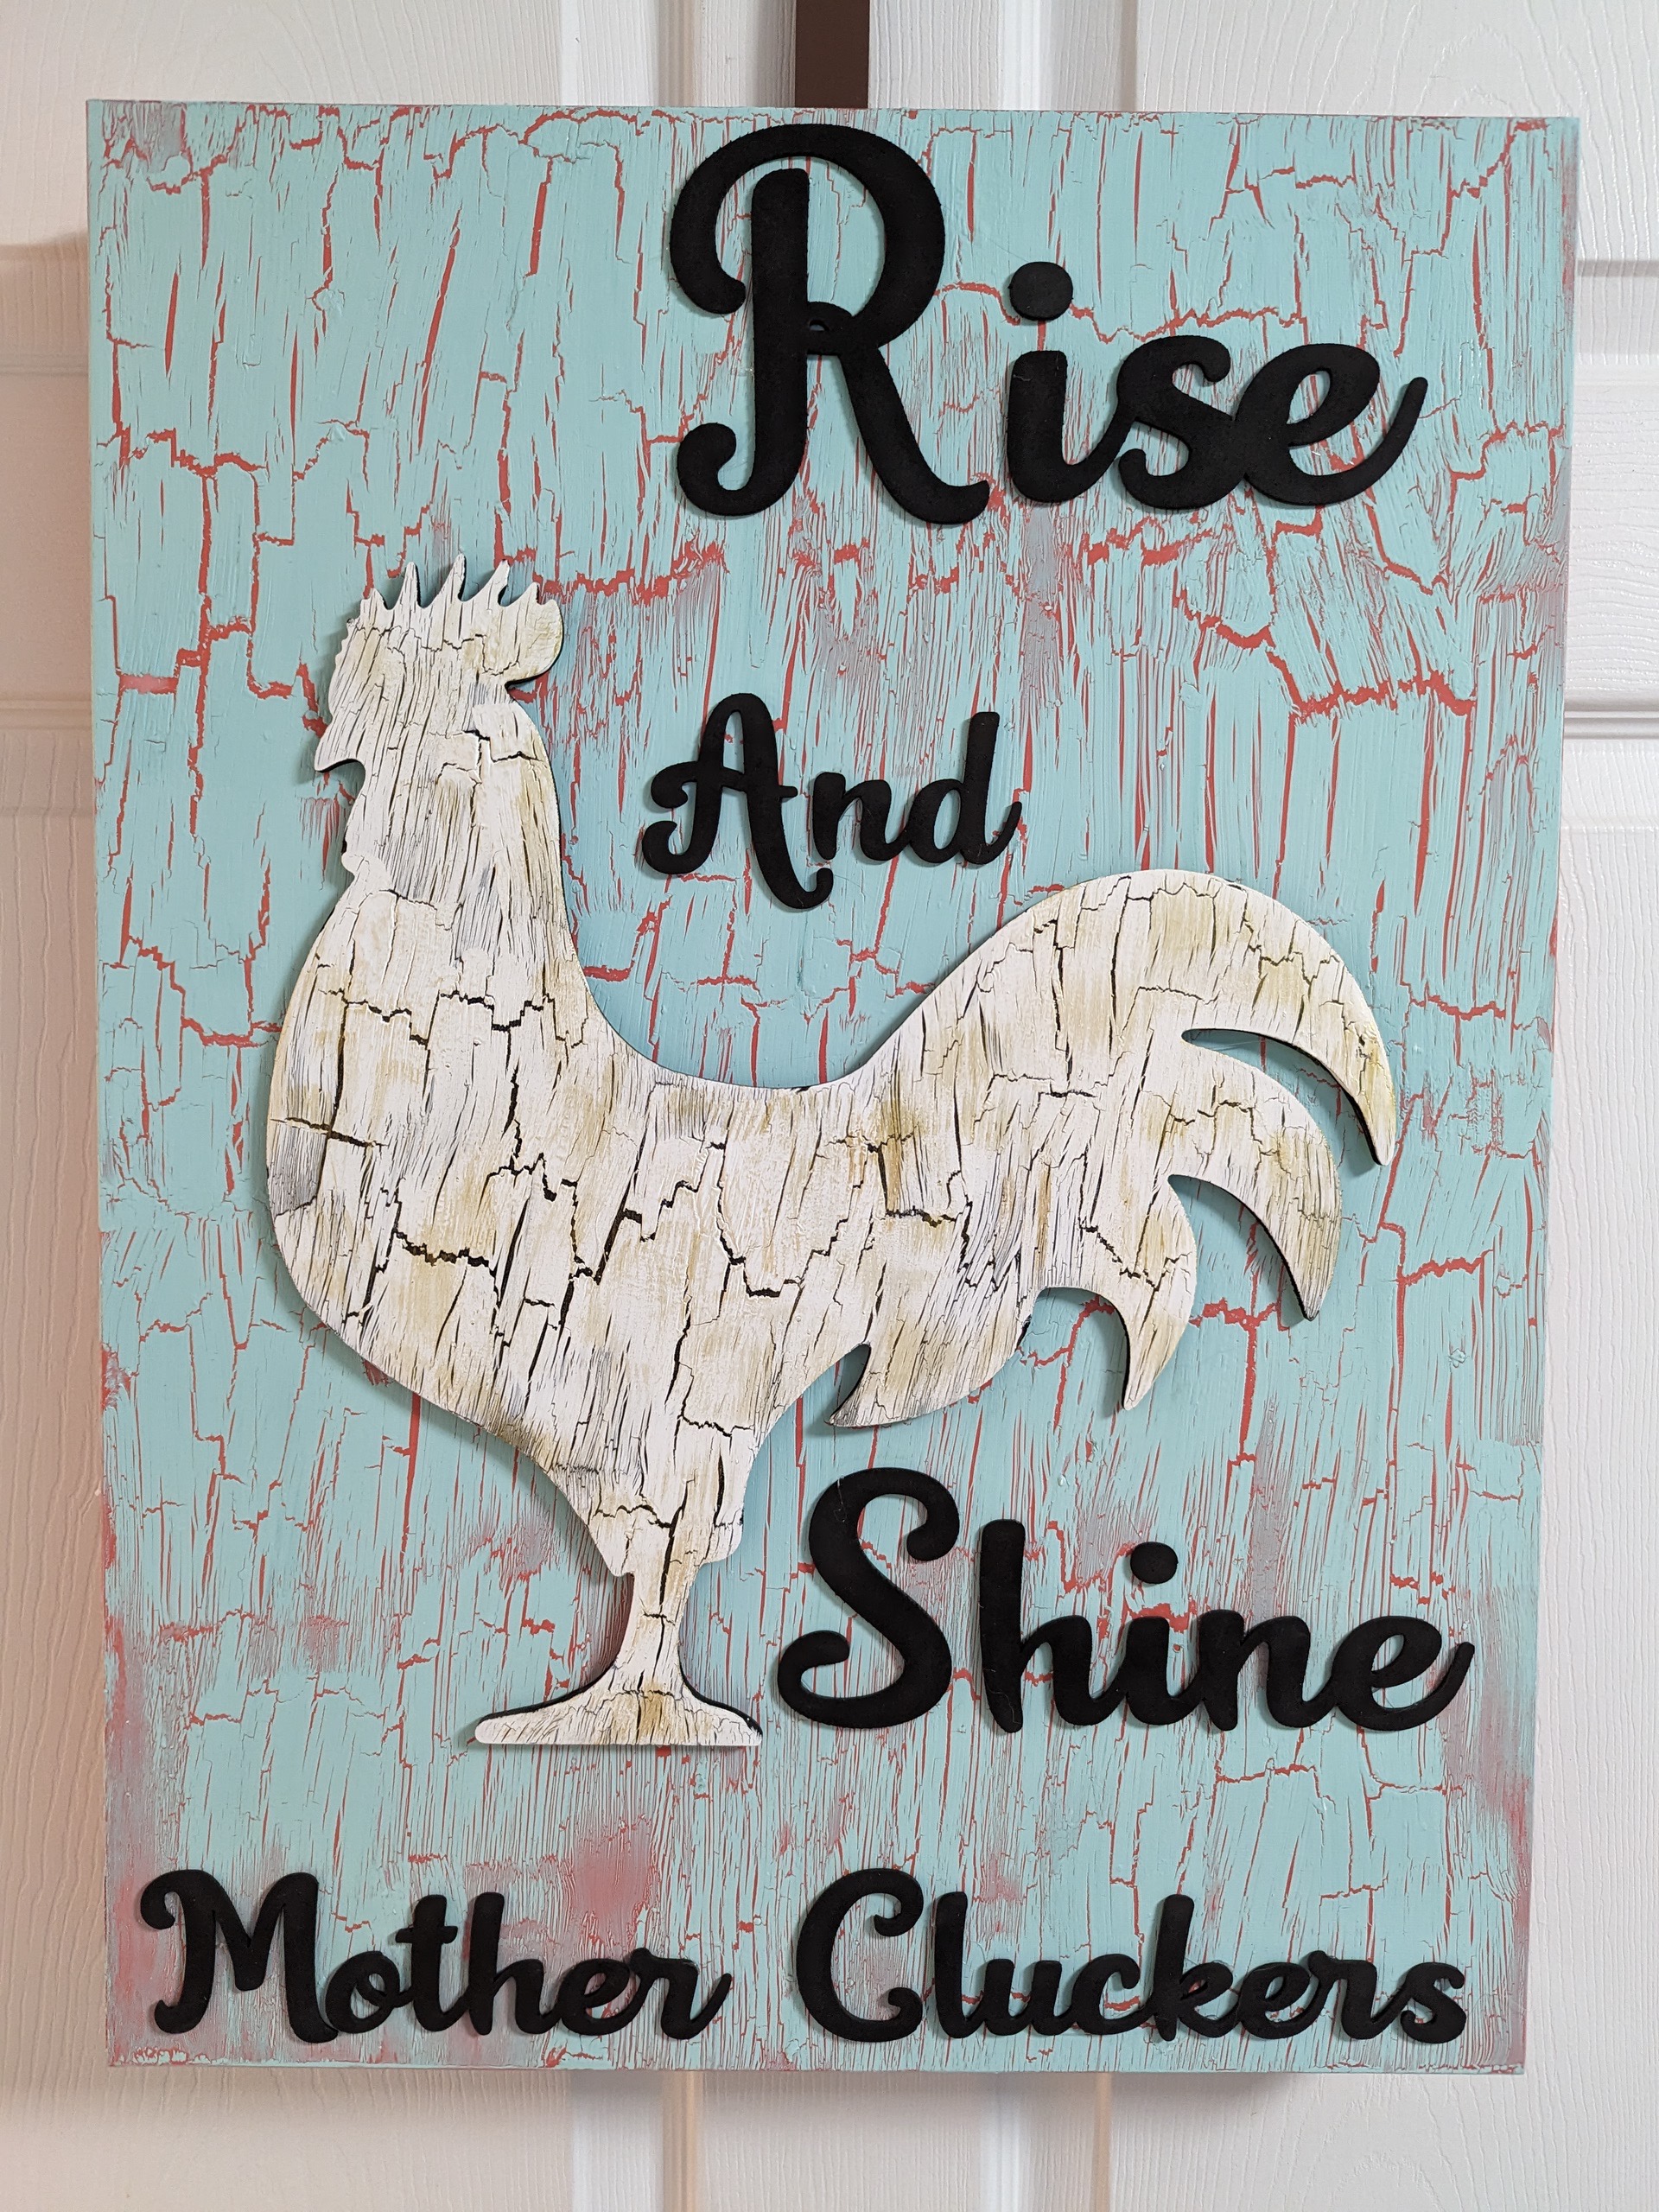
- Curtains, mirror and decor mostly made by me


Since our current coop was built in 2019 we have upgraded or changed something every single year. Right now we don’t have any definite plans, but we always say that.
Many thanks to Denise & Darren Wainwright for sharing their coop build and photos, used with permission. Check them out at TheseGirlsCrackMeUp

love it ! ❤️
LikeLiked by 1 person
Well done to the both of you, it’s amazing what you have done.
LikeLiked by 1 person
Amazing!!
LikeLiked by 1 person
This blog post has inspired me to adopt chickens
LikeLiked by 1 person