If you’ve been following this blog you’ll know that I consider myself the Queen of Freecycle: the practice of giving or receiving of things for free. Every year end I post about the fabulous finds I’ve accumulated throughout the year. For me, this practice isn’t just about being frugal or saving money, although that is a big part of it, but also saving perfectly useable things from our ever burgeoning landfills. We’ve become a throwaway culture in which so many products are designed with short lifespans, forcing consumers to replace them. Or worse, we’ve bought into the idea that when things are out of fashion or dated, we toss them for the latest trend. Some of those items can be used as is, while others take a bit of creativity to repurpose them, giving them a new lease on life.
When I came across Emily’s post in an online chicken group I reached out to her and asked if she’d share the feedbag projects she’s been working on. She was happy to comply and this is her story.
I’m a 33 year old mother of three kids, living with my partner Austin, who also has three kids. I’ve worked with animals for nearly 15 years: studying Pre-Veterinary Medicine in 2005, then at various kennels and animal hospitals over the years as a kennel technician, veterinary assistant and treatment technician. My love for animals started when I was very young, growing up on a small farm in Springfield Ohio where we had chickens, ducks, a miniature pony, cats, dogs, hamsters, guinea pigs and a rabbit. I showed 4H ribbon-winning fancy chickens.
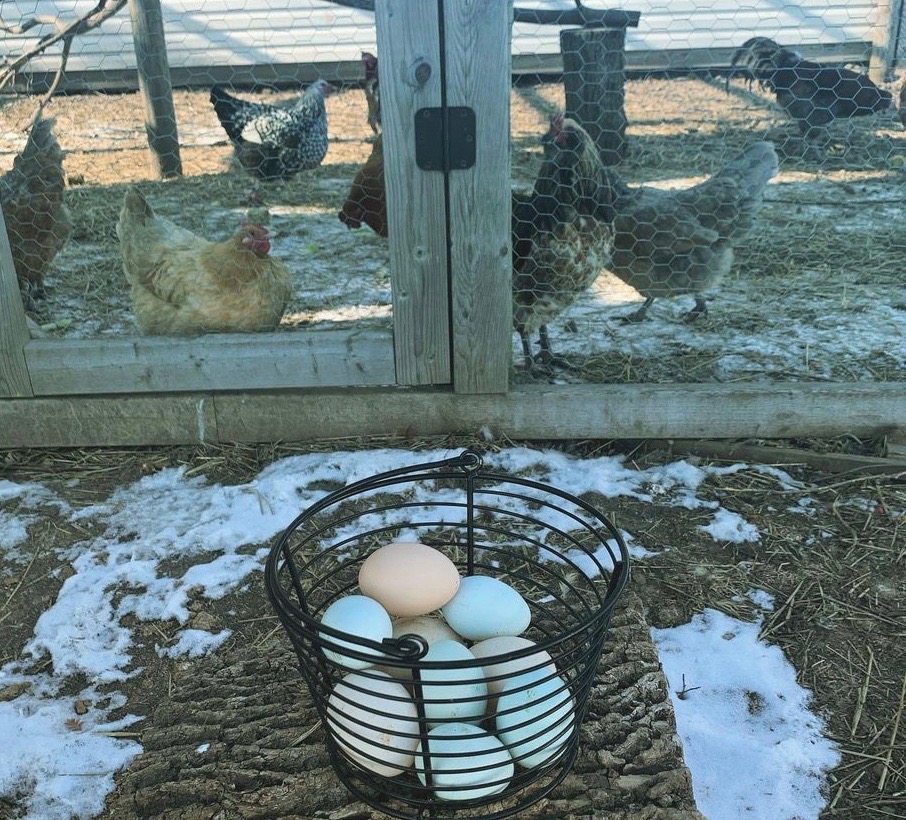
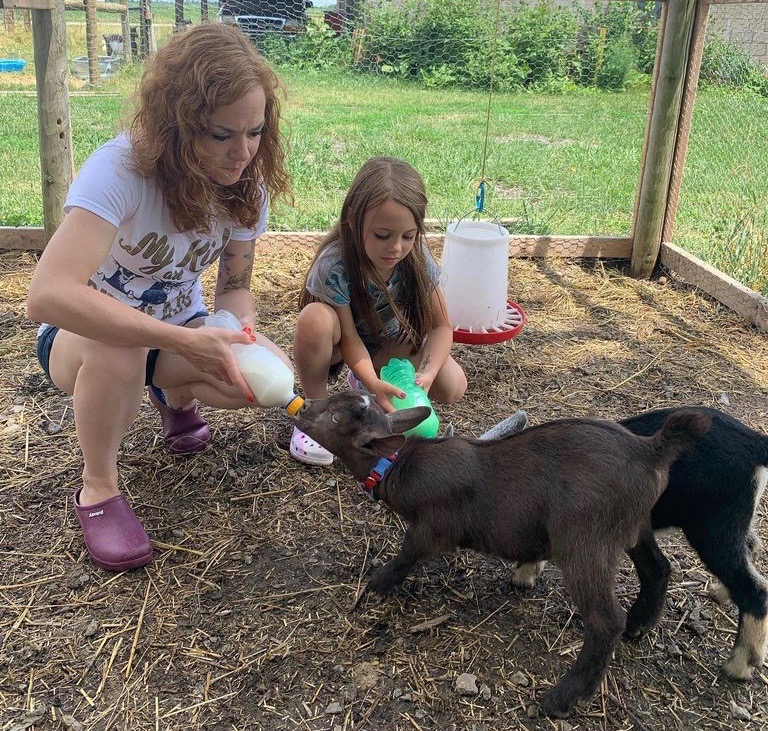
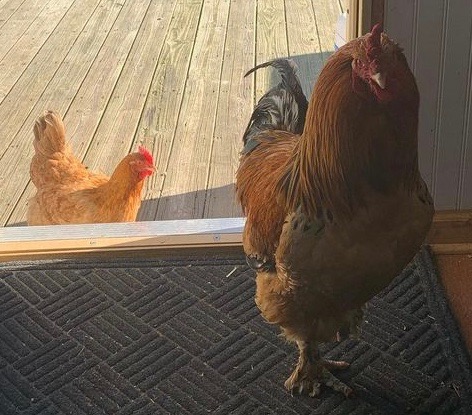
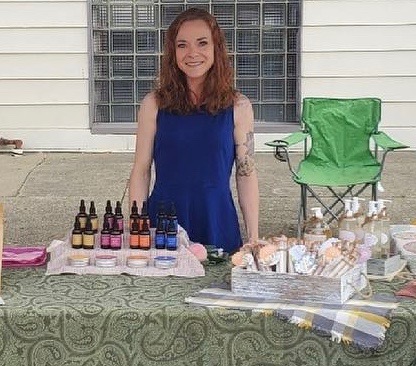
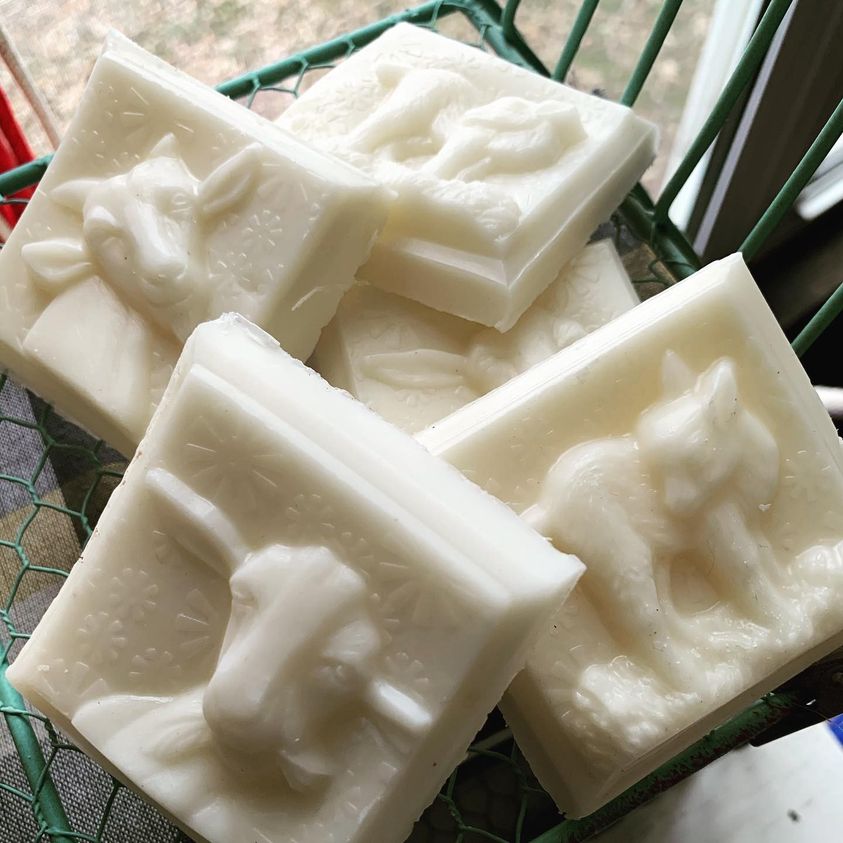
Austin and I live on our 2.9 acre A&E Family Farm, which we established in 2020. Our first farm animals were 10 older chickens from our neighbours, which were housed in our barn until he built a coop and run. We now have over 20 chickens, 9 ducks, 8 goats, 12 rabbits, 4 cats, a dog, and a snake. We sell chicken and duck eggs and I make goat milk soap, bath salts, beard butter, beard oil, liquid soaps and candles.

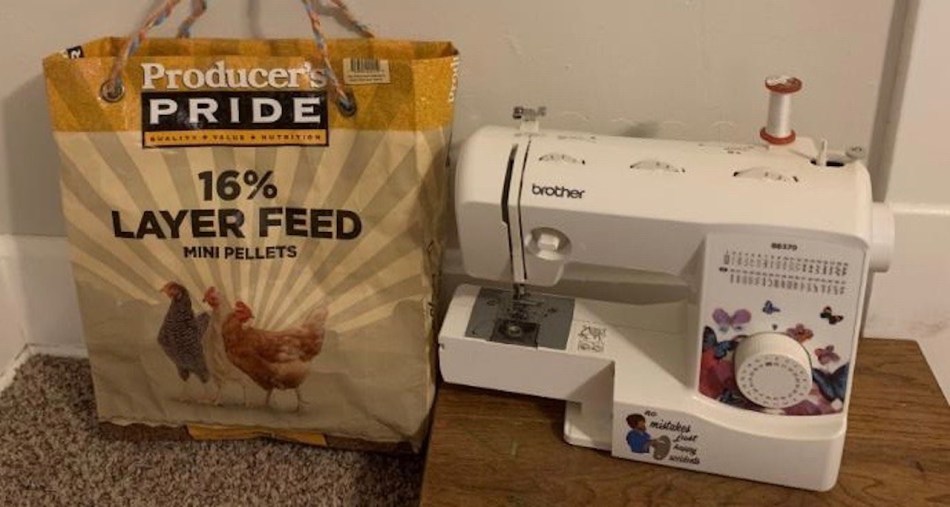
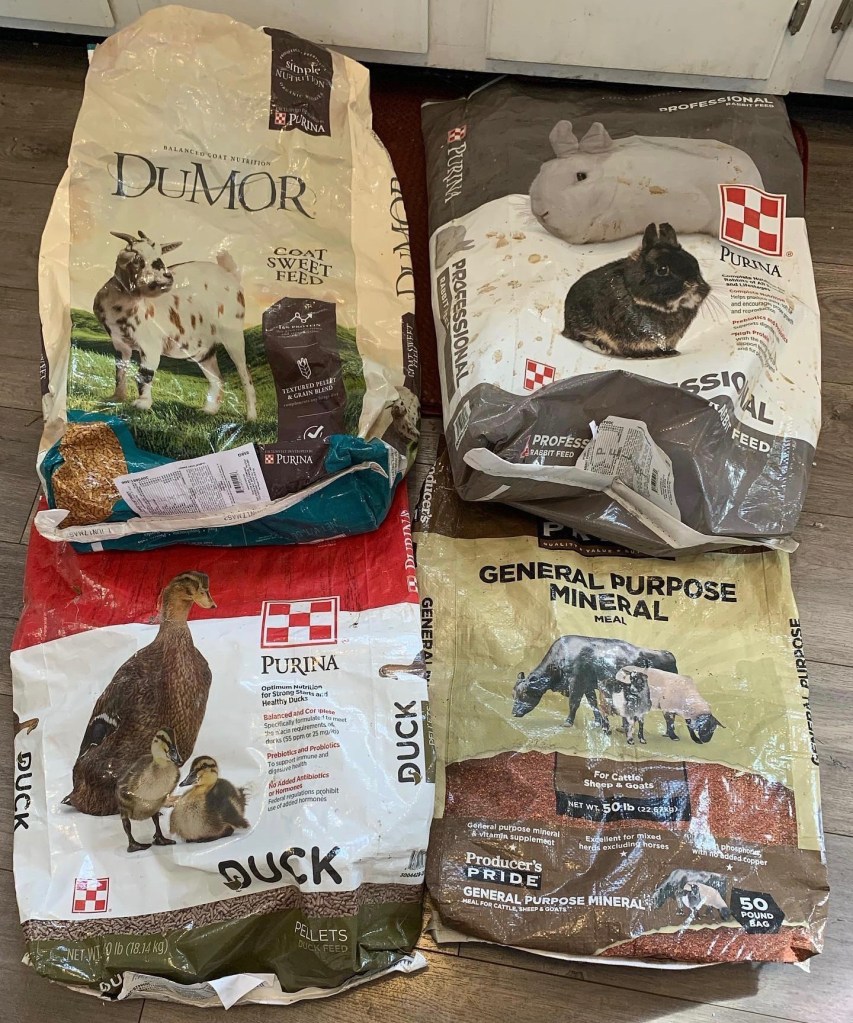
The feed bag project started because they were piling up in the barn and Austin was going to throw them away. When I found out they weren’t biodegradable I researched ways to reuse them. I’m the type of person who always cuts the plastic rings off soda can packaging so birds or other animals won’t get tangled in them.
Ducks and chickens are vital to our ecosystem and farms; they are amazing for insect control and natural fertilizer for our gardens and crops. I love my ducks and chickens so much but these bags, which we use to hold and ship their feed, can cause other birds and animals life threatening damage is they aren’t disposed of properly.
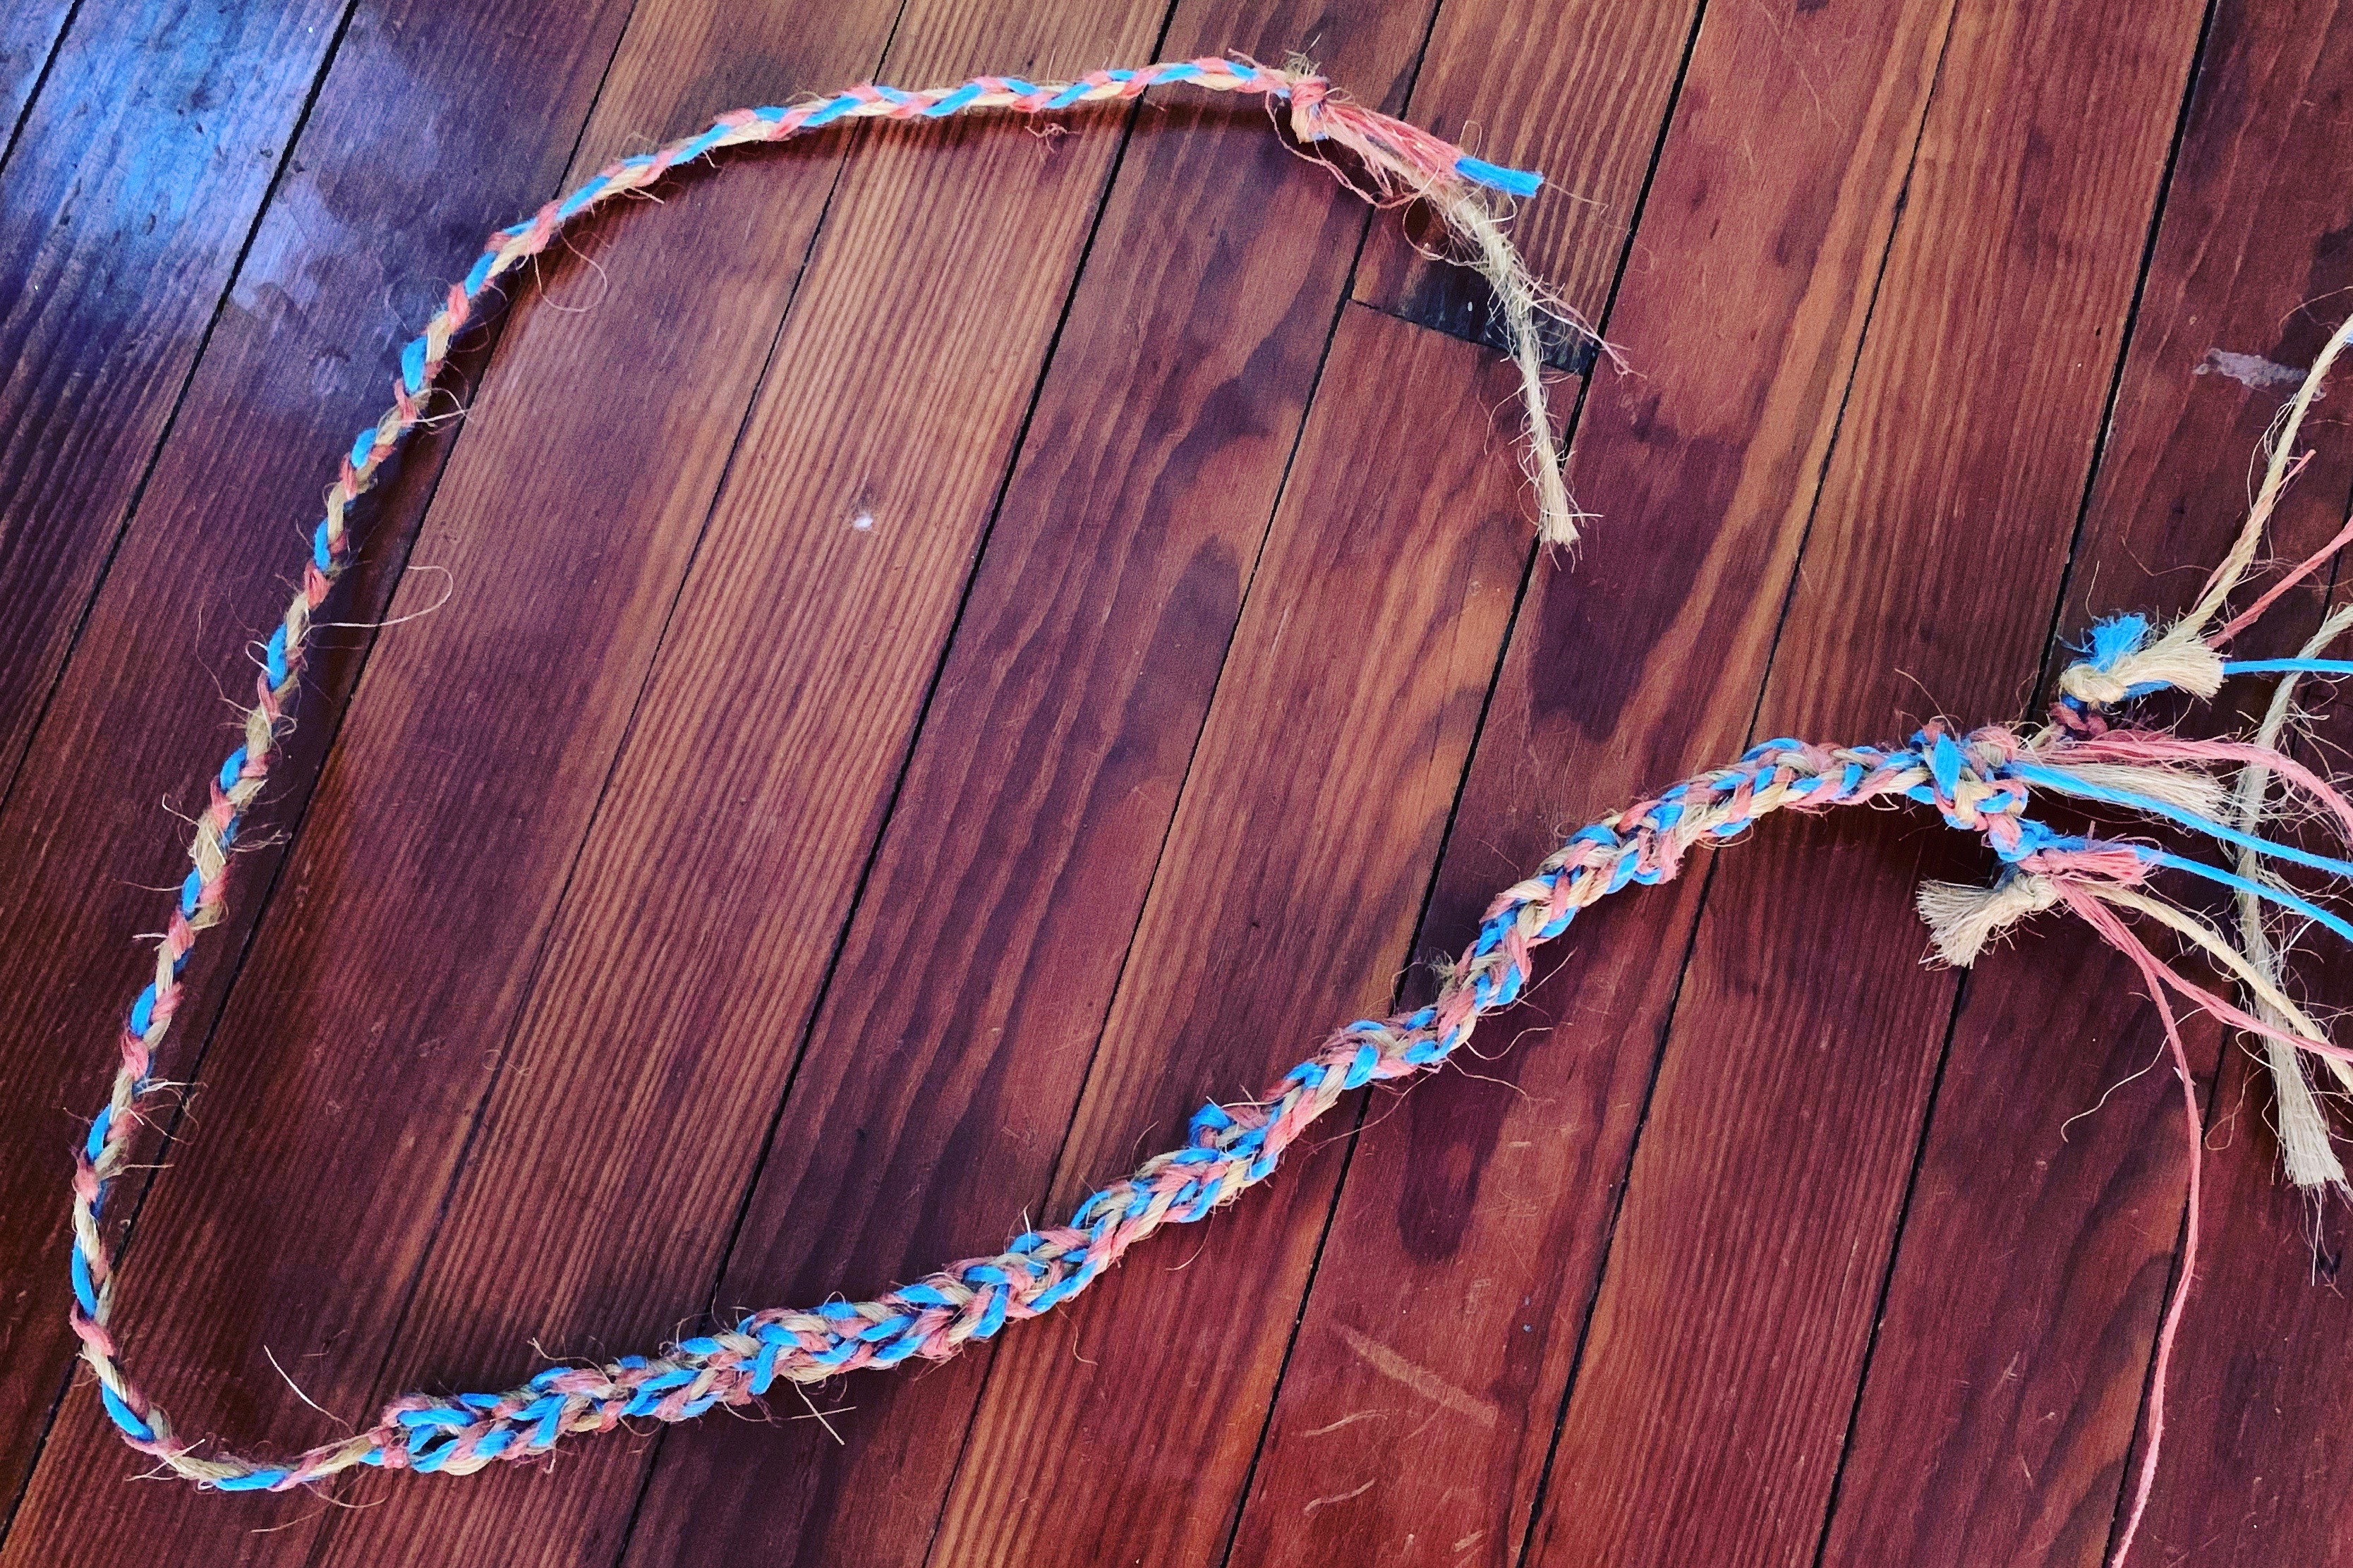
I made several tote bags from the feed bags but as cute as they are I was not pleased with the handles. I am currently working on braided handles made from binder twine from our straw and hay bales which are used for all of our animals. I even scored a big donation from a cattle farm who have a 55 gallon drum half full of used twine. It’s another way to recycle material that farmers end up with.

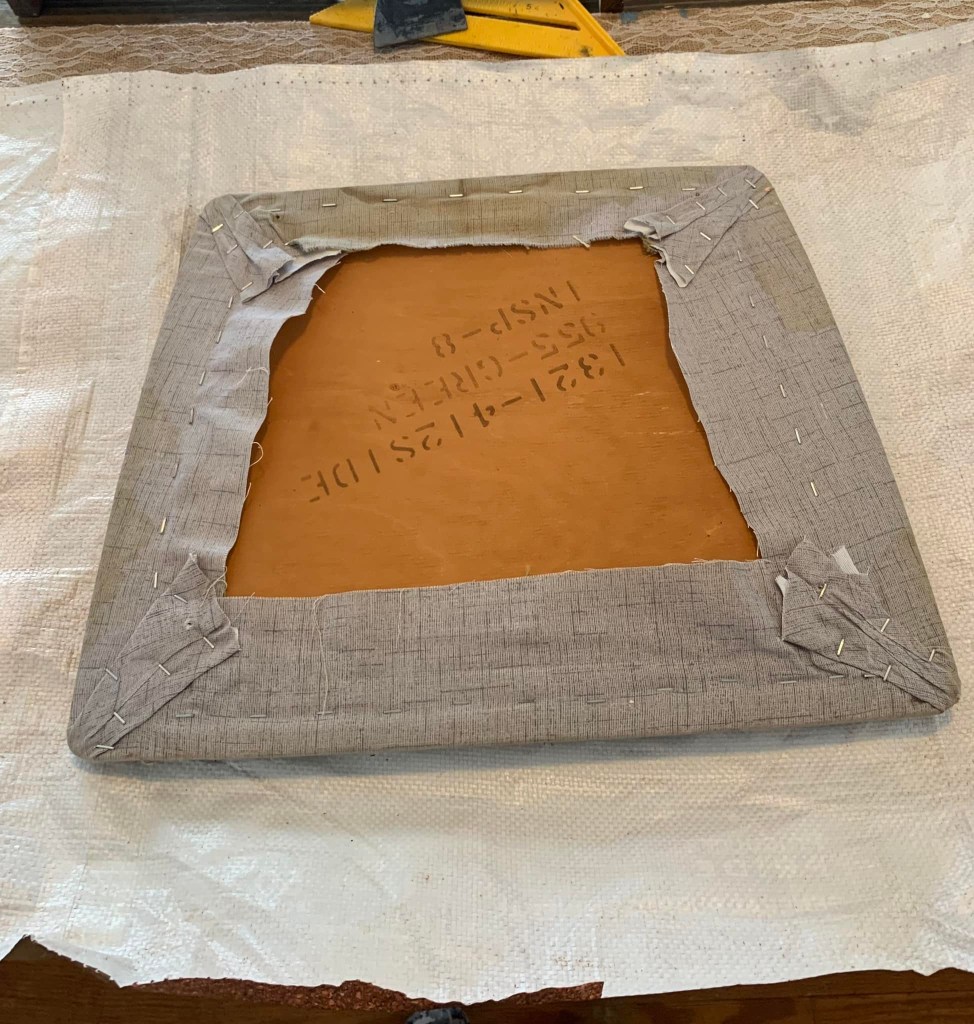
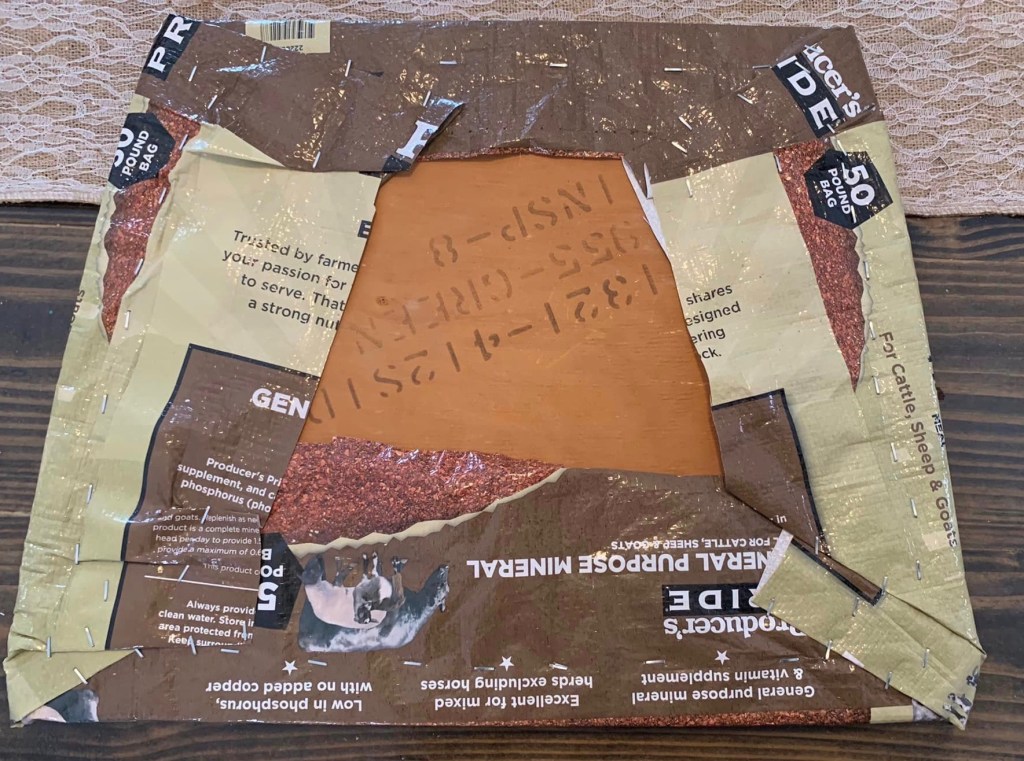
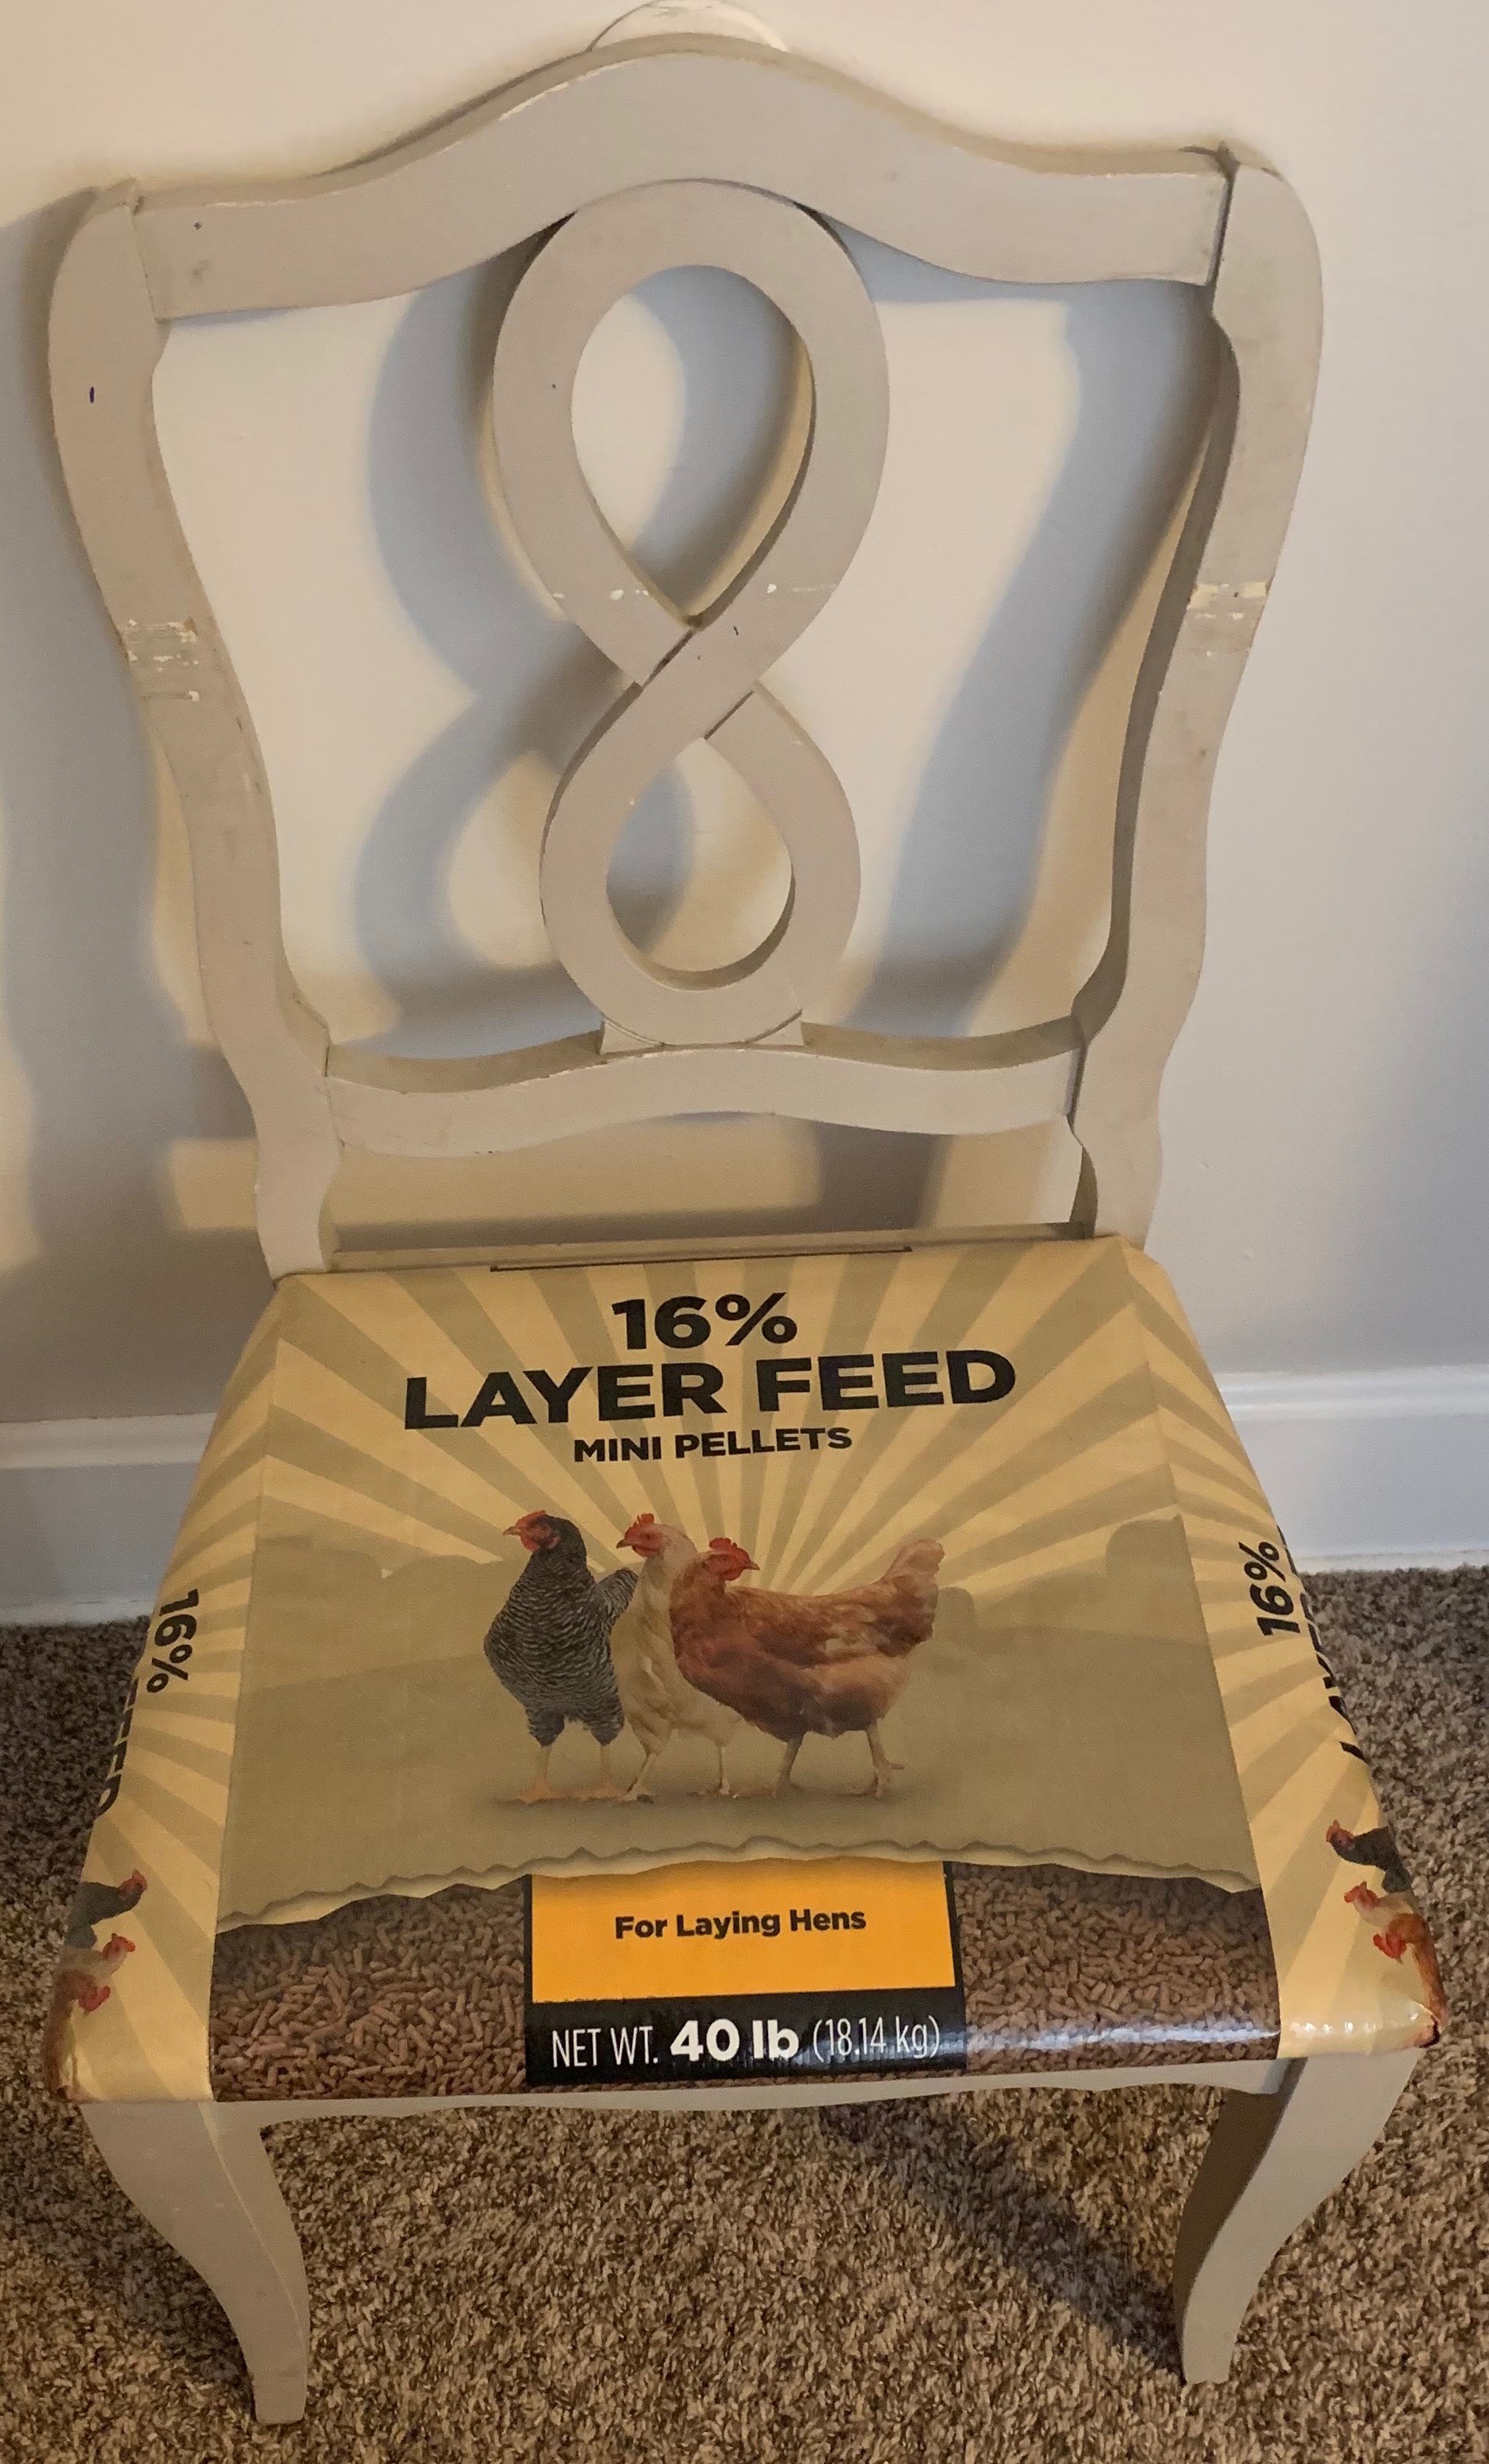
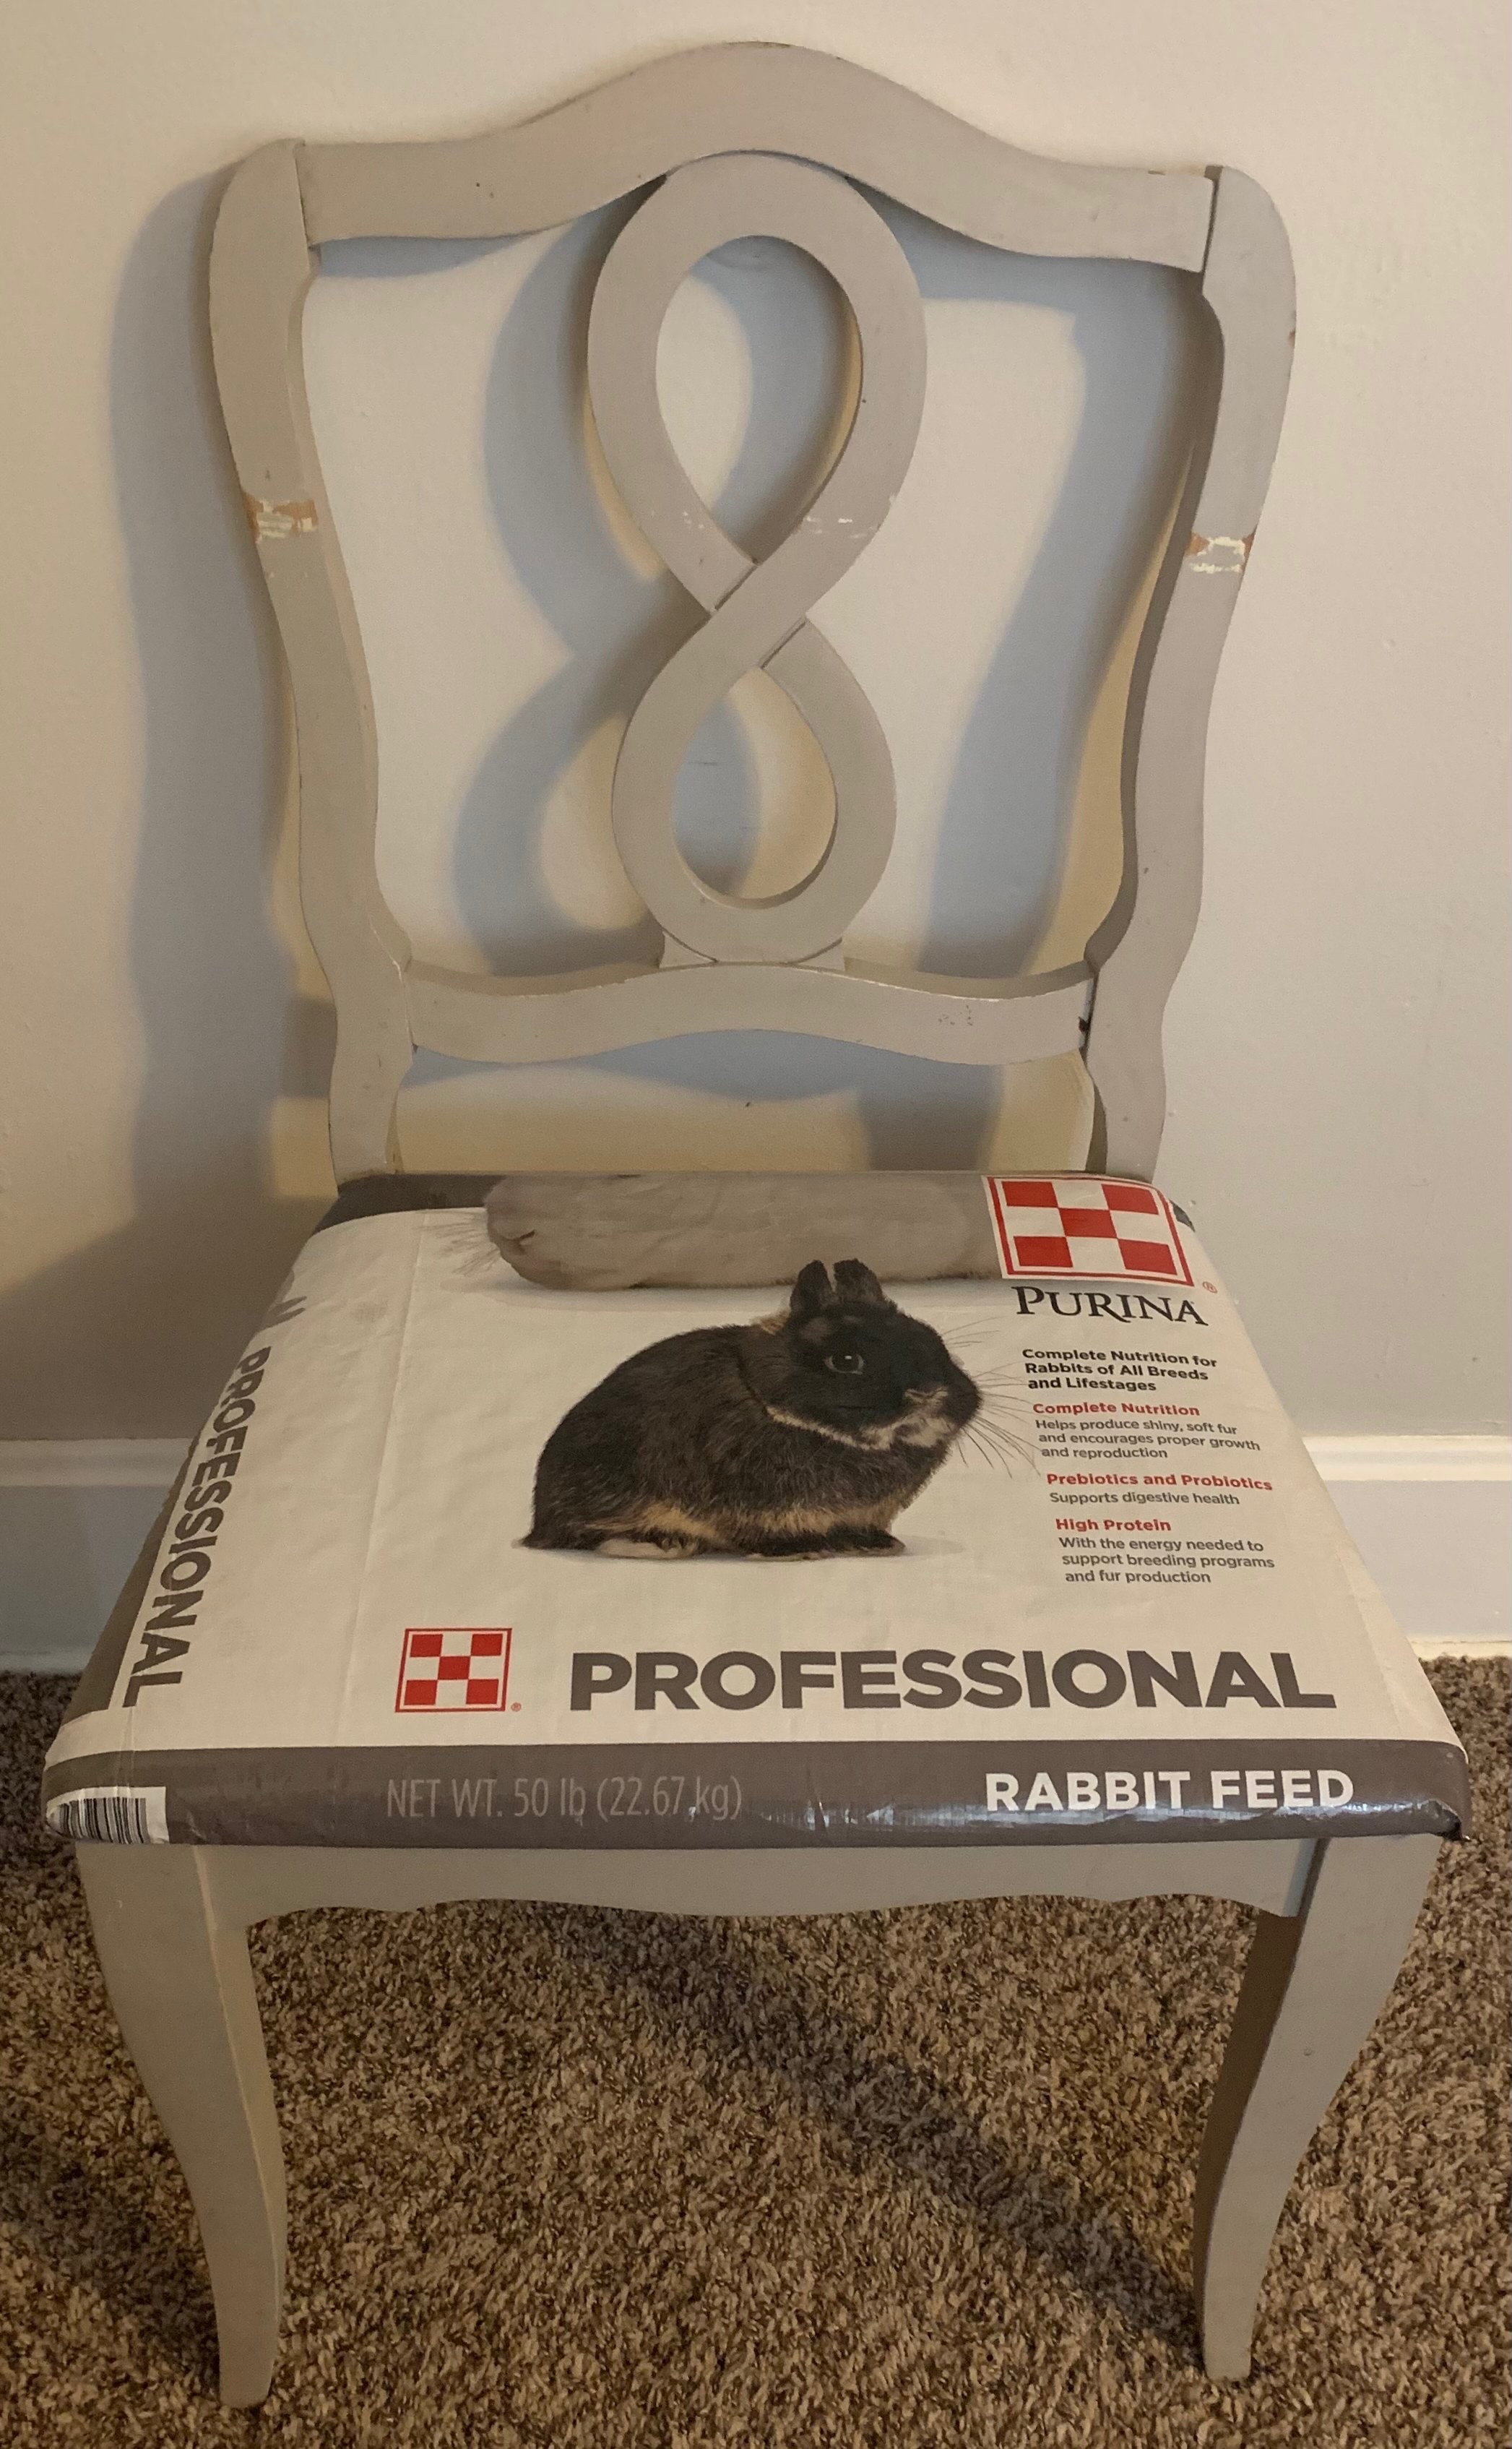
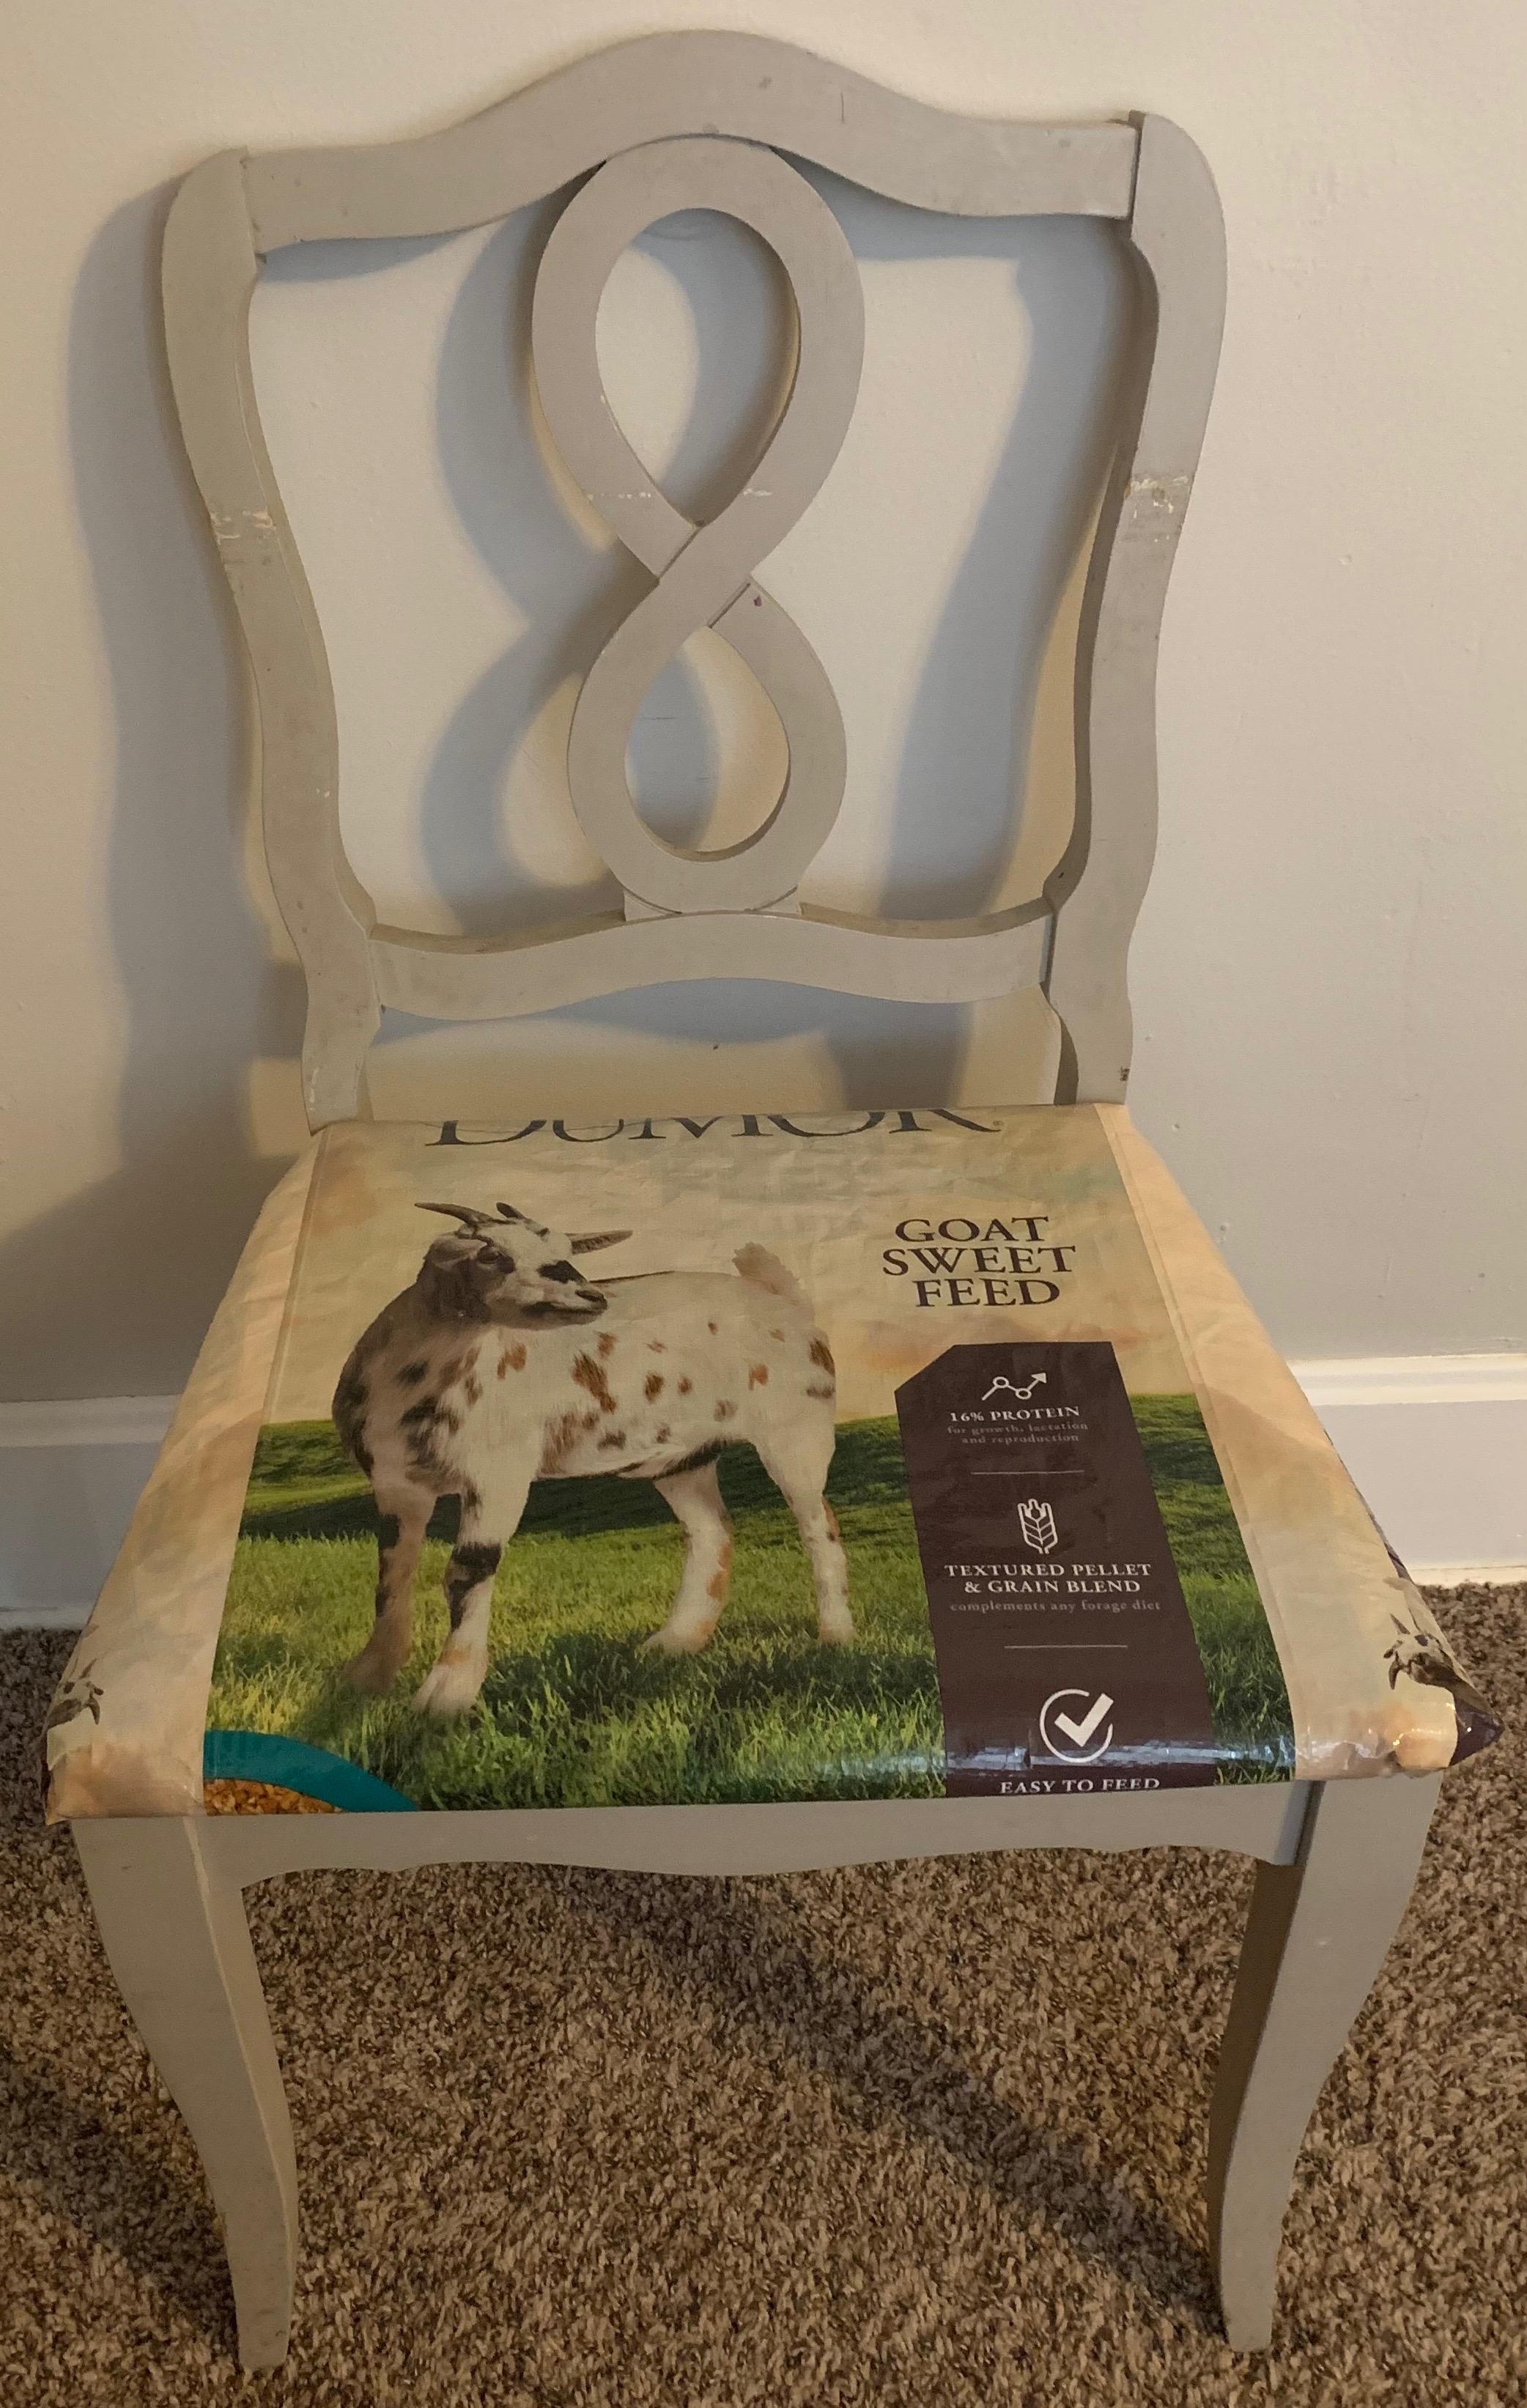
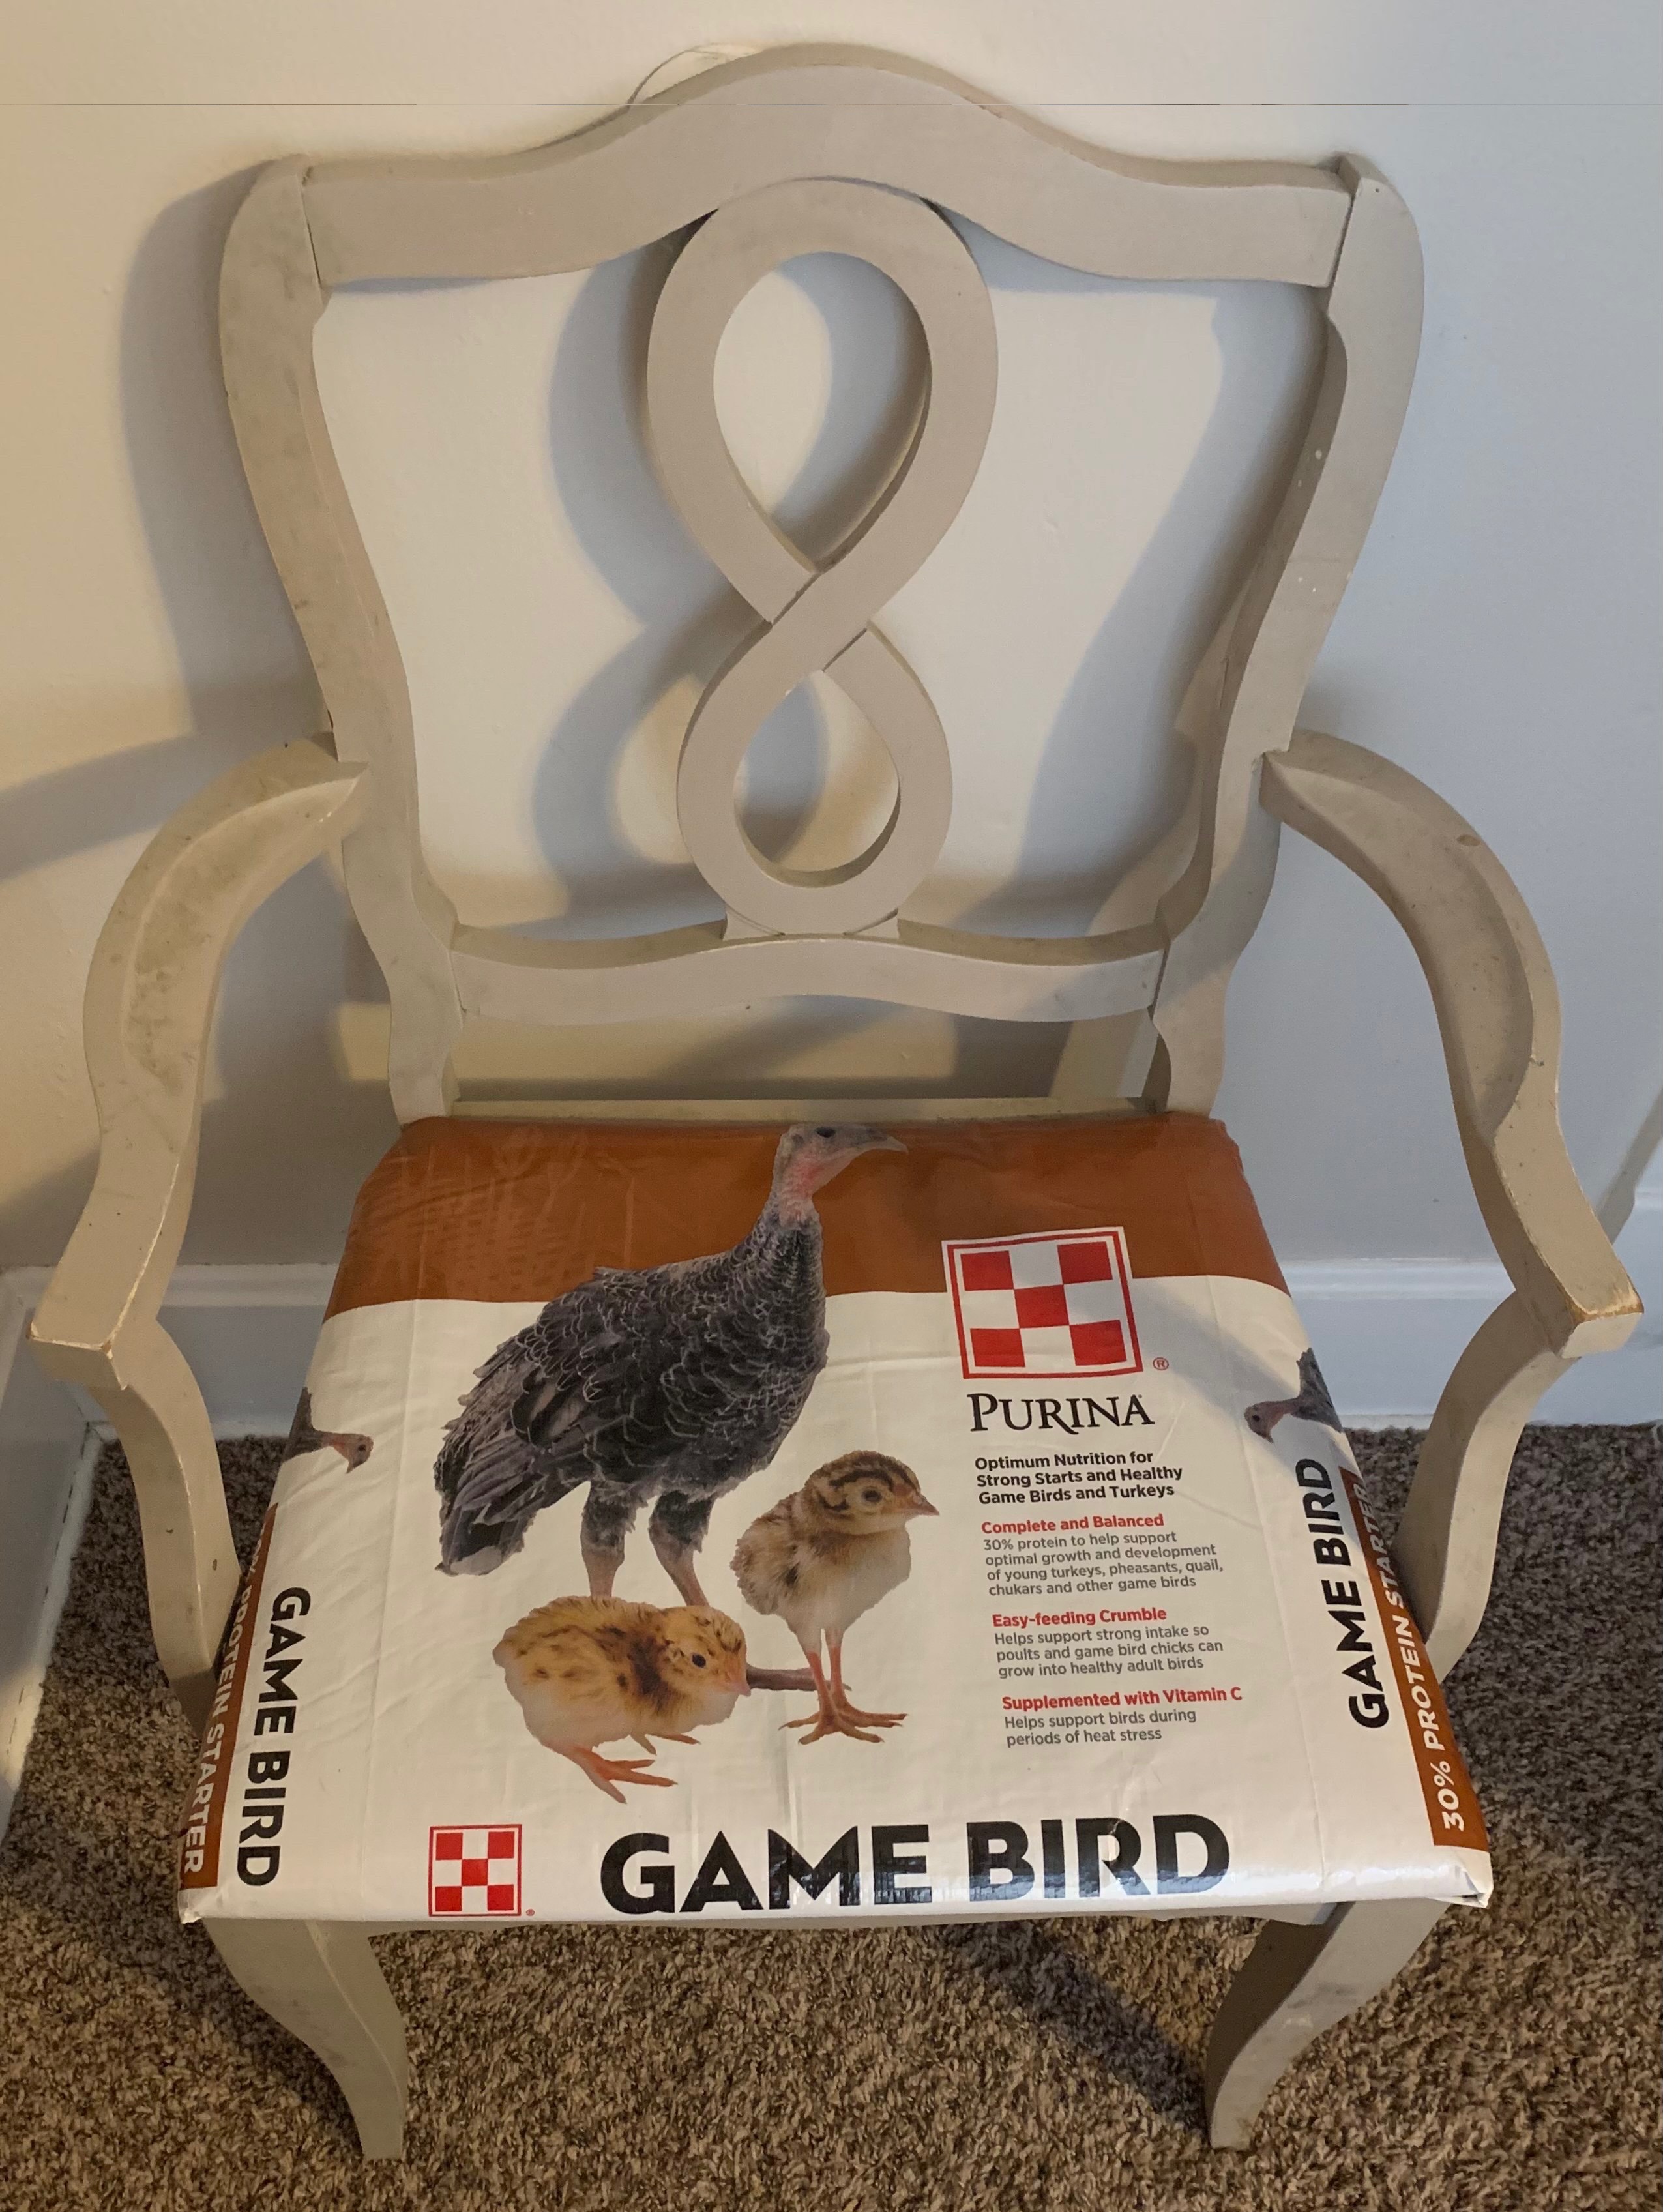
My next project was to reupholster our dining room chairs with the feed bags, which are durable, thick material and water resistant, making them nearly child proof and easy to wipe clean after meals and crafts.
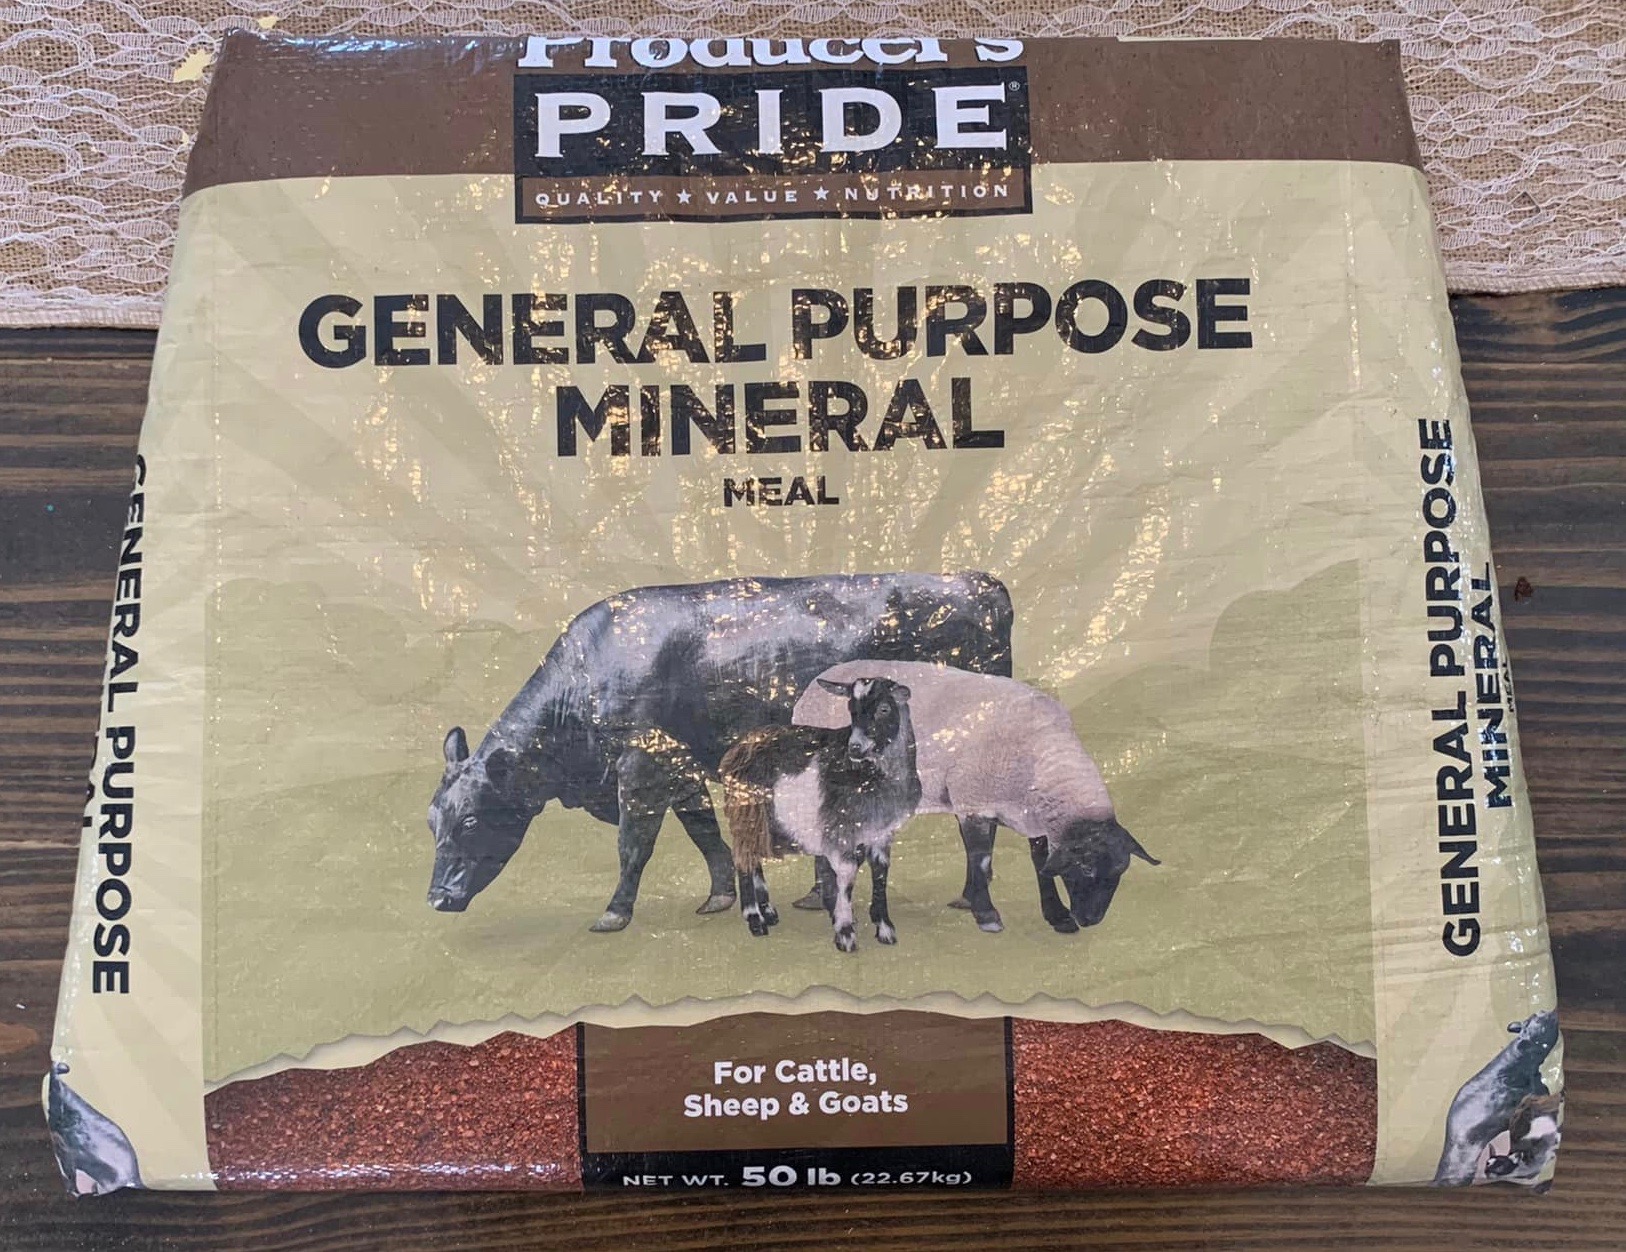
The feed bags I use are all from our animals: chickens, ducks, goats and rabbits.
Here are step-by-step instruction with pictures:
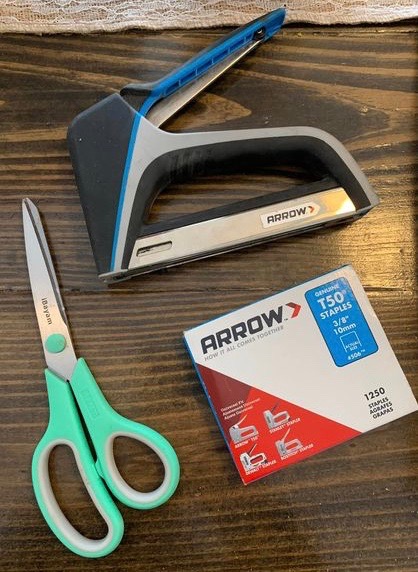
Step 1: Gather supplies: Feed bags, staple gun, staples, scissors, wet wipes or a cloth and soap and water.
Step 2:. Clean the outside of the bag with soap and water or Lysol wipes. I waited until Step 3 to wipe the inside of the bag.
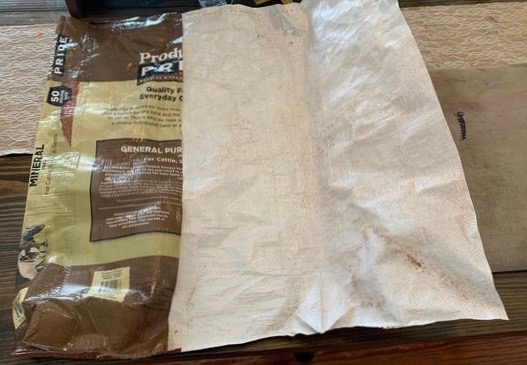
Step 3: Cut off the seam edge, then flip the bag over and cut down the middle. Lay flat and wipe the inside clean and let dry.

Step 4: Lay your seat pad face down and make sure the feed bag design is lined up the way you want it.
Step 5: Fold the top of the bag down and staple in place, then pull the bottom of the bag up tightly before stapling it.
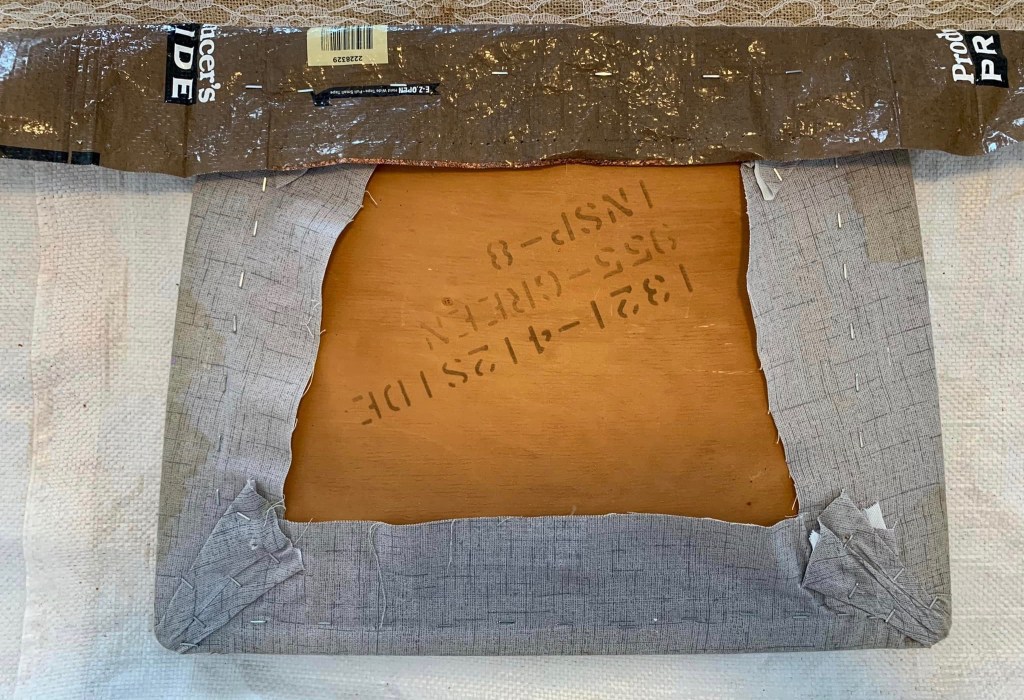
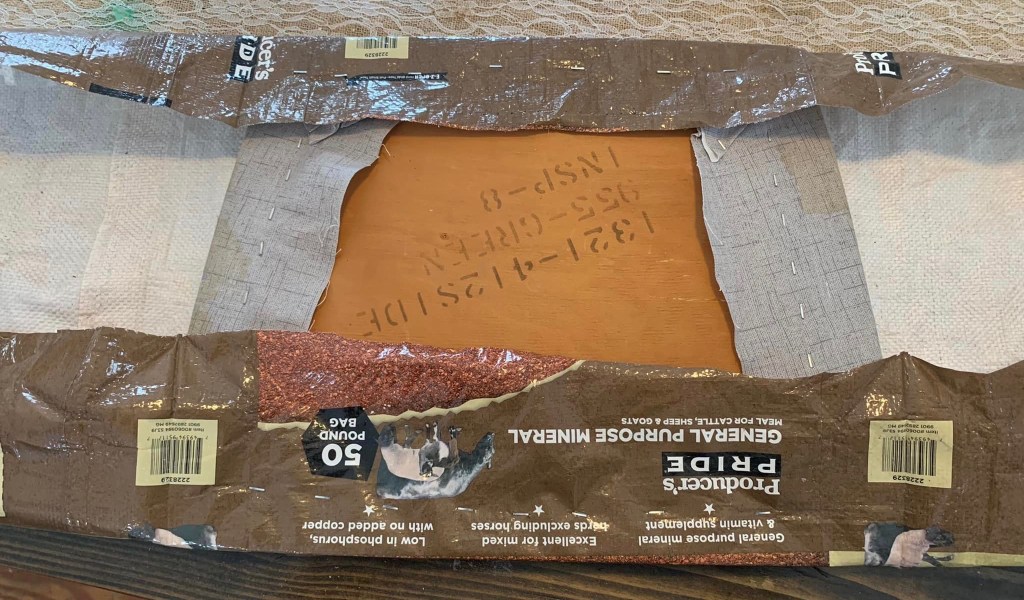
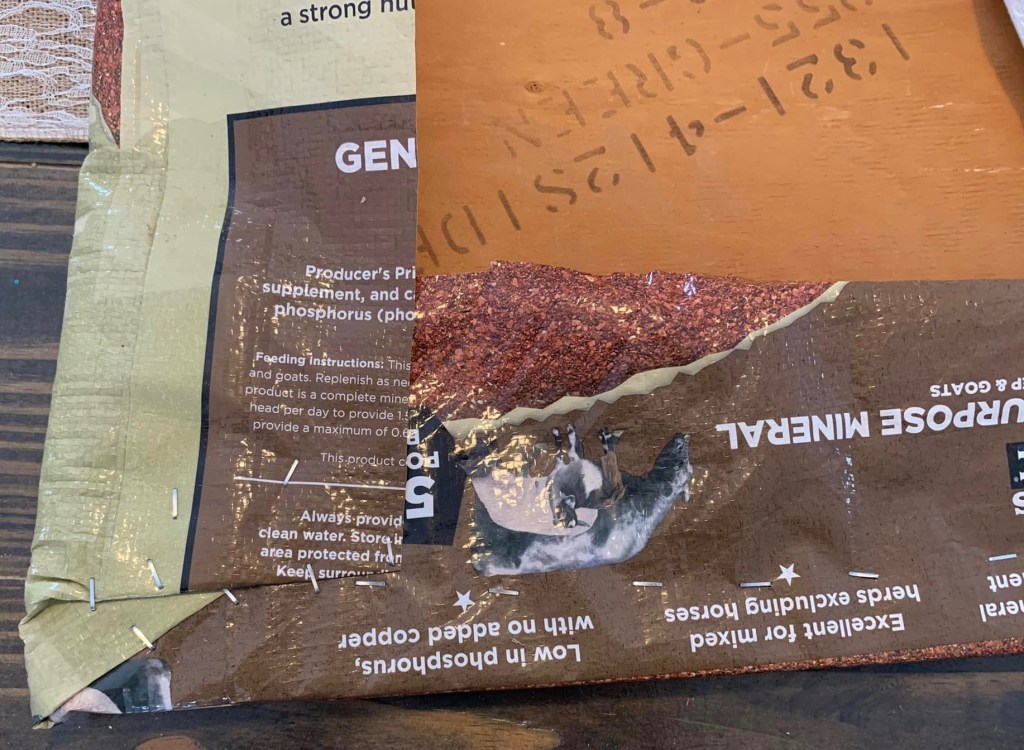
Step 6: Trim the excess material beyond the line of staples. Then fold the corner of the bag neatly and pull tightly before stapling in place.
Step 7: Pull the sides of the bag tight and staple in place working around to the next corner and do the same on the opposite side
Step 8: Once the entire bag is stapled in place flip the seat over and see how easy and simple that was. Enjoy!
Thanks to Emily for sharing her story and photos, used with permission.
To contact Emily click on her Facebook page or to find out more about the products she makes and sells click here.
If you’ve got an upcycled farm or chicken related project that you’d like to share drop me a line via the contact button on my homepage.

I love this!! What a clever idea. And nice to know others share my angst about “throwing so much away.”
LikeLiked by 1 person
Thanks for sharing. What a creative way to reduce landfill waste!
LikeLiked by 1 person
What an interesting idea. I’m going to send a link to this story to a few crafty women I know.
LikeLiked by 1 person