
I’ve always been fascinated by what various things look like when magnified under a microscope. I got my first microscope when I was in grade 5 and the first slide I made was of a flea I found on my dog, complete with the break across it’s body where I had squeezed it between my fingernails in order to kill it. Unfortunately I didn’t really pursue using it and lost what knowledge I had.
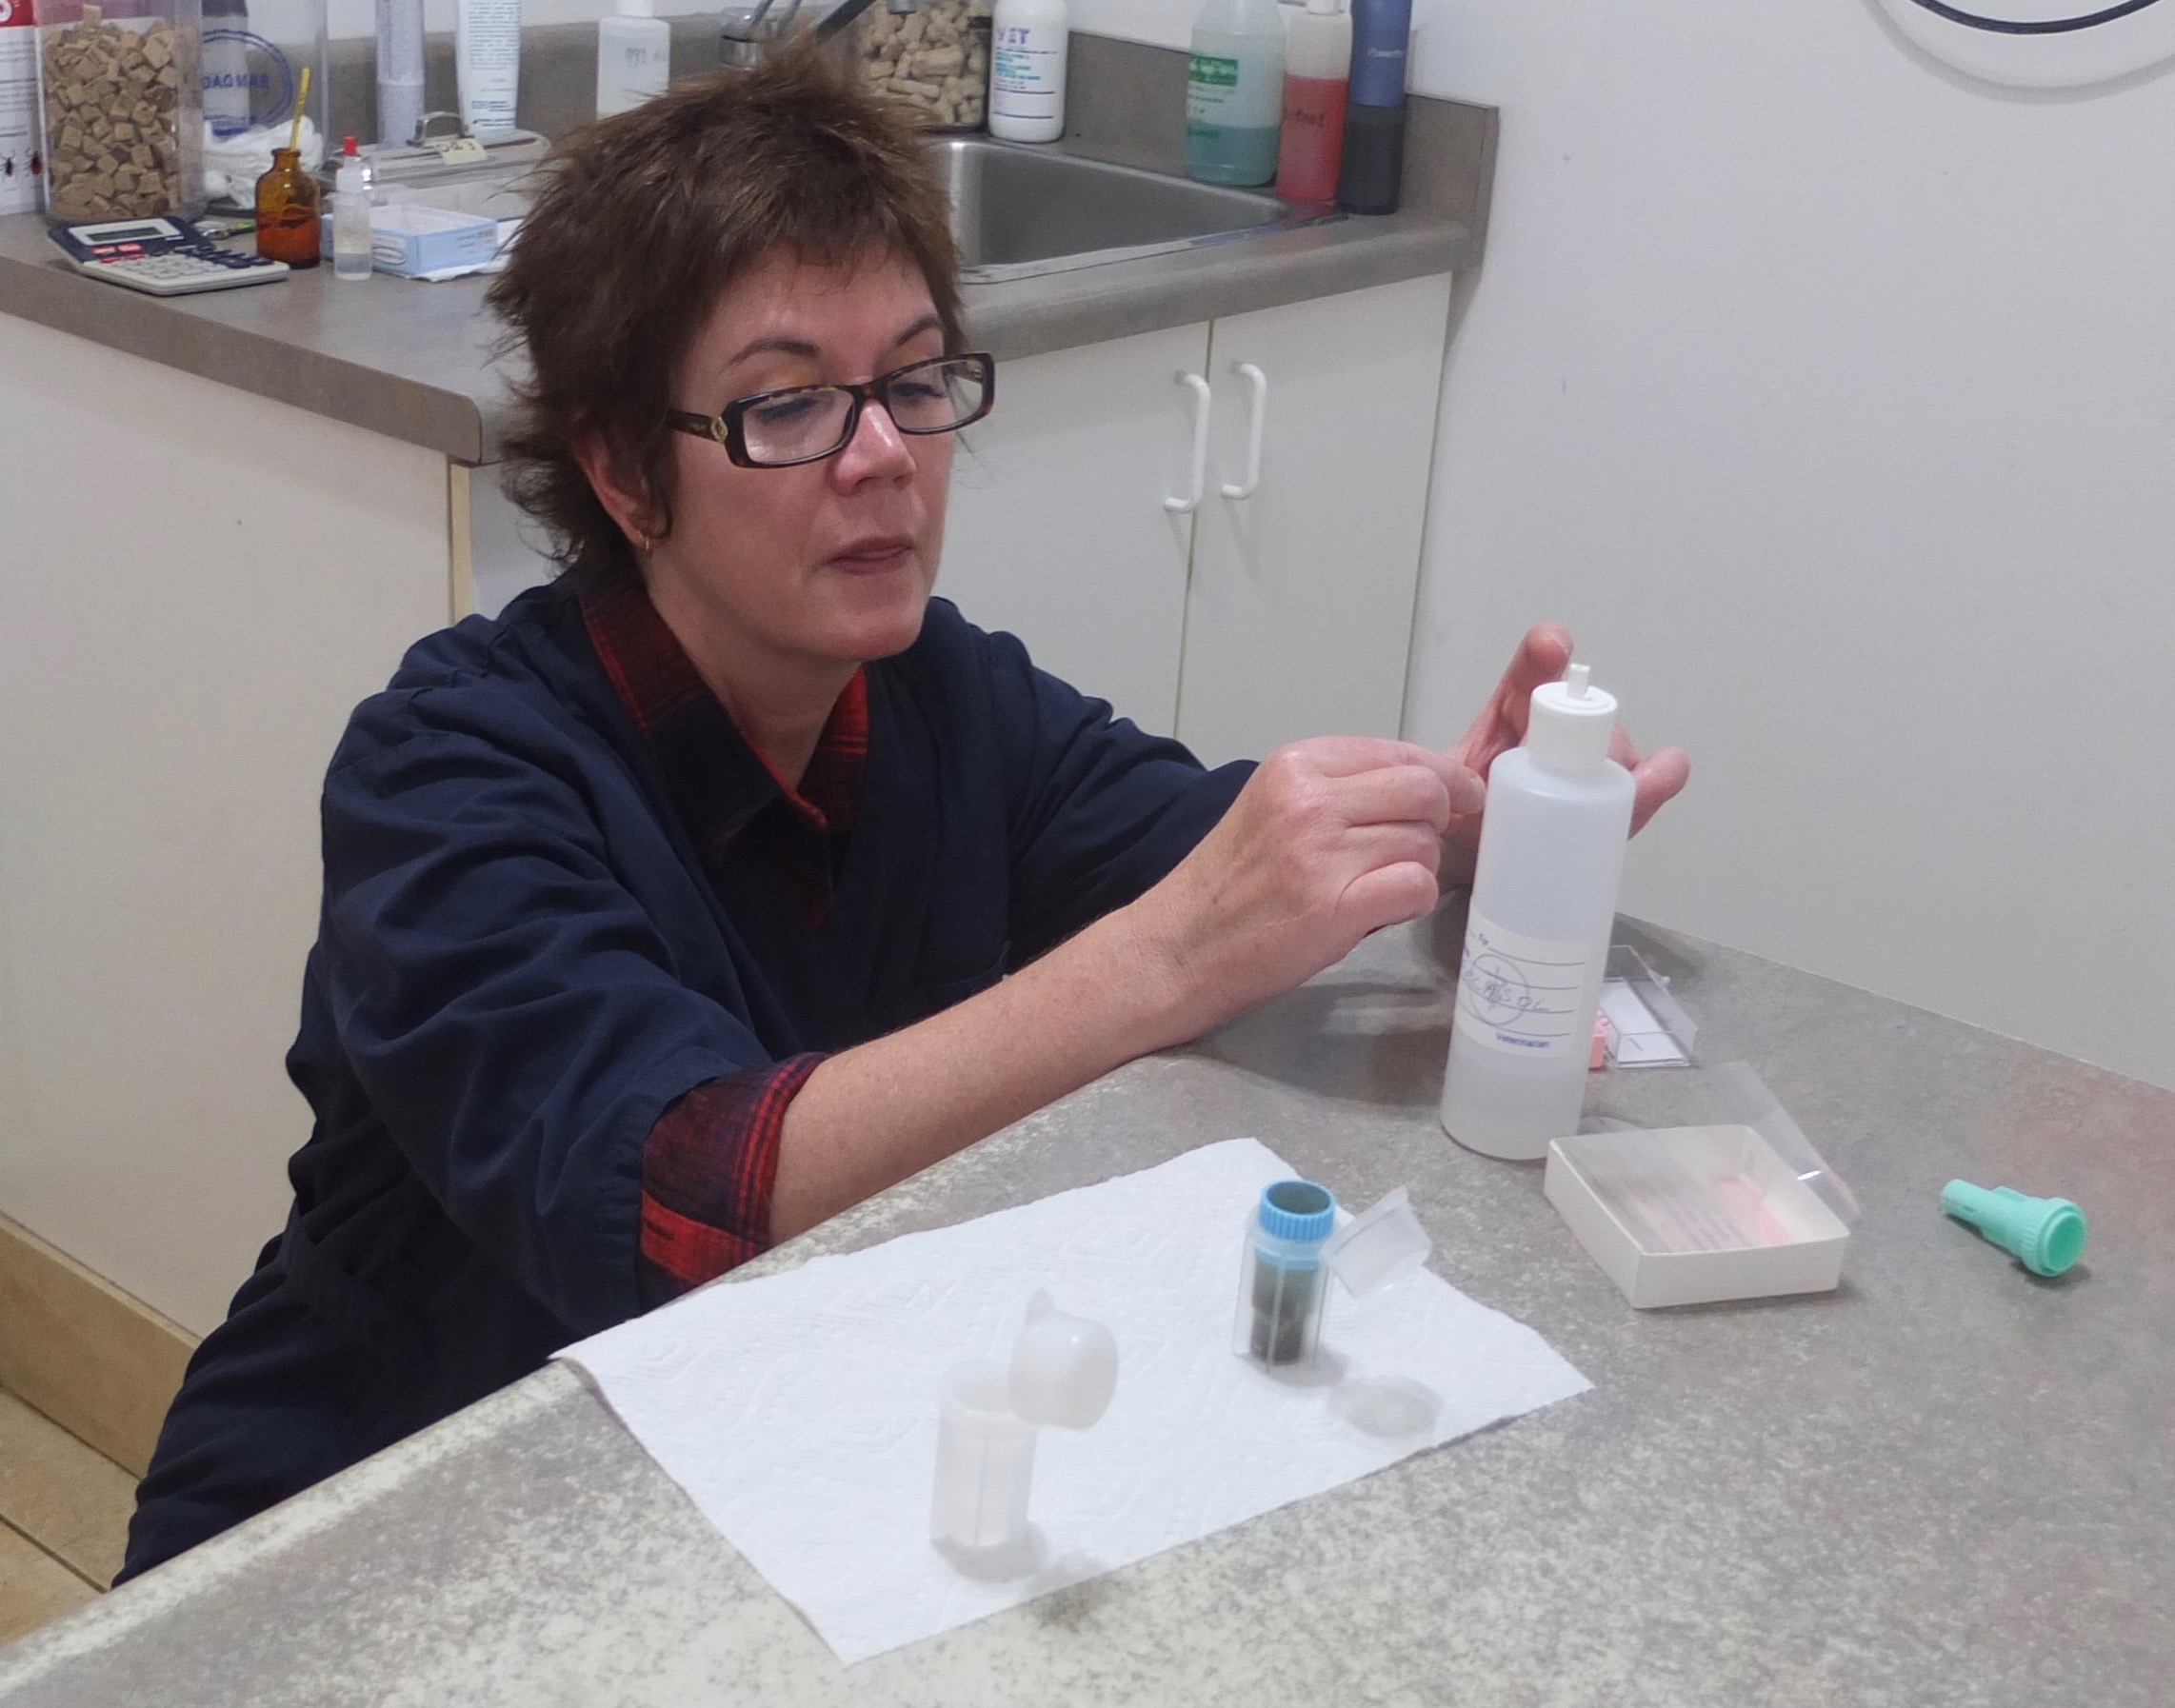
A couple of years ago I thought it might be useful, and fun, to learn how to do fecal float testing to see what parasites my birds might be carrying. I readied myself by asking my local vet to supply me with what I might need: slides, covers, collection containers and float solution. I had a quick lesson from Karen, who works at my local small animal vet on how to prep the sample.

Then I posted in my community’s online bulletin board looking for a microscope to borrow or buy. Val turned up at my door with a box in tow: her microscope and all the equipment required to do fecal testing. She had learned how to do testing when she was involved in both reptile and raptor rescue. We played around with the samples, but somehow we couldn’t really identify anything of interest. She gifted me all her equipment, which I ended up putting to one side.

I recently had an unexpected death of one of my hens. I noticed Keira looking lethargic and walking very slowly. I massaged her enlarged and squishy crop resulting in a huge amount of fluid spewing out. This happened at night so I had to use a flashlight to look at the contents of what came out of her and I thought I saw two larval roundworms. I put my hen in the infirmary and when I returned 90 minutes later she was dead.
When I told my mentor Dr Vicki Bowes, avian vet/pathologist about it she thought it was unusual that roundworms would be expelled from that high up in the digestive system. She suggested I use Fenbendazole to worm my entire flock and offered to get some for me. When I saw her a few weeks later she advised we do fecal float testing before I treated them just so we knew what I was dealing with.


Her email confirmation came with the subject line ‘poop party’. I wasn’t sure what attire was appropriate for such an occasion, but looked forward to nerding out with someone who was equally enthusiastic with all things chicken.
Dr Bowes asked me to bring a couple of fresh (less than 2 hours old) samples. I went out to visit my flock and no one was cooperating by pooping in front of me. I wanted to ensure that I was getting things hot off the press and uncontaminated by soil and organic debris. I finally spotted a couple of fresh one and used the fecalizer, a small plastic storage container, to collect two poops from my main flock and two from the teenagers in an adjacent pen.
The purpose of our investigation was to search through the poop looking for the presence of internal parasites. The eggs are more prevalent than adults and when mixed with a special solution they float to the surface for easy collection. Every species has distinctive characteristics that allow you to differentiate between them.

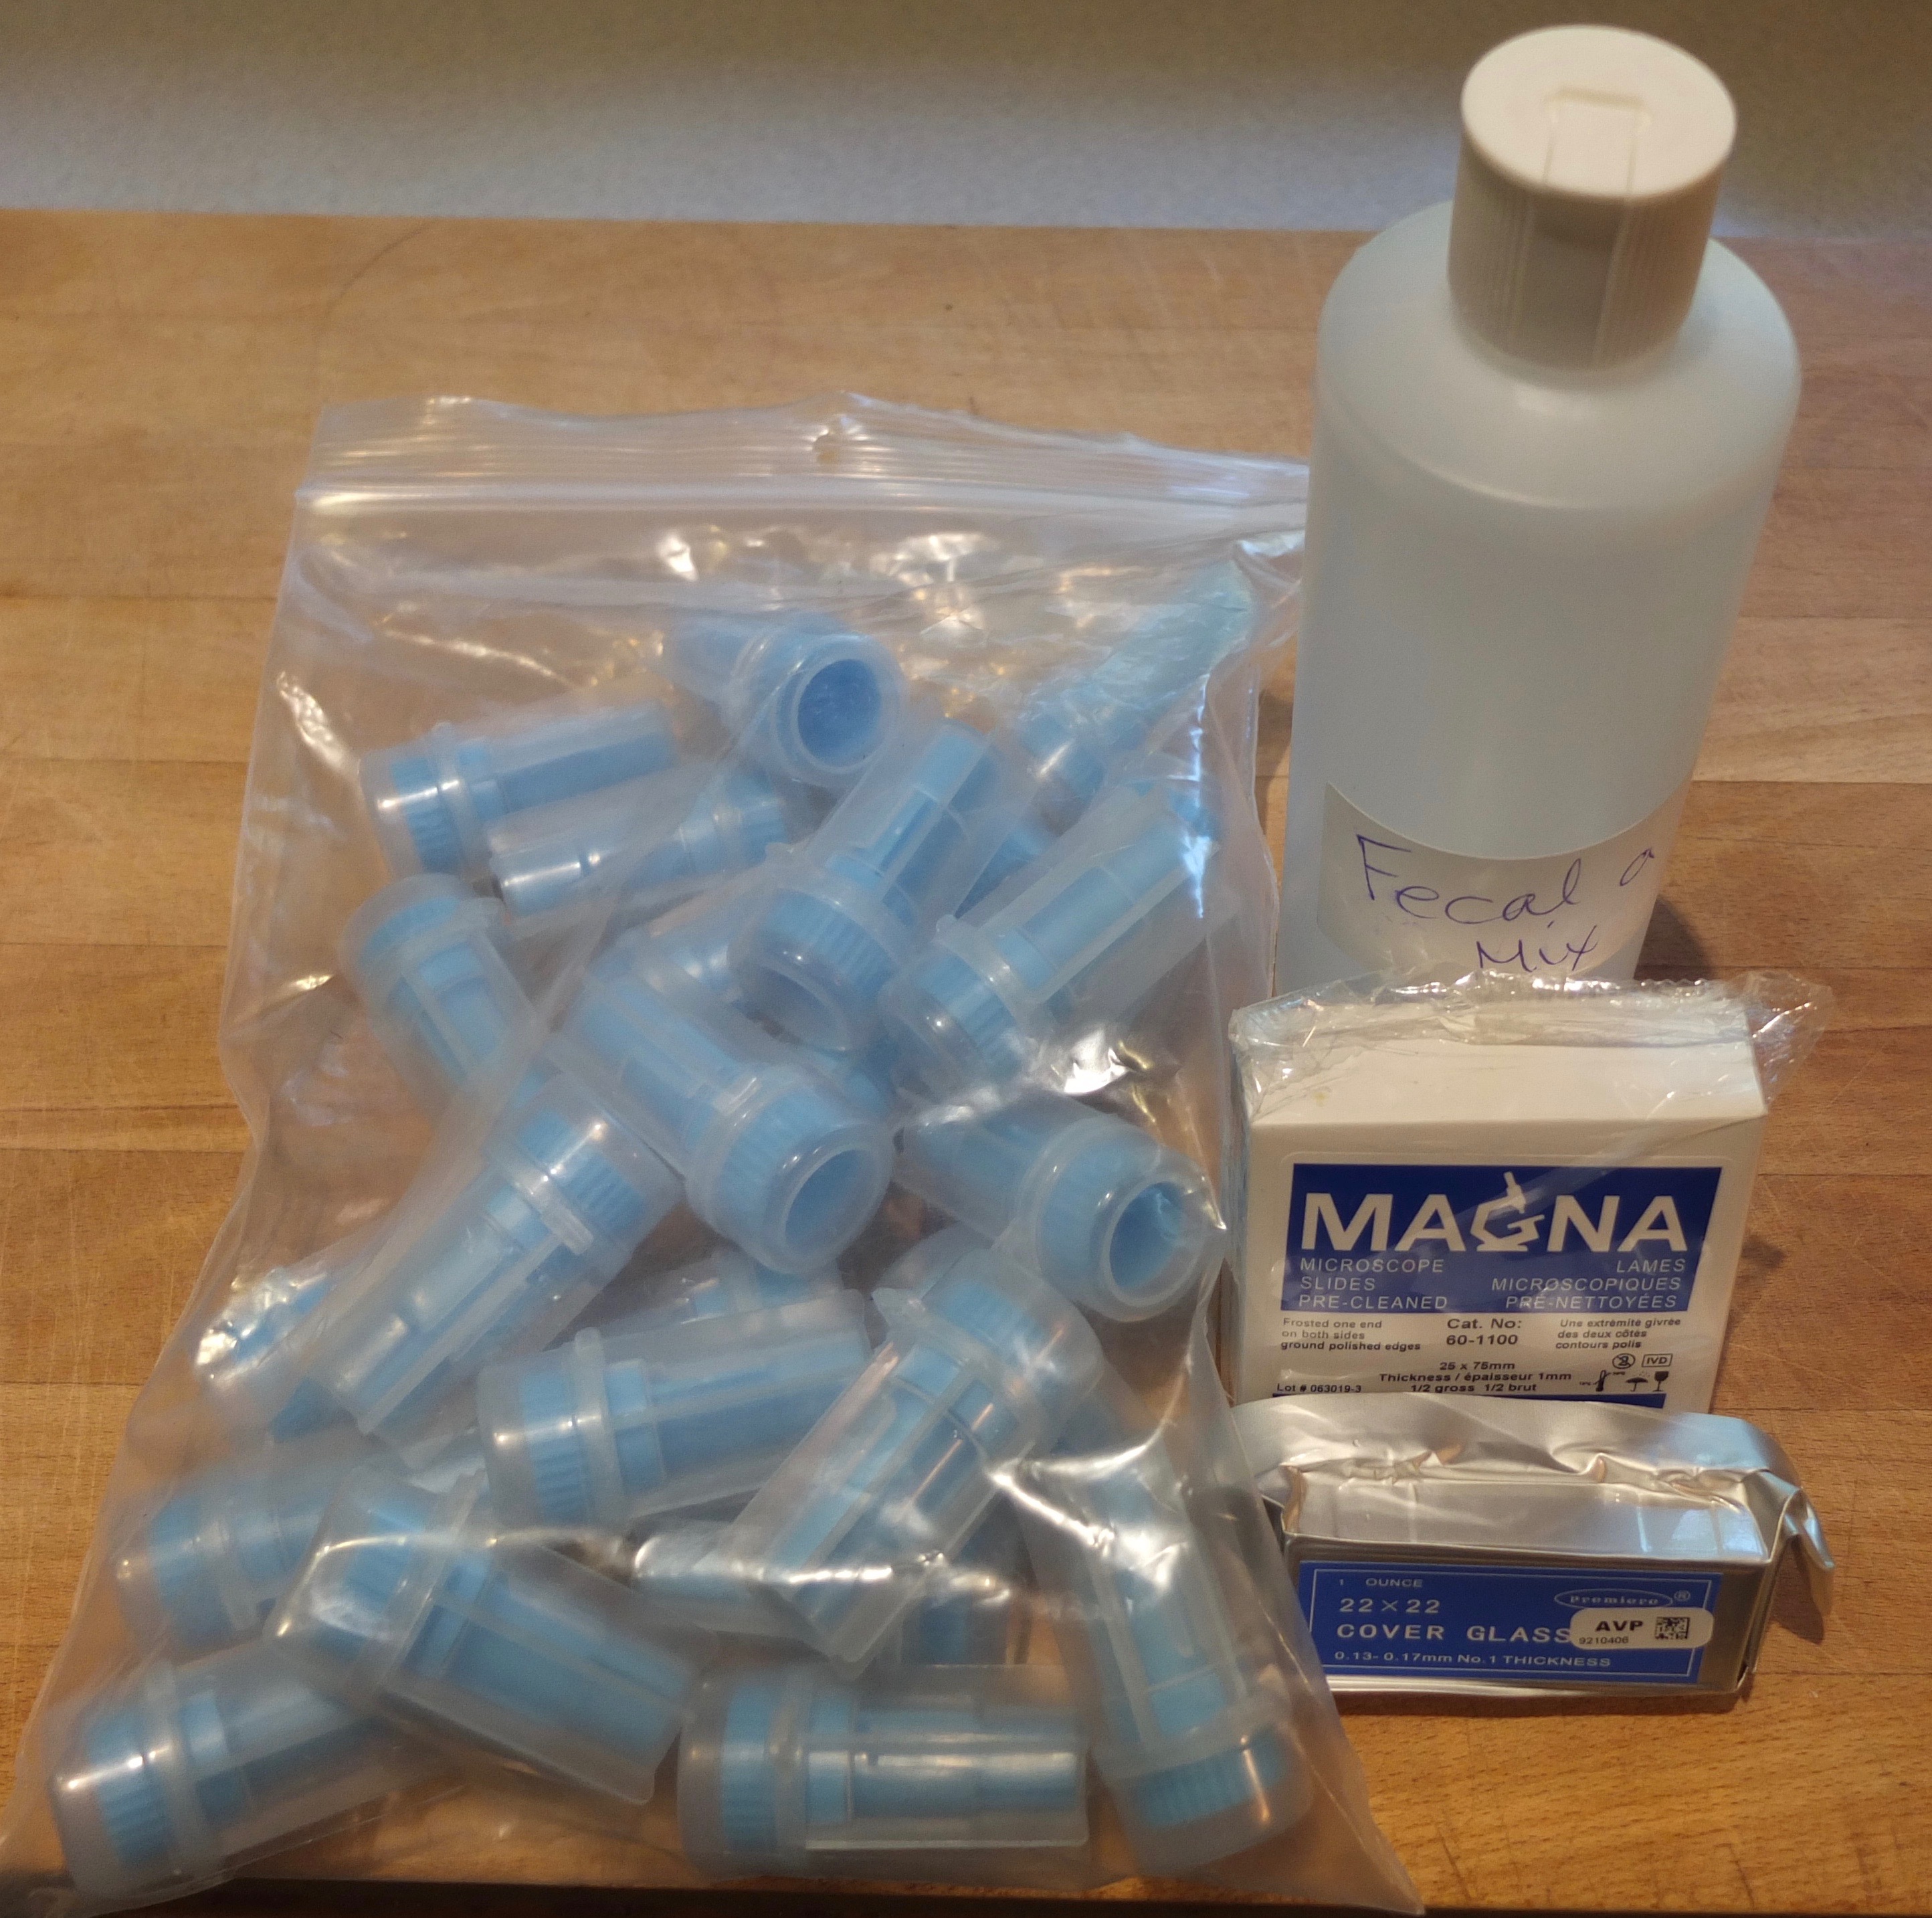
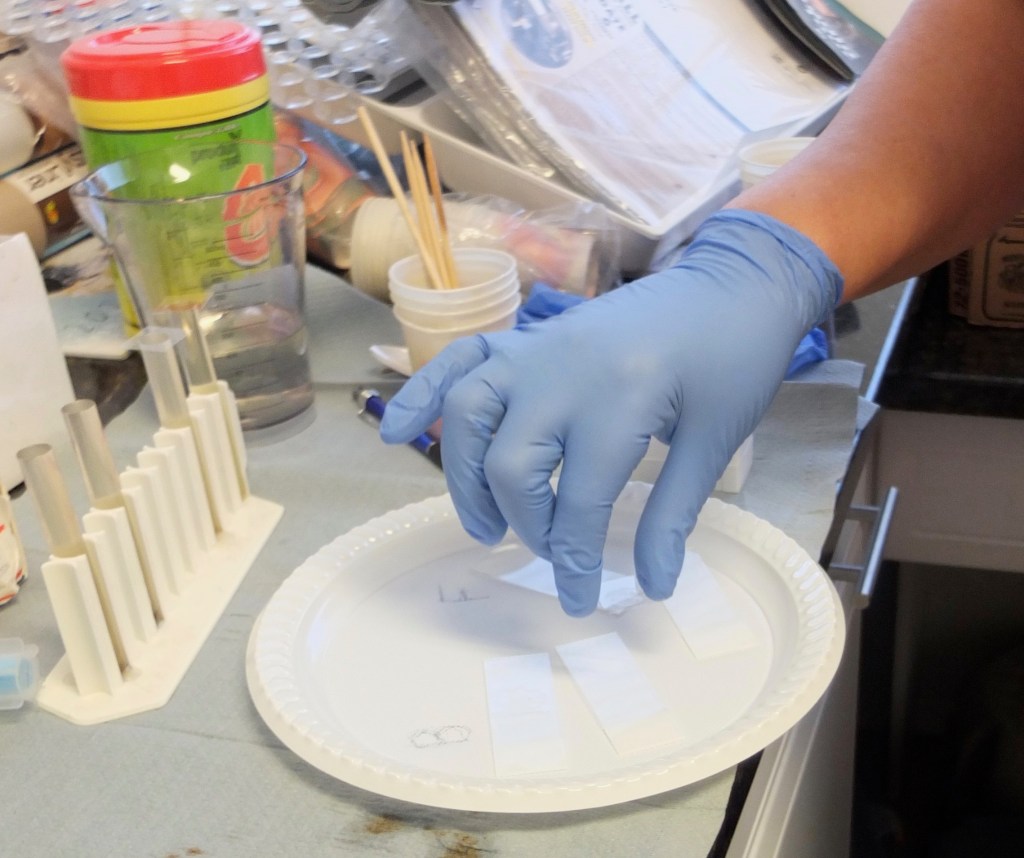
I showed up with my samples in hand and we got right to it. Dr Bowes has a licensed small flock consulting practice in her home but we set up in her laundry room where there was access to running water. I’m not sure what I was expecting, but her set up with pretty low tech, what she referred to as the frontier method. She told me that at the Animal Health Centre where she works they use a centrifuge to do what we would undertake manually. That was ideal as this method is accessible to small flock owners. All you need are paper cups, water, white sugar, stir sticks and gauze (and of course, the supplies to prepare the slides ready for the microscope) or you can prepare the sample entirely in a fecalizer. (Dr Bowes did away with mine, preferring her own way of doing things).
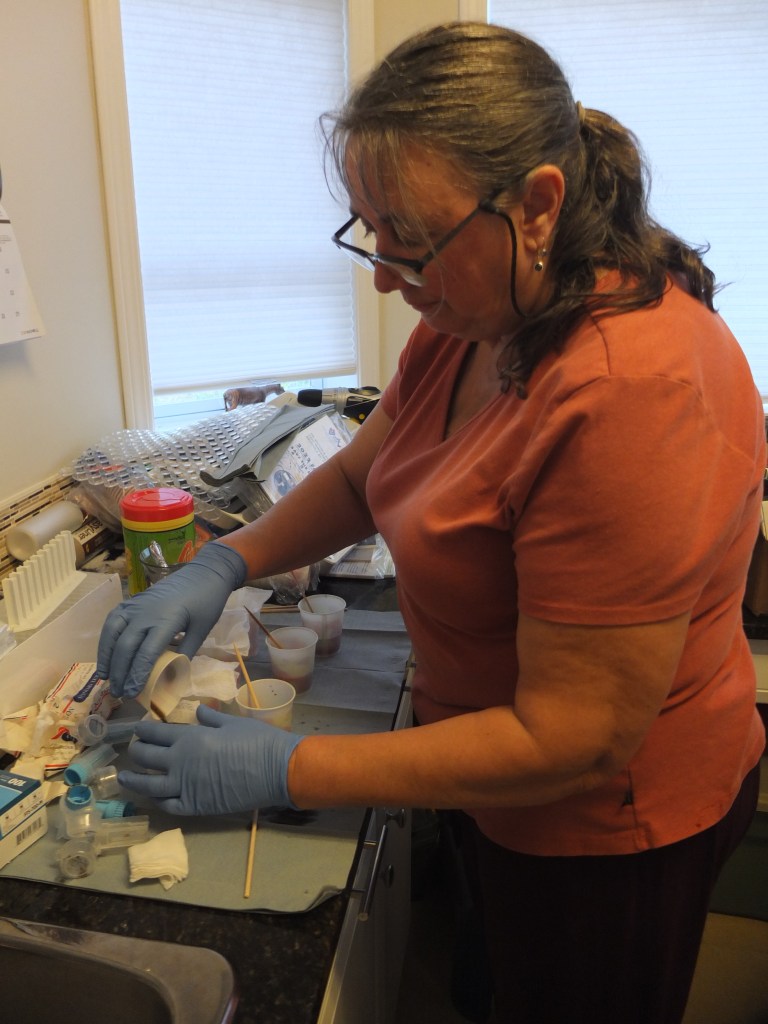
Each sample was tipped into a paper cup with a small amount of water and labeled B (back pen = teenagers) or F (front pen = main flock).
It was then thoroughly stirred with a wooden stick. The mixture was then strained through a couple of layers from a gauze pad seated over a clean paper cup to filter out as much debris and solid poop as possible. Any liquid remaining in the gauze was then squeezed out. The result was a darkish brown coloured liquid sitting at the bottom of the cups.


There are a number of ‘recipes’ for DIY float solutions as well as those you can purchase. The one Dr Bowes had used involved dissolving one pound of white sugar into 355 ml of hot water and then cooling it so it was at room temperature by the time we set to work.
That solution was poured into the paper cups with the strained poop and then a small amount was transferred into test tubes set up in a tray. The fluid was poured higher than the rim of the test tubes so that it appeared convex. It’s important not to overfill the test tubes because that’s where the most eggs will be.


Dr Bowes then carefully placed a very thin 1” square glass cover slide over the top of each tube. The sugar solution has a higher specific gravity than the organisms to be floated so that the worm eggs rise to the top and the debris sinks to the bottom. If we were to find anything of interest it would be in the very top layer of the water and adhere to the cover glass.


We had to give gravity at least twenty minutes to work its magic. Longer than sixty minutes might distort the parasite eggs.

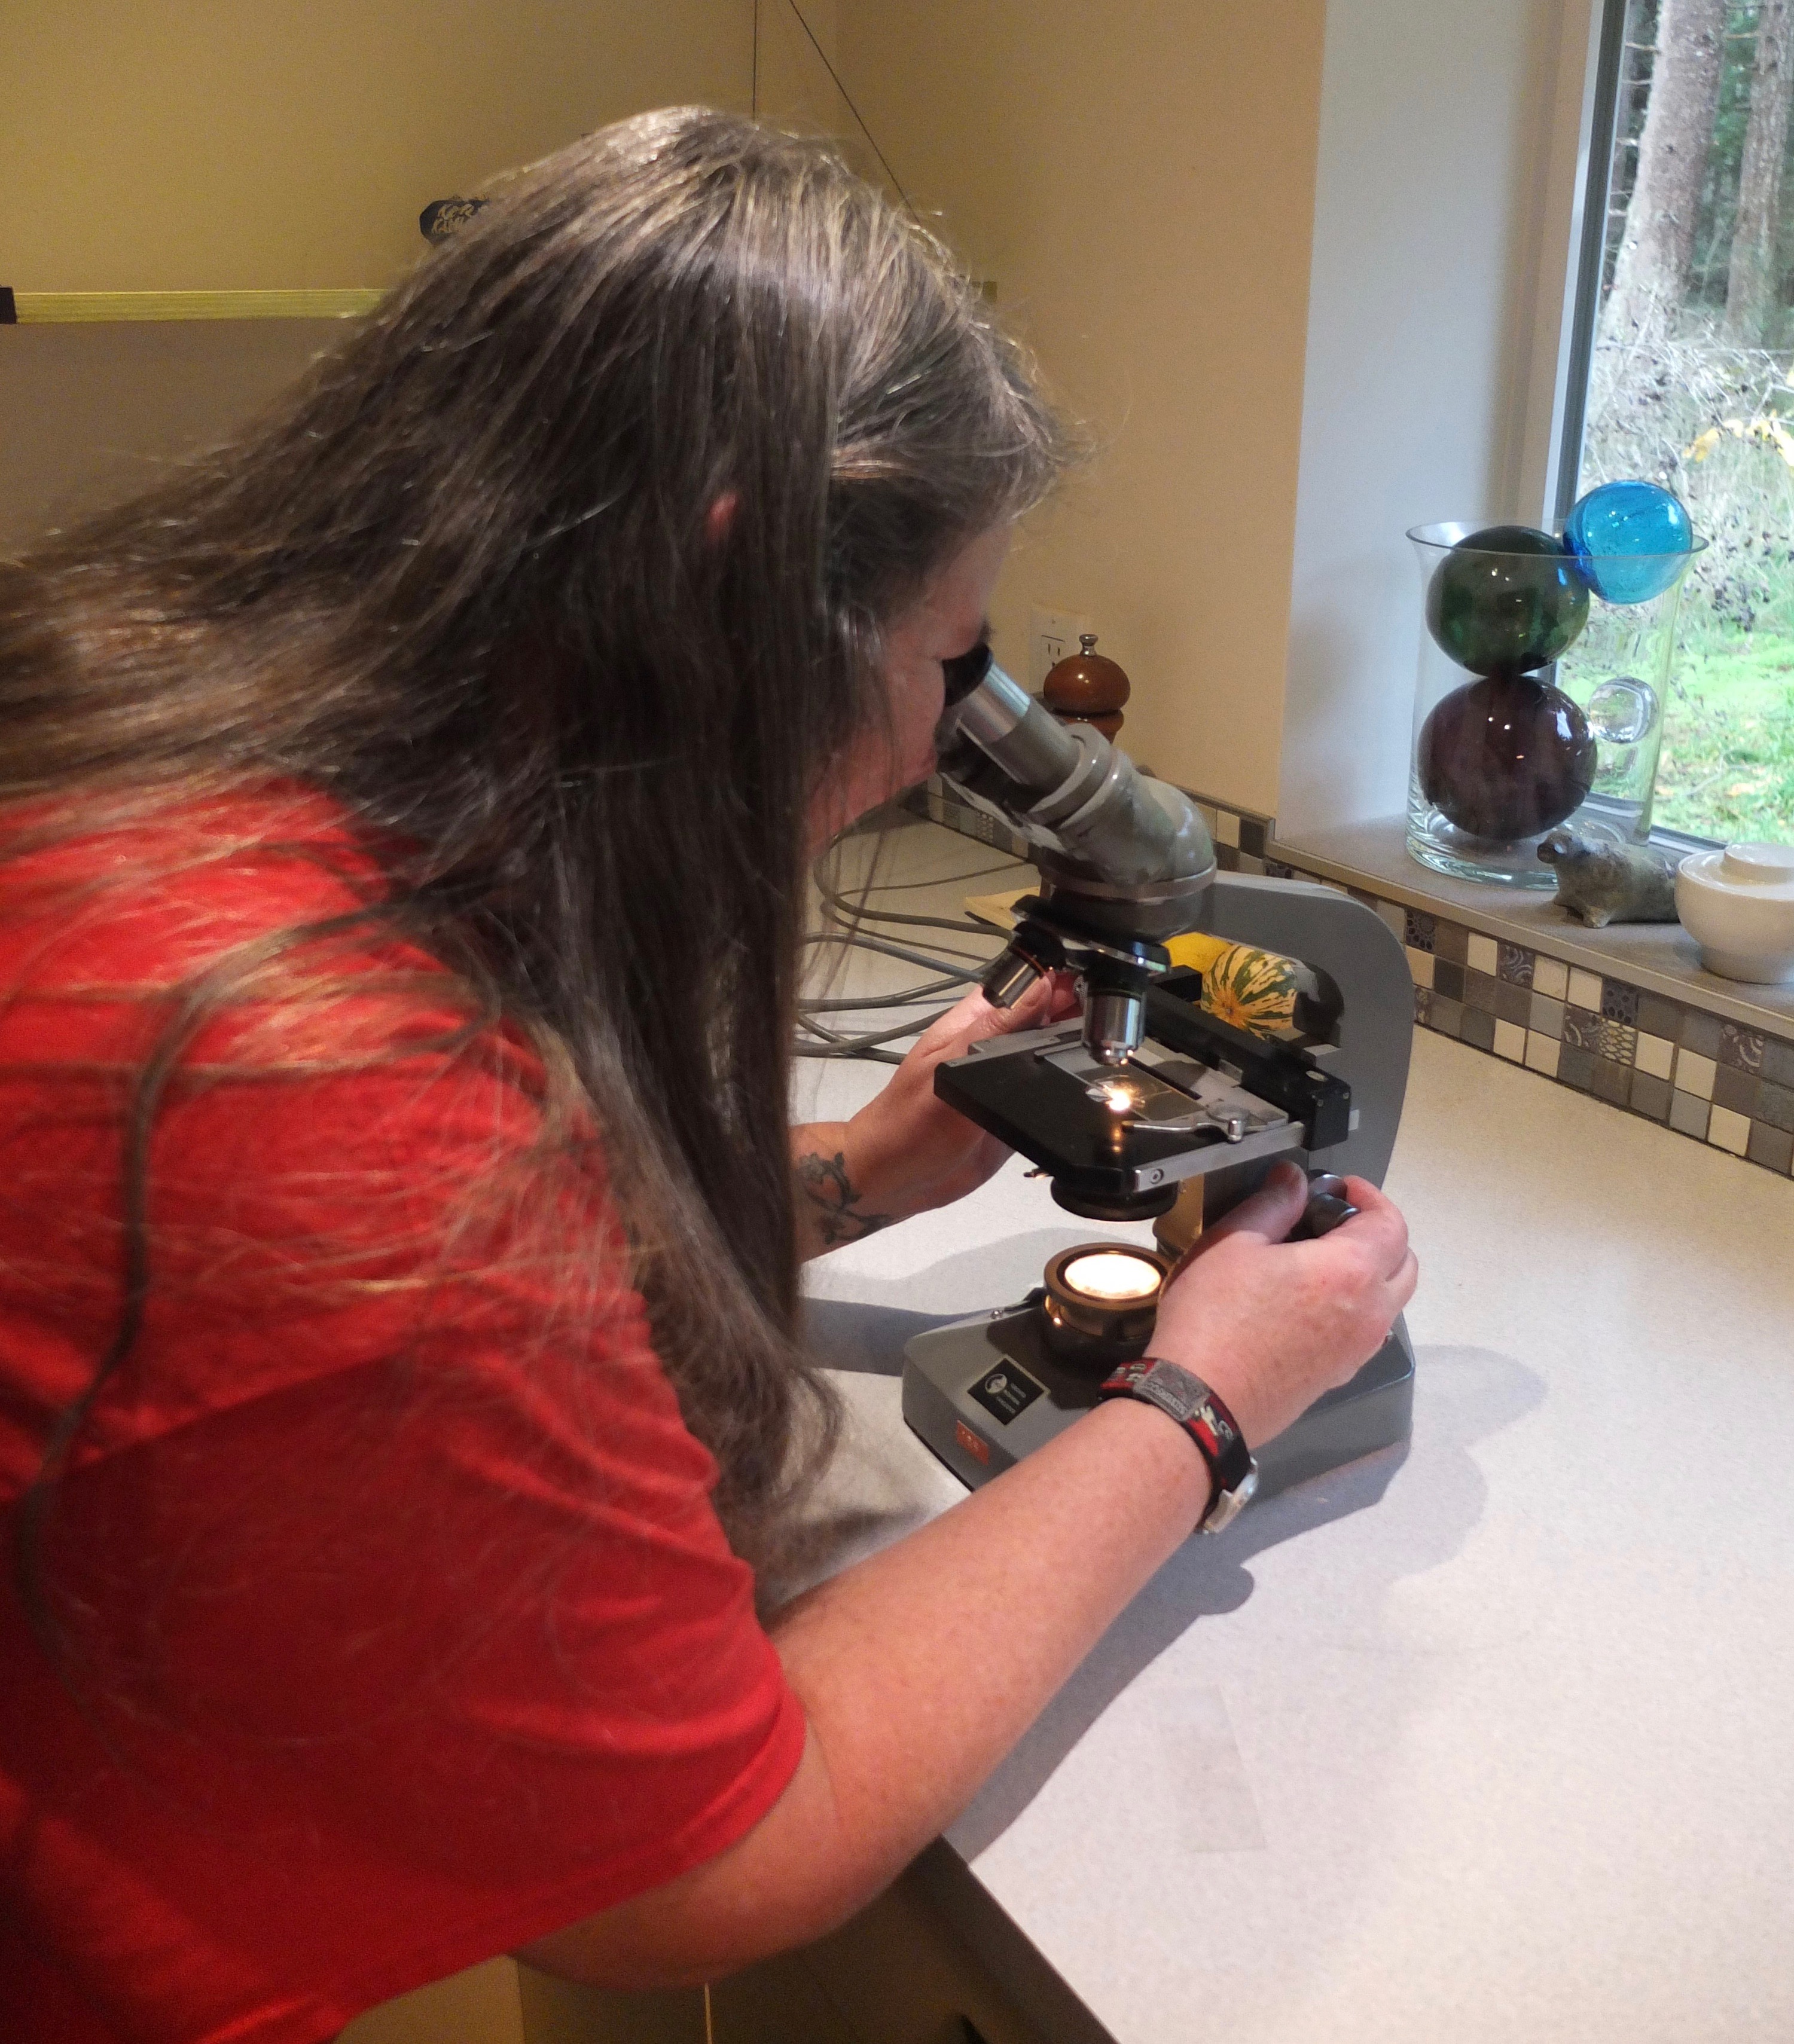
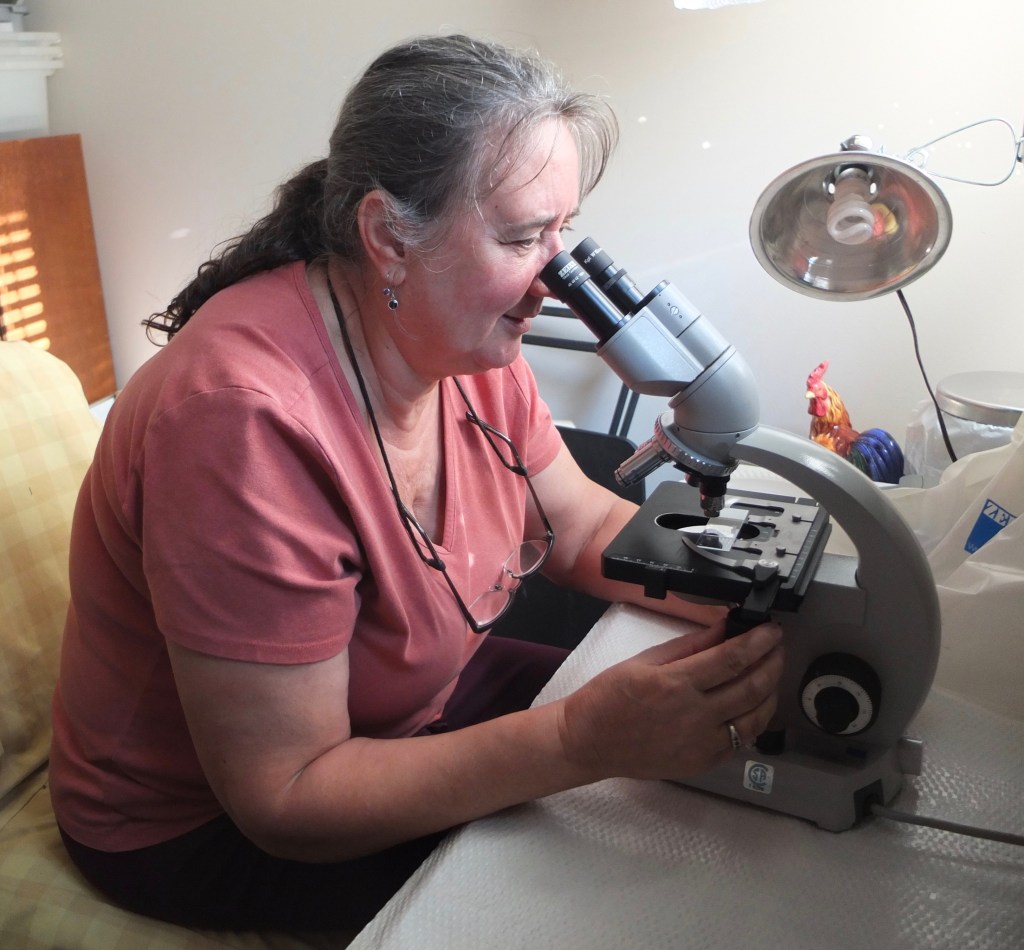
We took advantage of that break to work on more avian pathology cases. Forty-five minutes later we were back to discover what was potentially lurking in the guts of my birds. Dr Bowes lifted each glass cover and placed it liquid side down on the slide, still keeping track which pen they came from. She tamped the covers with a wooden stick to press out any air bubbles. We then stepped outside her house and into her lab and set up looking for parasites under the microscope.
Once the slide was clipped into place on the stage I noticed that she used the lowest power lens first and moved the slide to determine the perimeter of the cover and then moved it back and forth under the lens in a grid pattern. If she did find something of interest she switched to a higher power lens to magnify the object. The first slide was clear of anything but plant and organic material. The second one revealed a measly three roundworm eggs which Dr Bowes considered mild. A heavy infestation would be 50-100 eggs in each section of the grid.
The next two slides were similar: one was clear and one revealed three roundworm eggs. Dr Bowes looked for evidence of hardy parasite eggs such as coccidia, tapeworm and capillaria and found nothing. She did find a few things of interest which she invited me to look at: an environmental (not chicken) mite, a plant pollen and a crystal – all very cool looking but weren’t relevant to our scavenger hunt.
I was relieved that my flock was given a clean bill of health. Dr Bowes considered that number of roundworm eggs as inconsequential and not requiring treatment. Birds that are exposed to the environment and peck in the soil will always carry some parasites, but can easily co-exist with small numbers if they are healthy with robust immune systems. If she had found evidence of capillaria (threadworms), which are pathogenic then immediate treatment would have been warranted.
If we had found parasites there are a number of treatments available: Ivermectin (most worms except tapeworms); Piperazine (roundworms); Fenbendazol (roundworms, cecal worms and gapeworms); Praziquantel (tapeworms); Corid (coccidia). If you’re unsure of what you’re dealing with and the best product to use speak to your veterinarian.
If you’re game to try your hand at testing then join the Facebook group The Floaters Club for more information and assistance. And if you don’t want the hassle or expense of doing fecal float testing yourself I would encourage you to take a representative sample of your flock to your local vet for testing. They don’t have to be an avian vet, as many of the chicken parasites are common to other species. This will give you a good idea of what your birds might be carrying and if treatment is warranted.
Thanks again to Dr Bowes for an afternoon well spent and a great learning experience. All photos Bitchin’ Chickens, except microscope (microscope clarity ) and featured image (Jason Holley).

Wowee! I salute you and Doc for this fascinating microbiology!
LikeLiked by 1 person
Thank you!
LikeLiked by 1 person
Amazing
LikeLiked by 1 person
Can you please share what type of compound microscope you all were using? I want to purchase one, but I have no idea what magnification I would need- there are many to choose from. Thank you! Penny
LikeLiked by 1 person
Hi, I don’t know what type of microscope Dr Bowes was using. I was given a Carsen (bought second hand from the microbiology department at a local university) which the previous owner used for doing fecal float testing at a raptor rescue. The minimum magnification you’d want is 40x, ideally with other lenses of 100x and 400x. Good luck
LikeLike
Great- this is exactly the info I needed- much appreciated!!!
LikeLiked by 1 person
Glad to have helped
LikeLike