When my main coop was built in 2014 I installed an automatic door, which I think is a necessity for any chicken keeper. It means you can sleep in, or come home later than planned, and not worry that your chickens are stuck inside or, worse, left outside the coop and are vulnerable to predators and cold weather or deprived of food and water. (Even with an auto door I still go out to check nightly that everyone made it in safely on time.)
My first auto opener was a simple German-made Techtronoscher motor with a pop-style metal door and frame. It wasn’t cheap at the time ($220CAD/166USD) for a model with zero bells and whistles. It was battery operated and operated using a solar sensor. There was no manual override or timer. It didn’t come with any instructions so it took me a couple of years to figure out that the light sensor could be adjusted via an innocuous white screw within the box. It was a reliable workhorse and gave up the ghost after seven years.
In March I was a presenter at the 2024 Backyard Chickens Summit. The keynote speaker was Johannes Paul, one of the four co-founders of Omlet. They met at London’s Royal College of Art when completing a postgraduate course in Industrial Design Engineering. During their final year, they developed the Eglu backyard chicken coop. That project morphed into a business that now includes products for chickens, dogs, cats and pet rodents.
When I was looking to install a door on my secondary coop I contacted Omlet asking if they would send me a complimentary auto door in an exchange for an honest review on my blog. It took almost two months to hear back from them but they were quite easy to deal with, offering me several options: for them to ship the conventional door assembly immediately and a smart control panel upgrade later or to wait two months for the new style door to be in stock. I opted for the former. I was able to choose the colour grey (the only other option is green). They also sent me a coop light that connects to the door’s control panel.
There was an unforeseen issue in the shipping. I live in Canada and the Omlet headquarters are in England. It turns out they don’t ship to Canada and neither does their American distributor. At that point, I thought they’d say sorry it wasn’t going to be feasible, but they made good on their offer and sent my parcel from the U.K. Unfortunately I was dinged $57 for import duties – something I (and I think the Omlet folks) weren’t expecting.
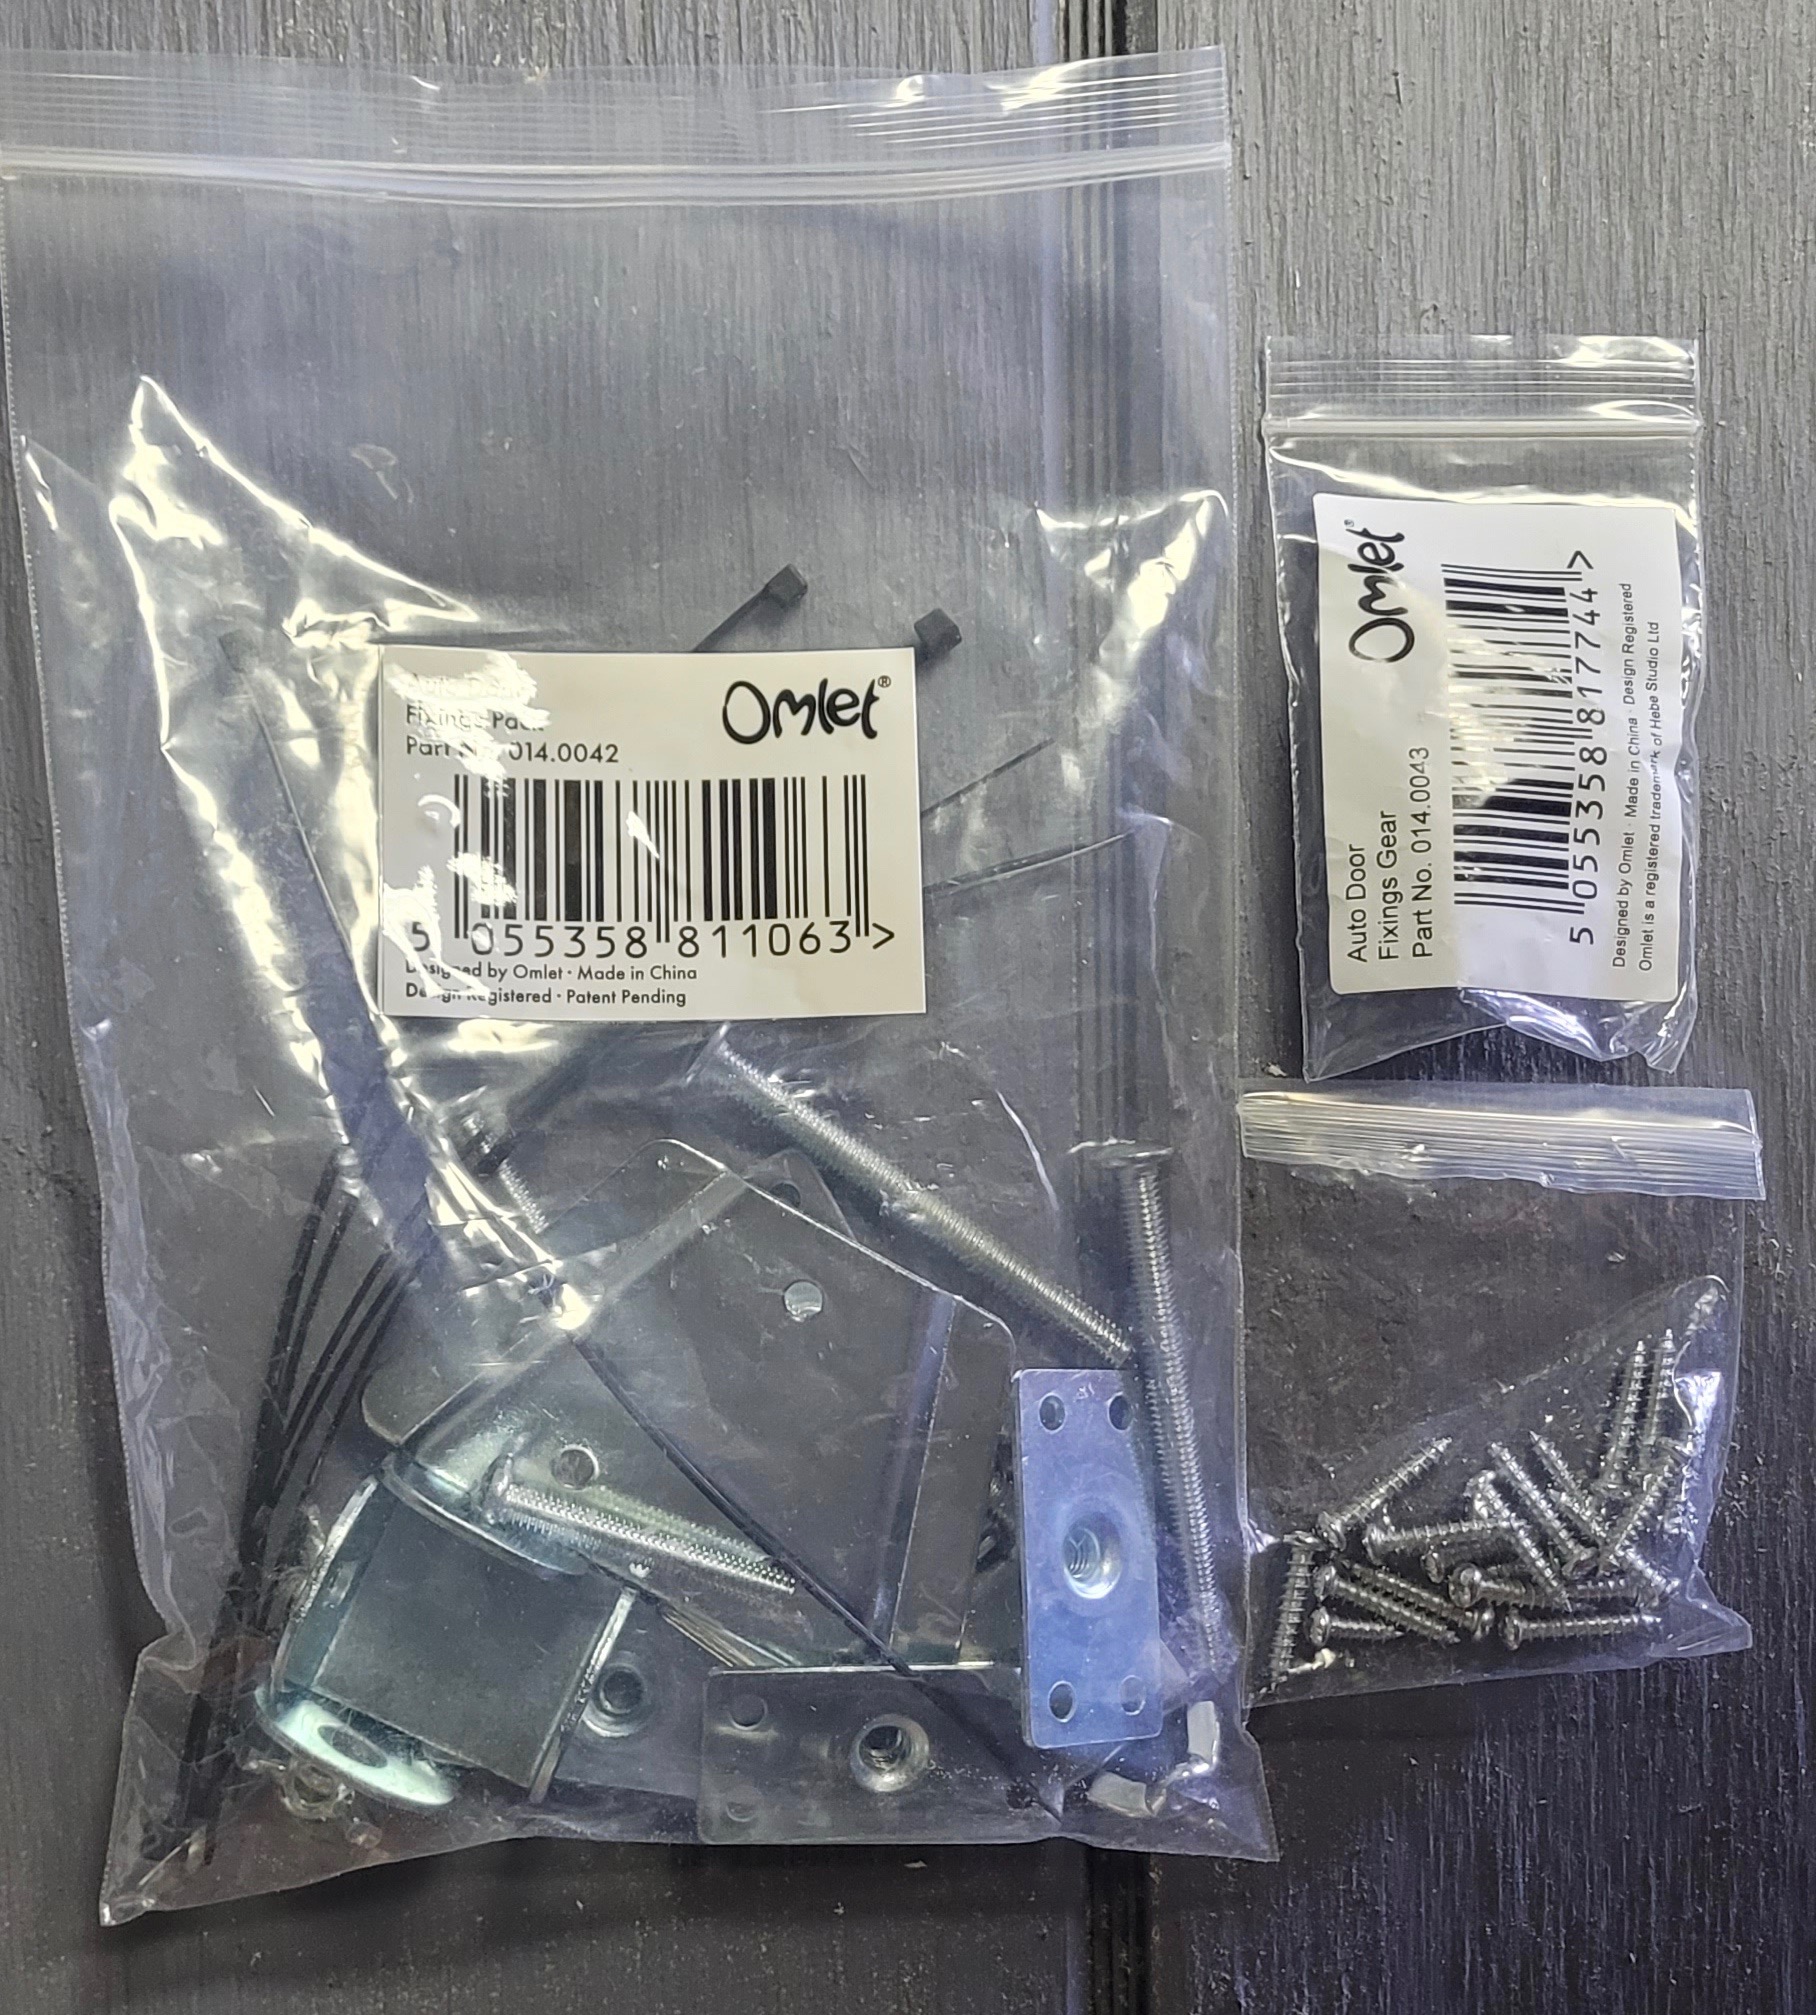
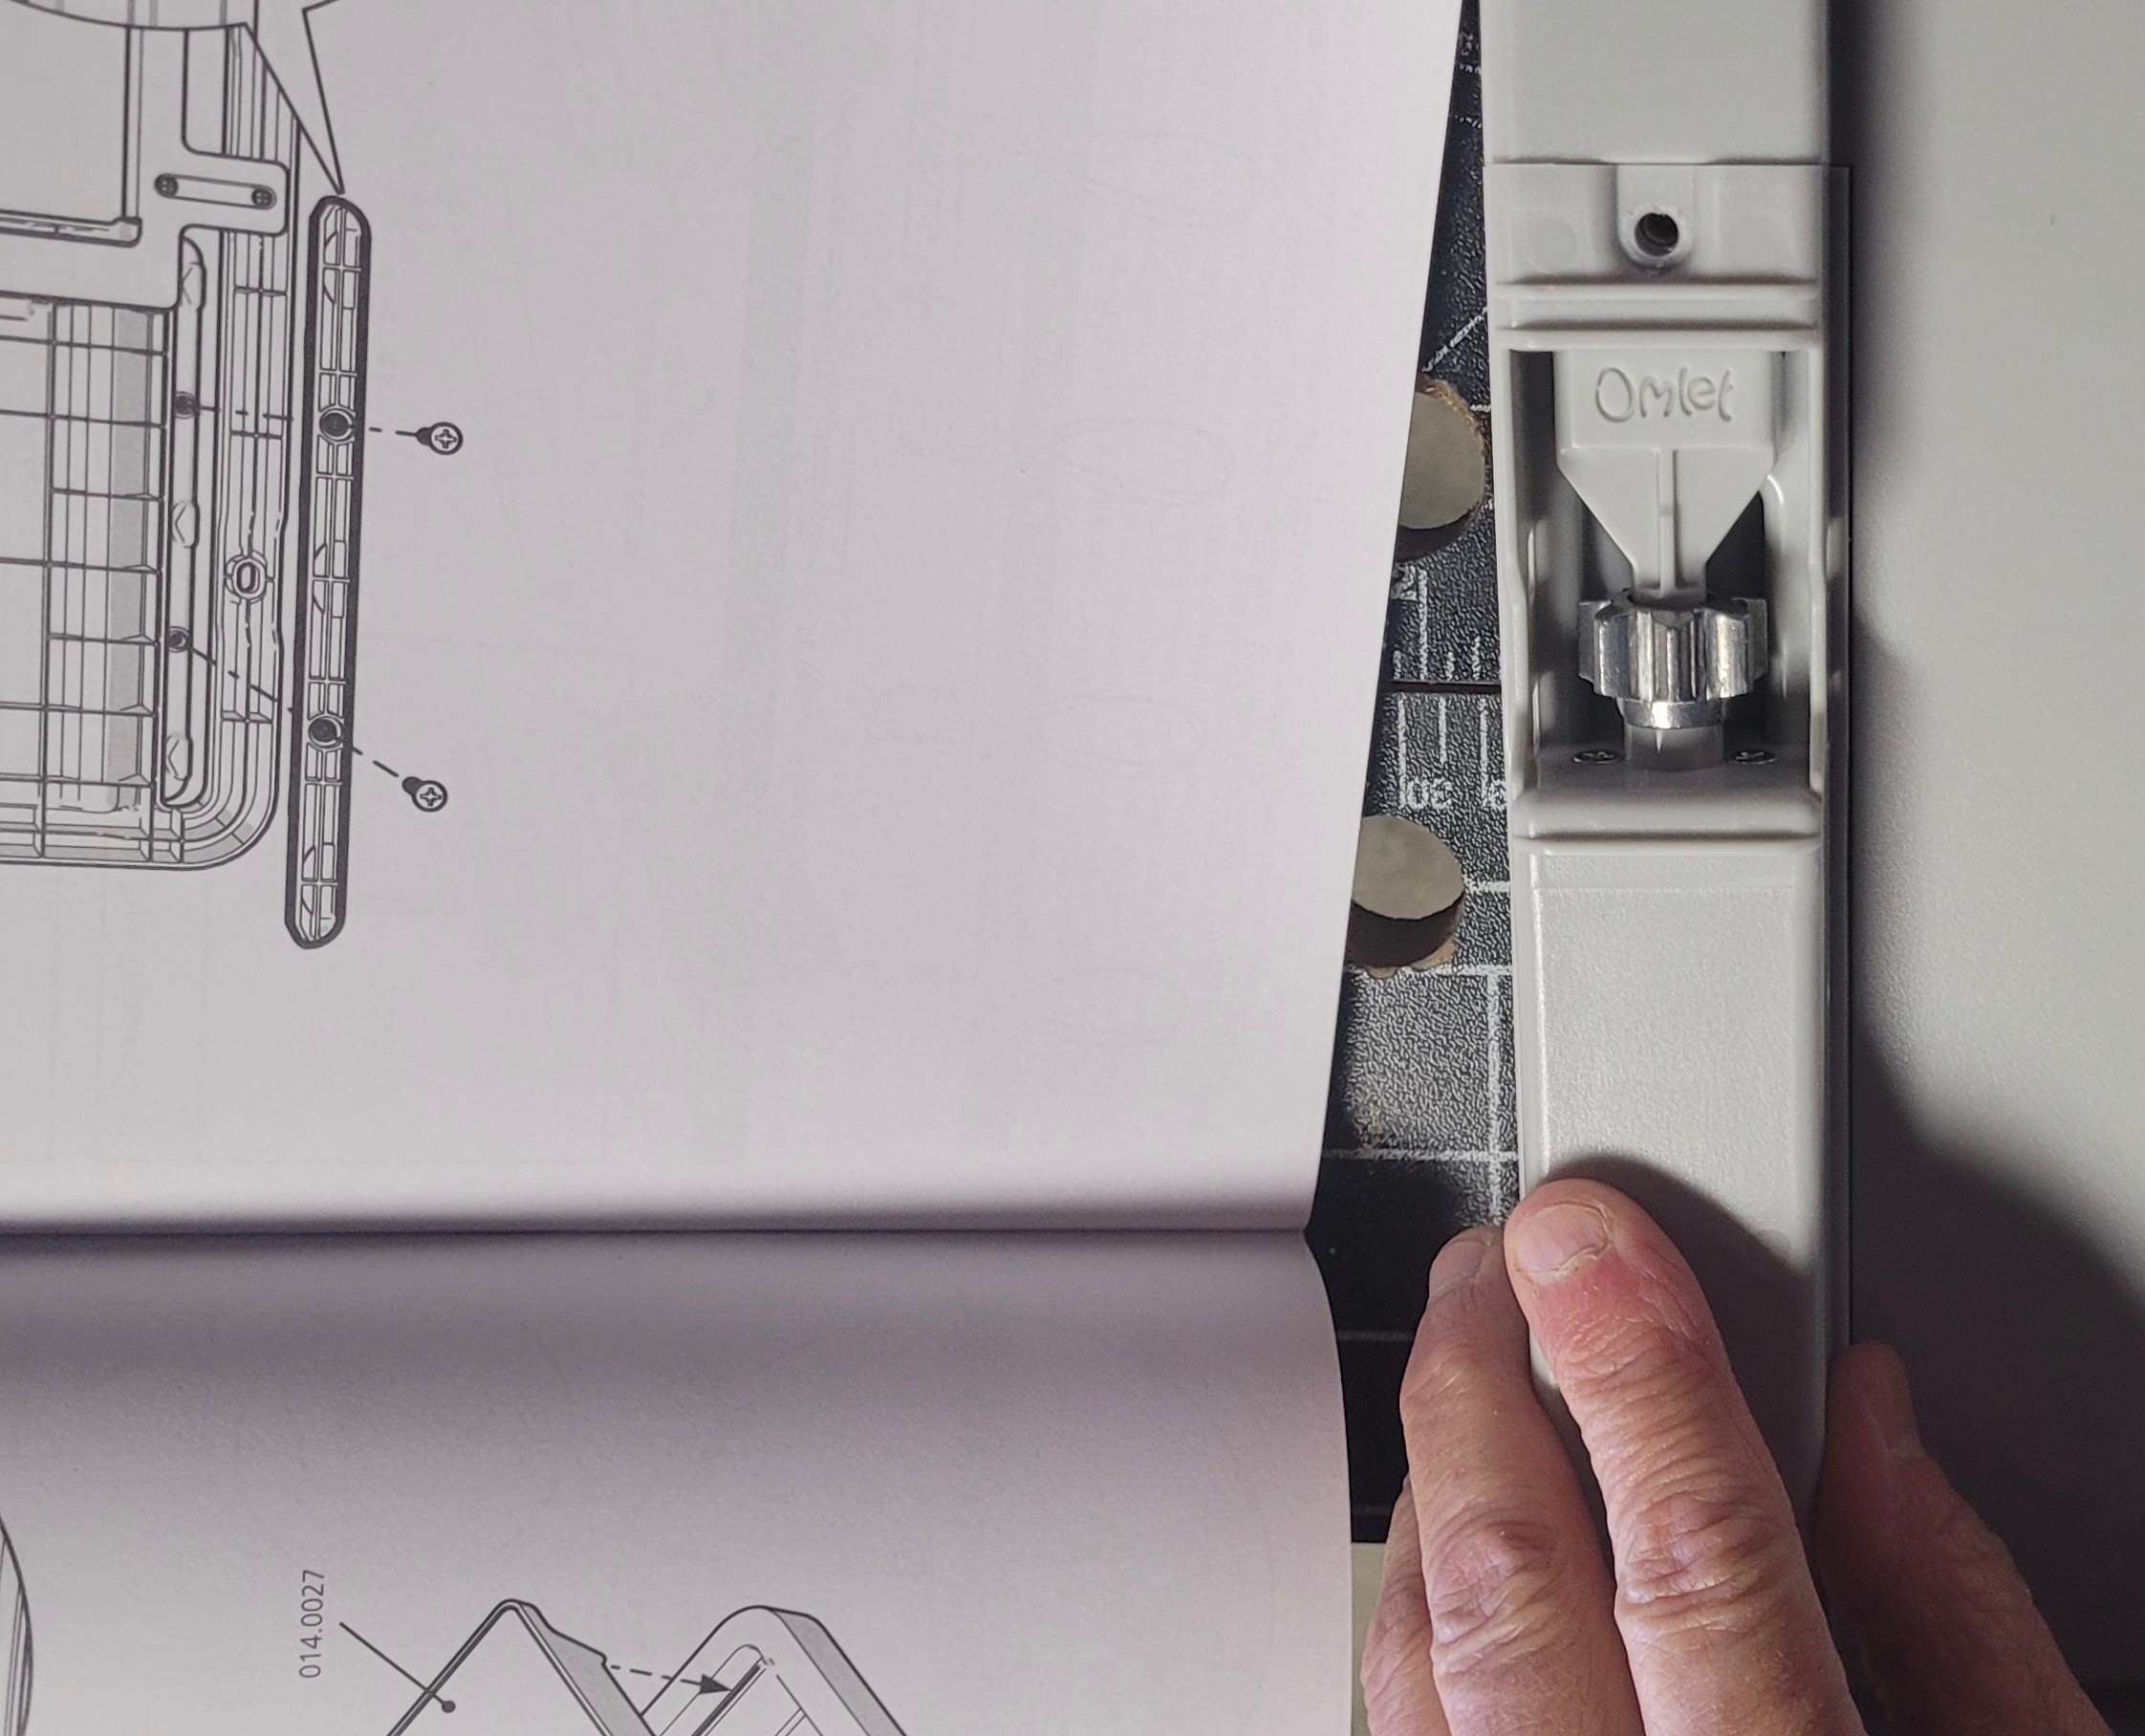
The box was well packed; the components were neatly nestled along with a comprehensive 64 page instruction booklet (in English with translation in eight languages) with clear illustrations and a bag of hardware with options to attach it to a wooden, wire or one of Omlet’s own plastic coops. Of course, you’ll only be employing one method so will end us with some leftover bits that you might be able to use on a different coop later.
At the end of August 2017, I was given a structure for a coop conversion. It was essentially a 4’ x 4’ x 8’ box divided into two sections with two doors on each side. It was left on a property by the previous owner and I think was intended as a rabbit hutch, but had never been used.
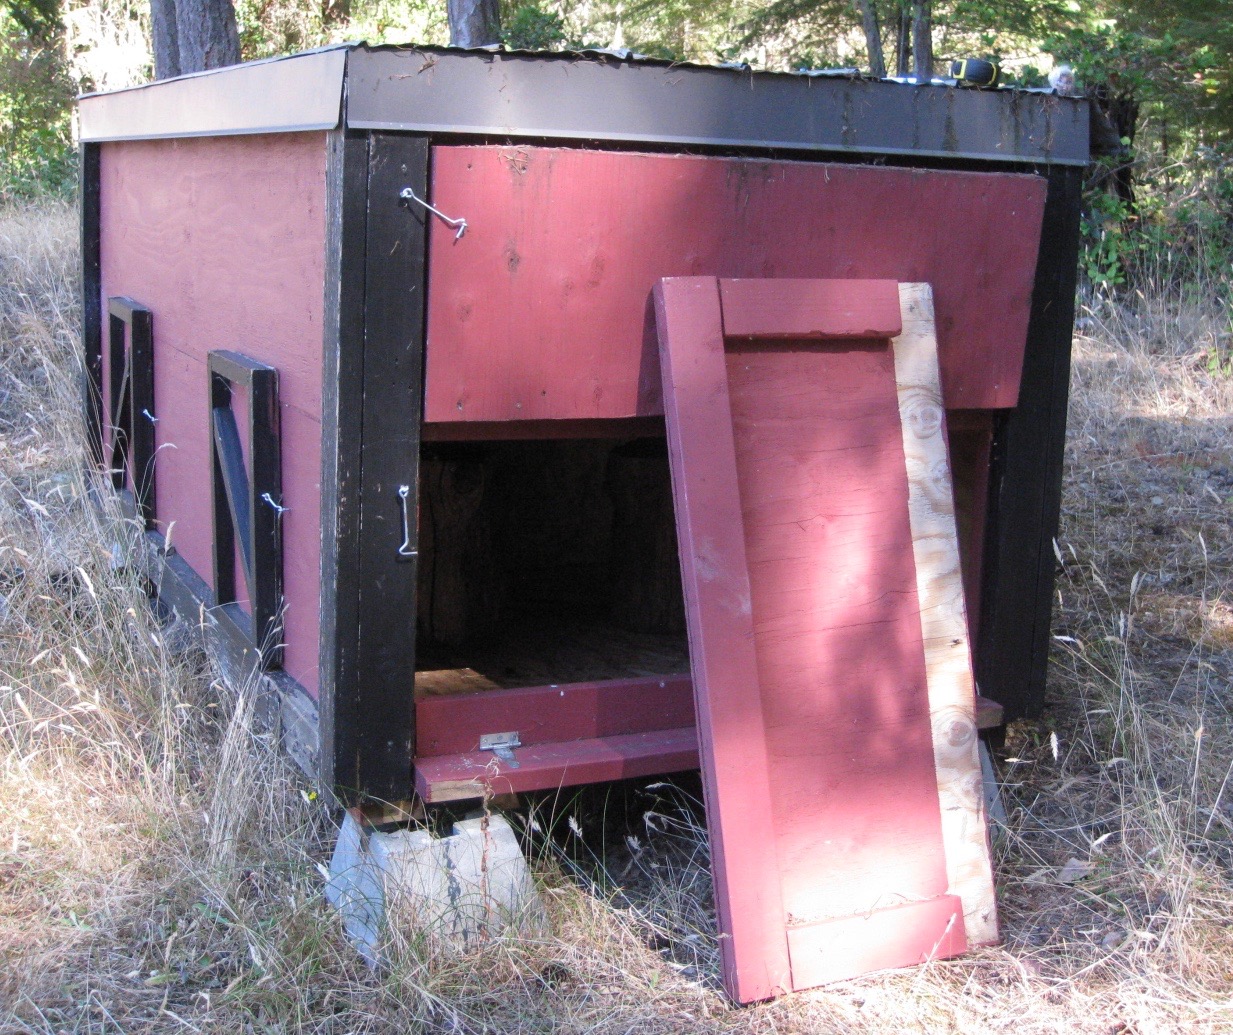
My friend Tracy kindly offered to help turn the box into two side-by-side coops over a couple of weeks that fall. The openings that we designated for the chicken doors were larger than the standard pop-style or guillotine doors found on many coops. No problem, we just made larger doors.
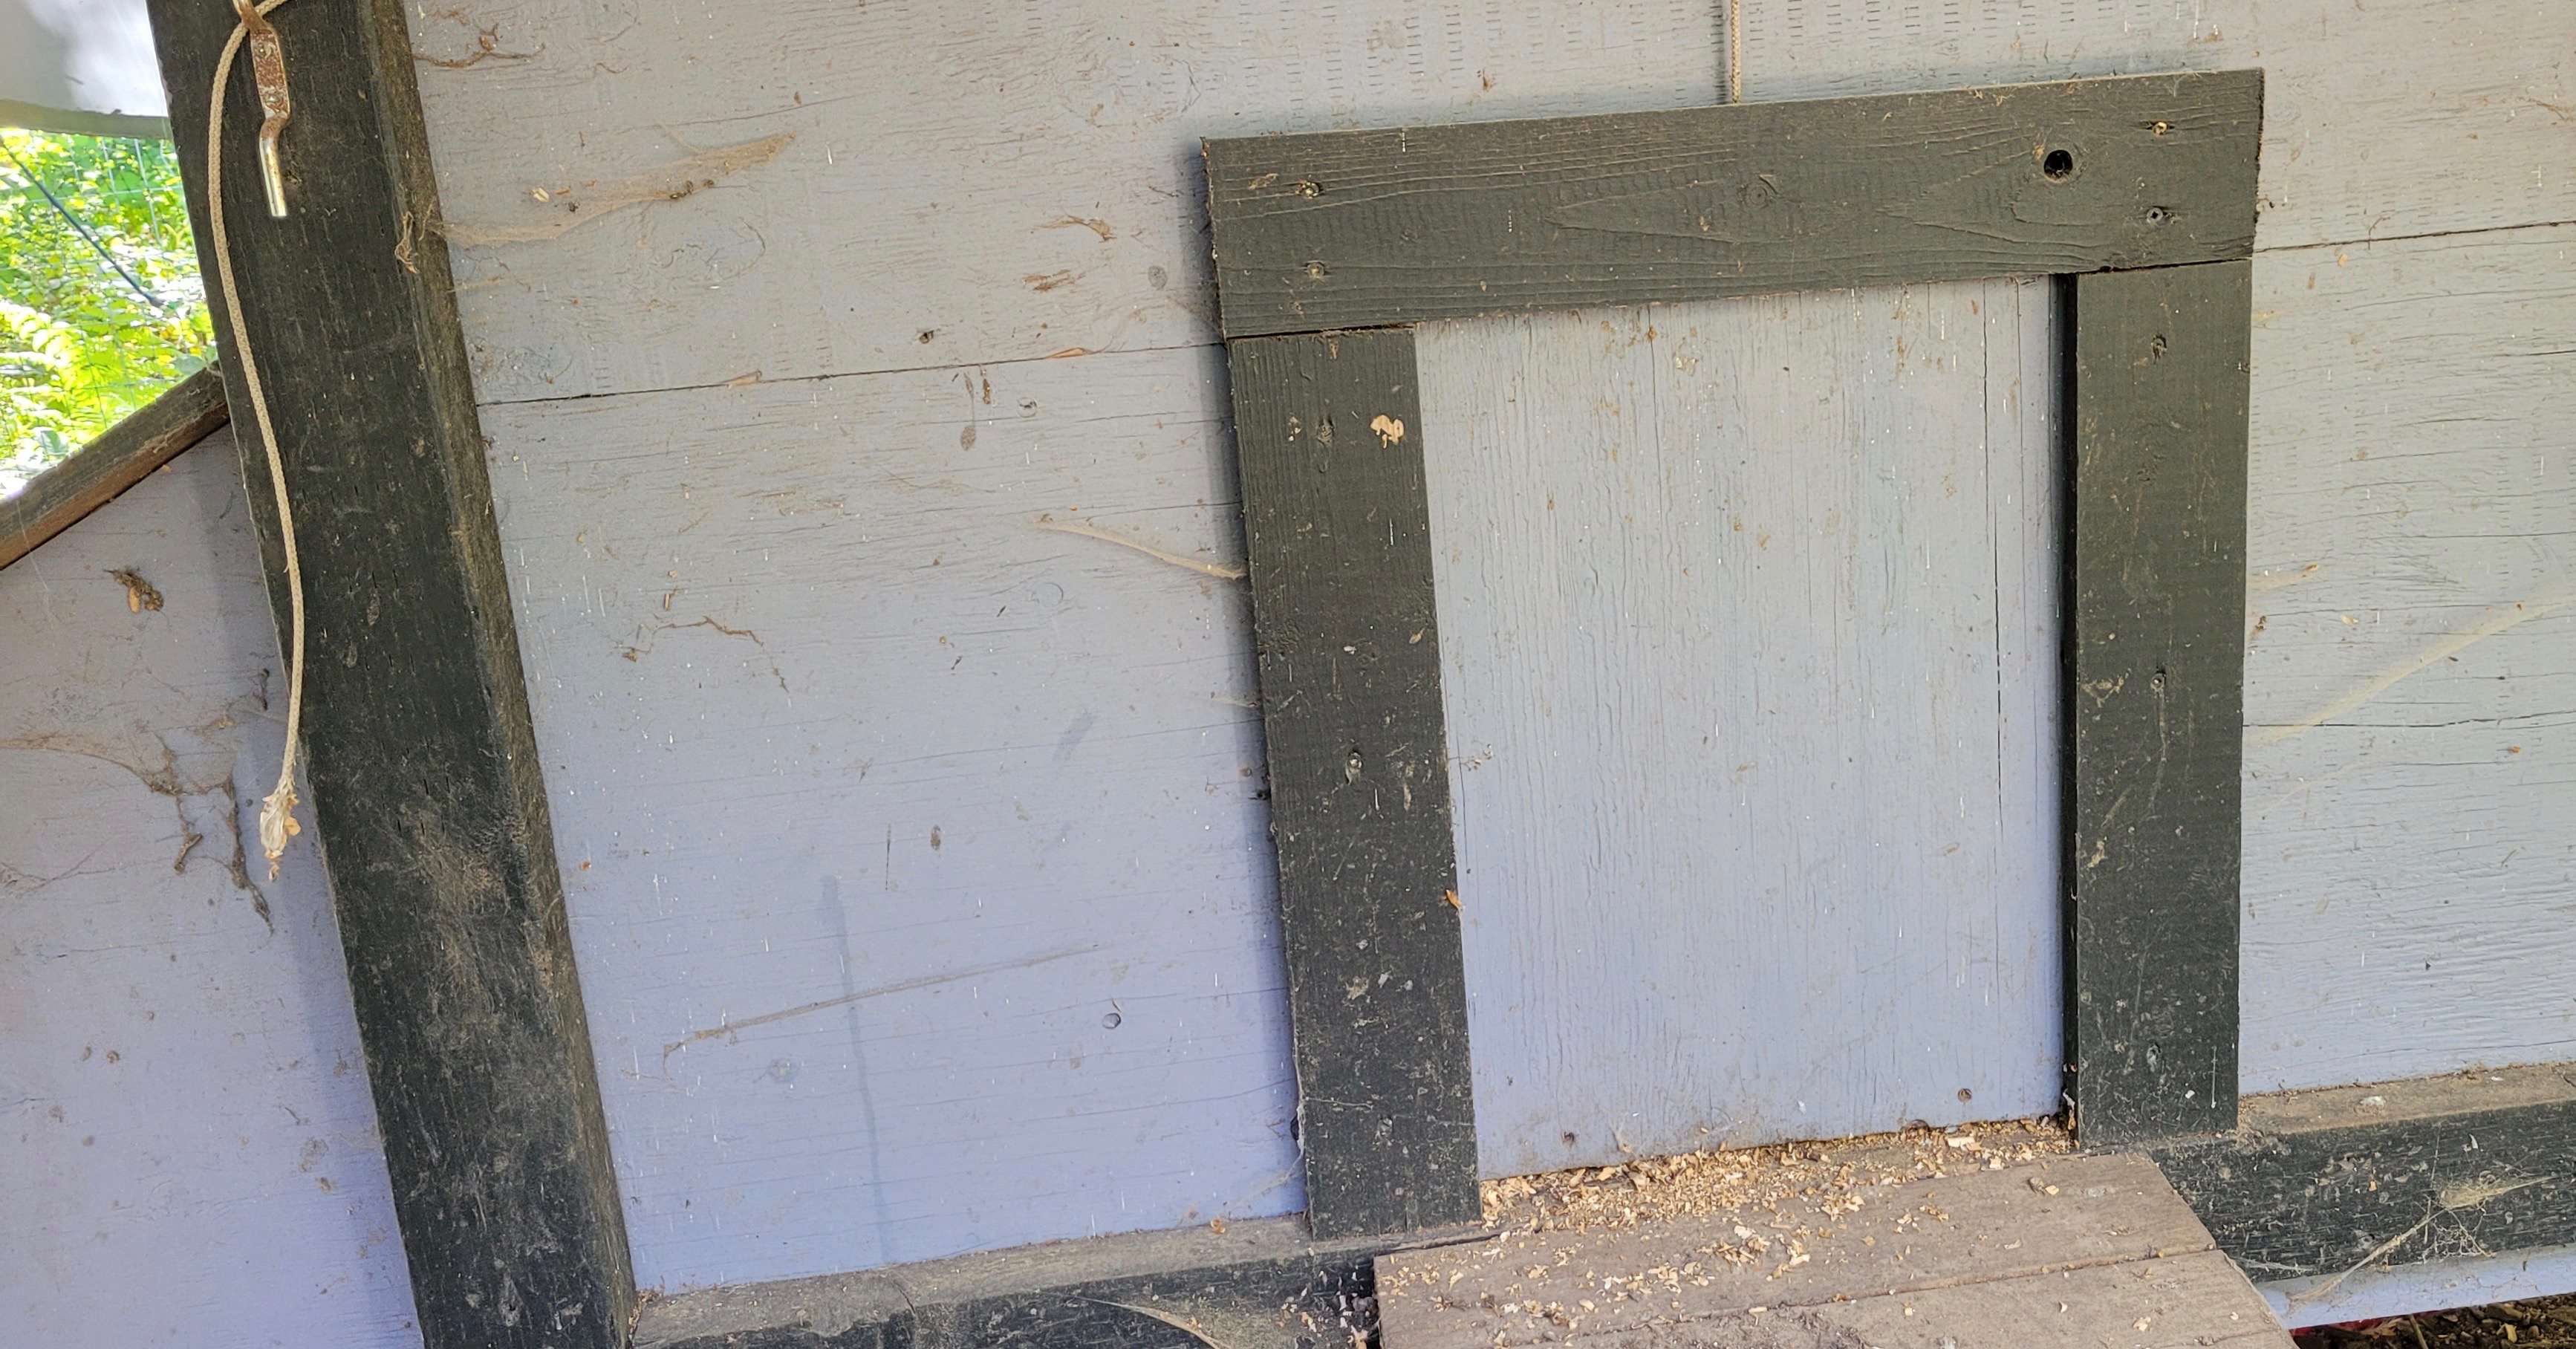
Those bigger openings were, however, an issue when I went to install my new Omlet auto door, as it was considerably smaller than the existing one.
Several years ago my partner and I converted our greenhouse into a workshop. The original building was sided over with plywood ranchwall before 12 windows were installed. I kept those dozen wooden cutouts thinking they might come in handy some day. It turns out they were the perfect size to place over the old coop door openings in order to customize them for my new Omlet door.
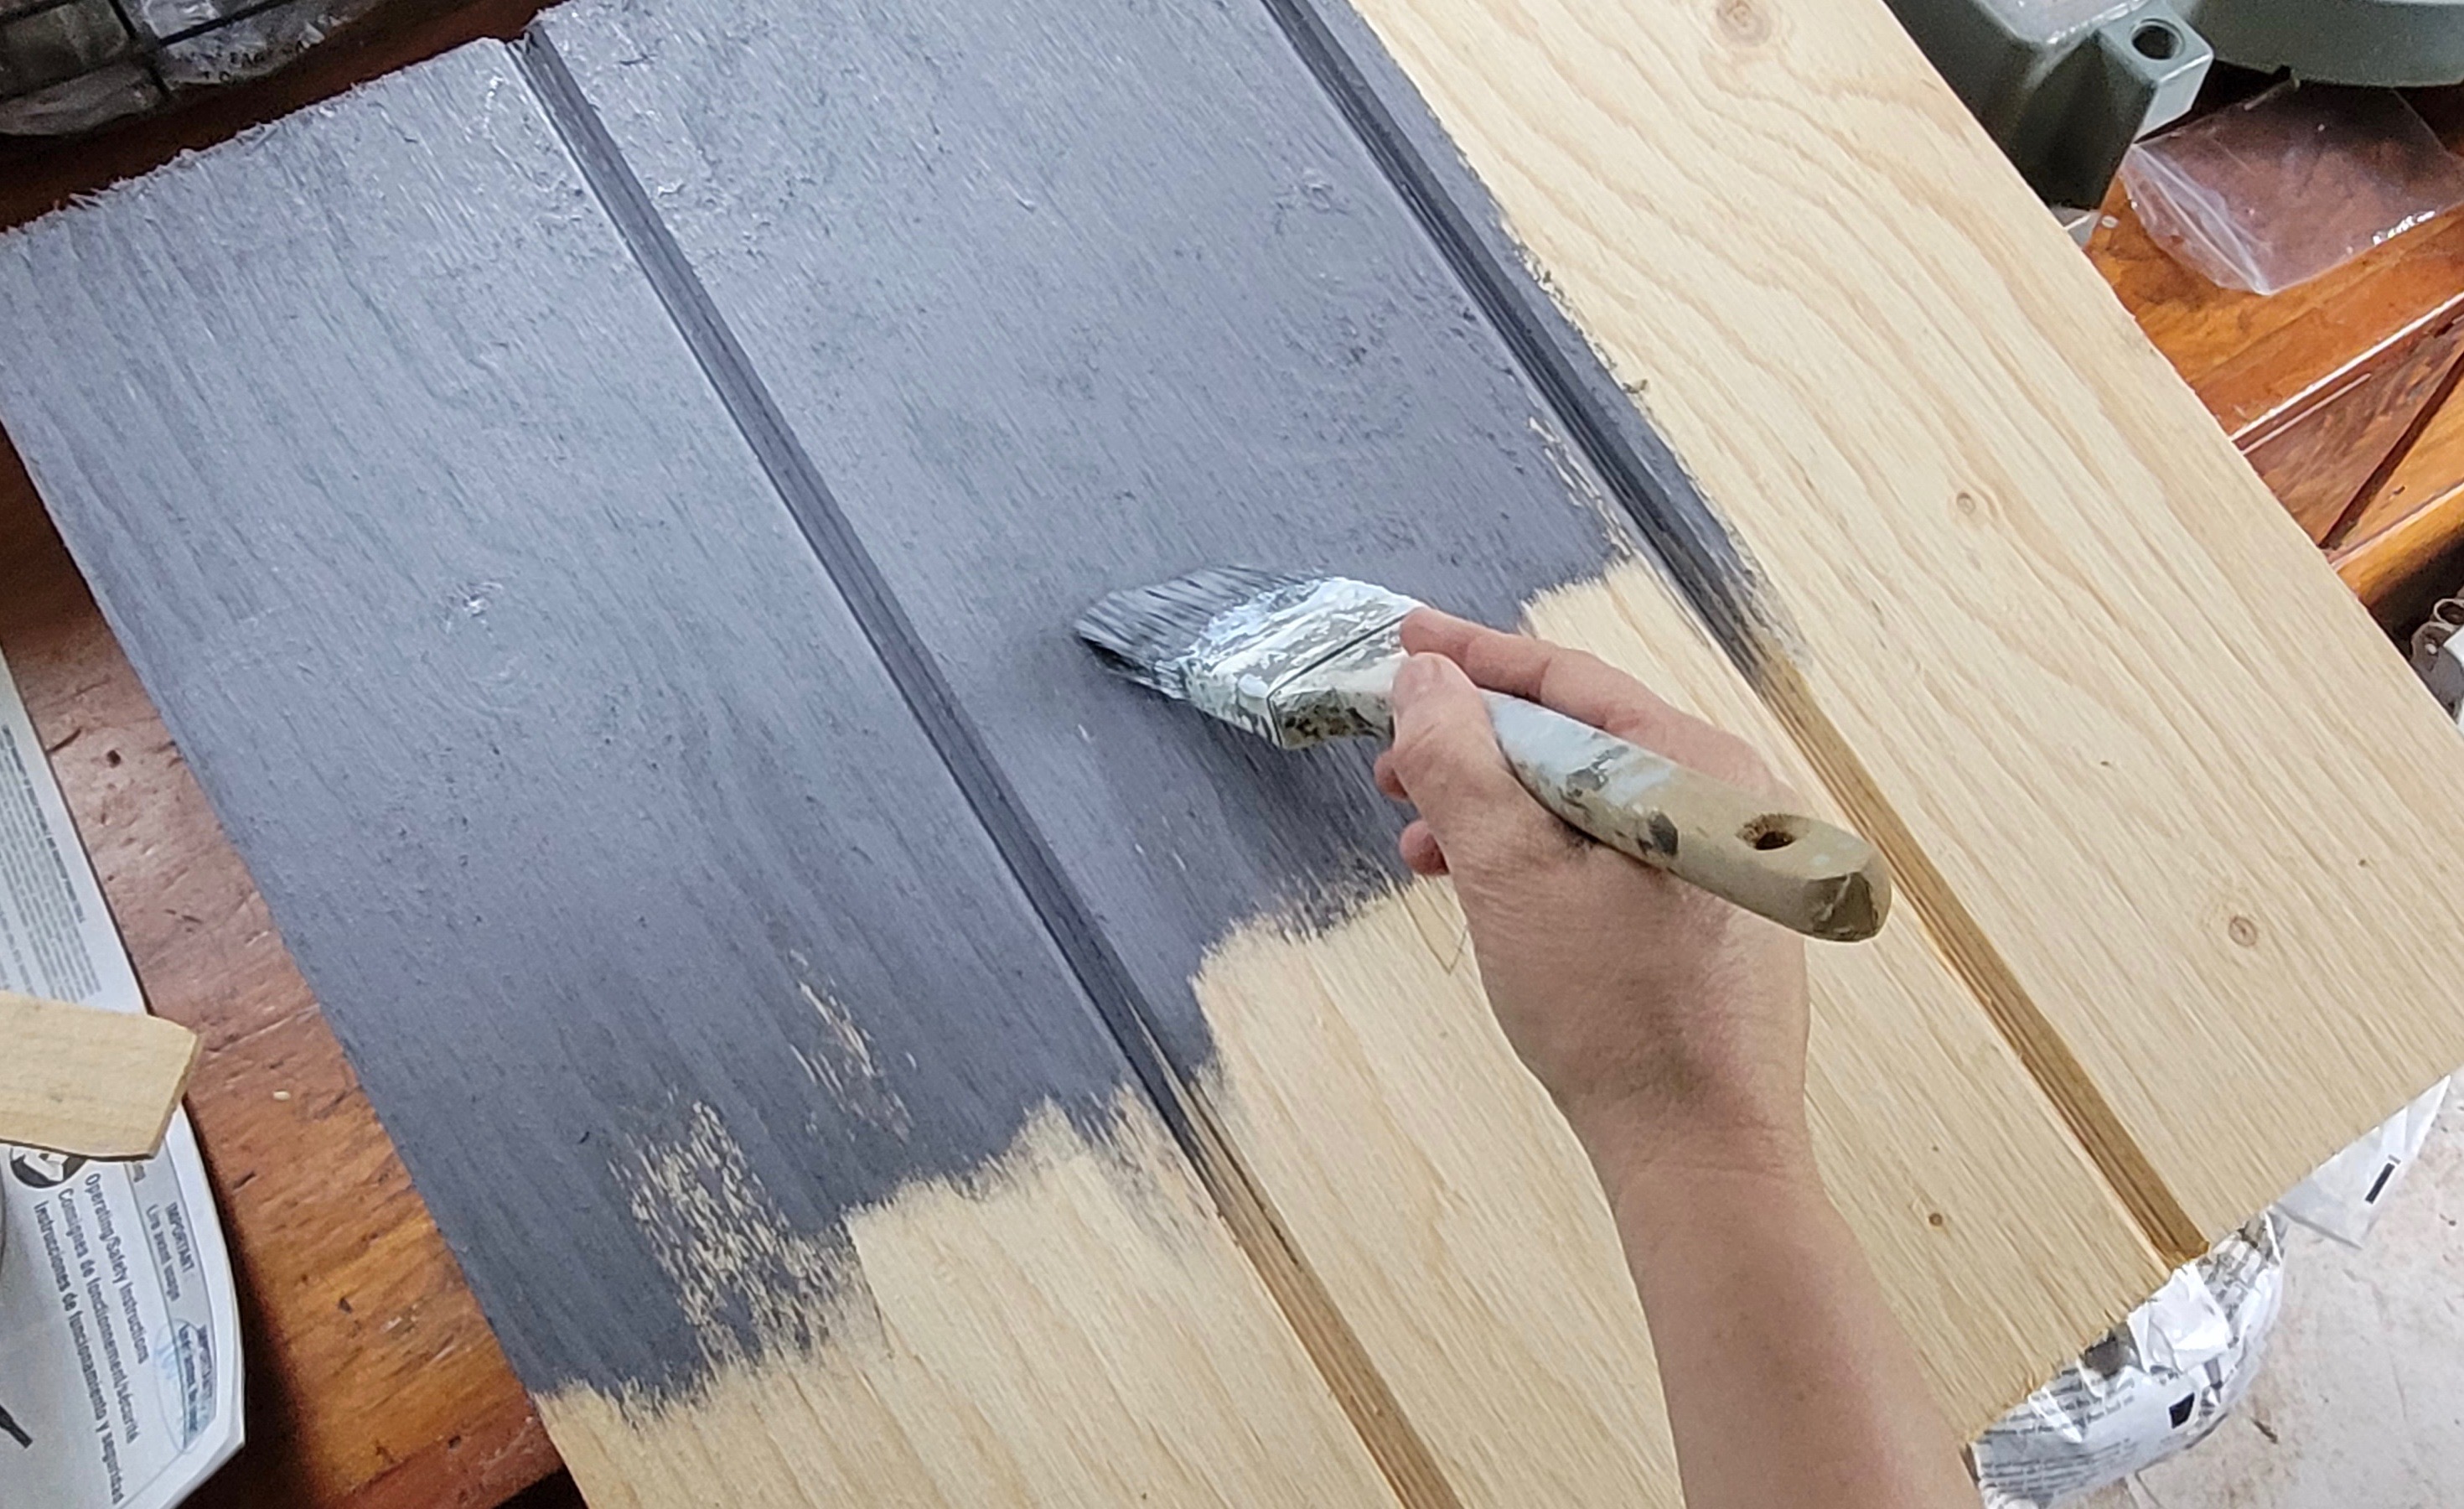
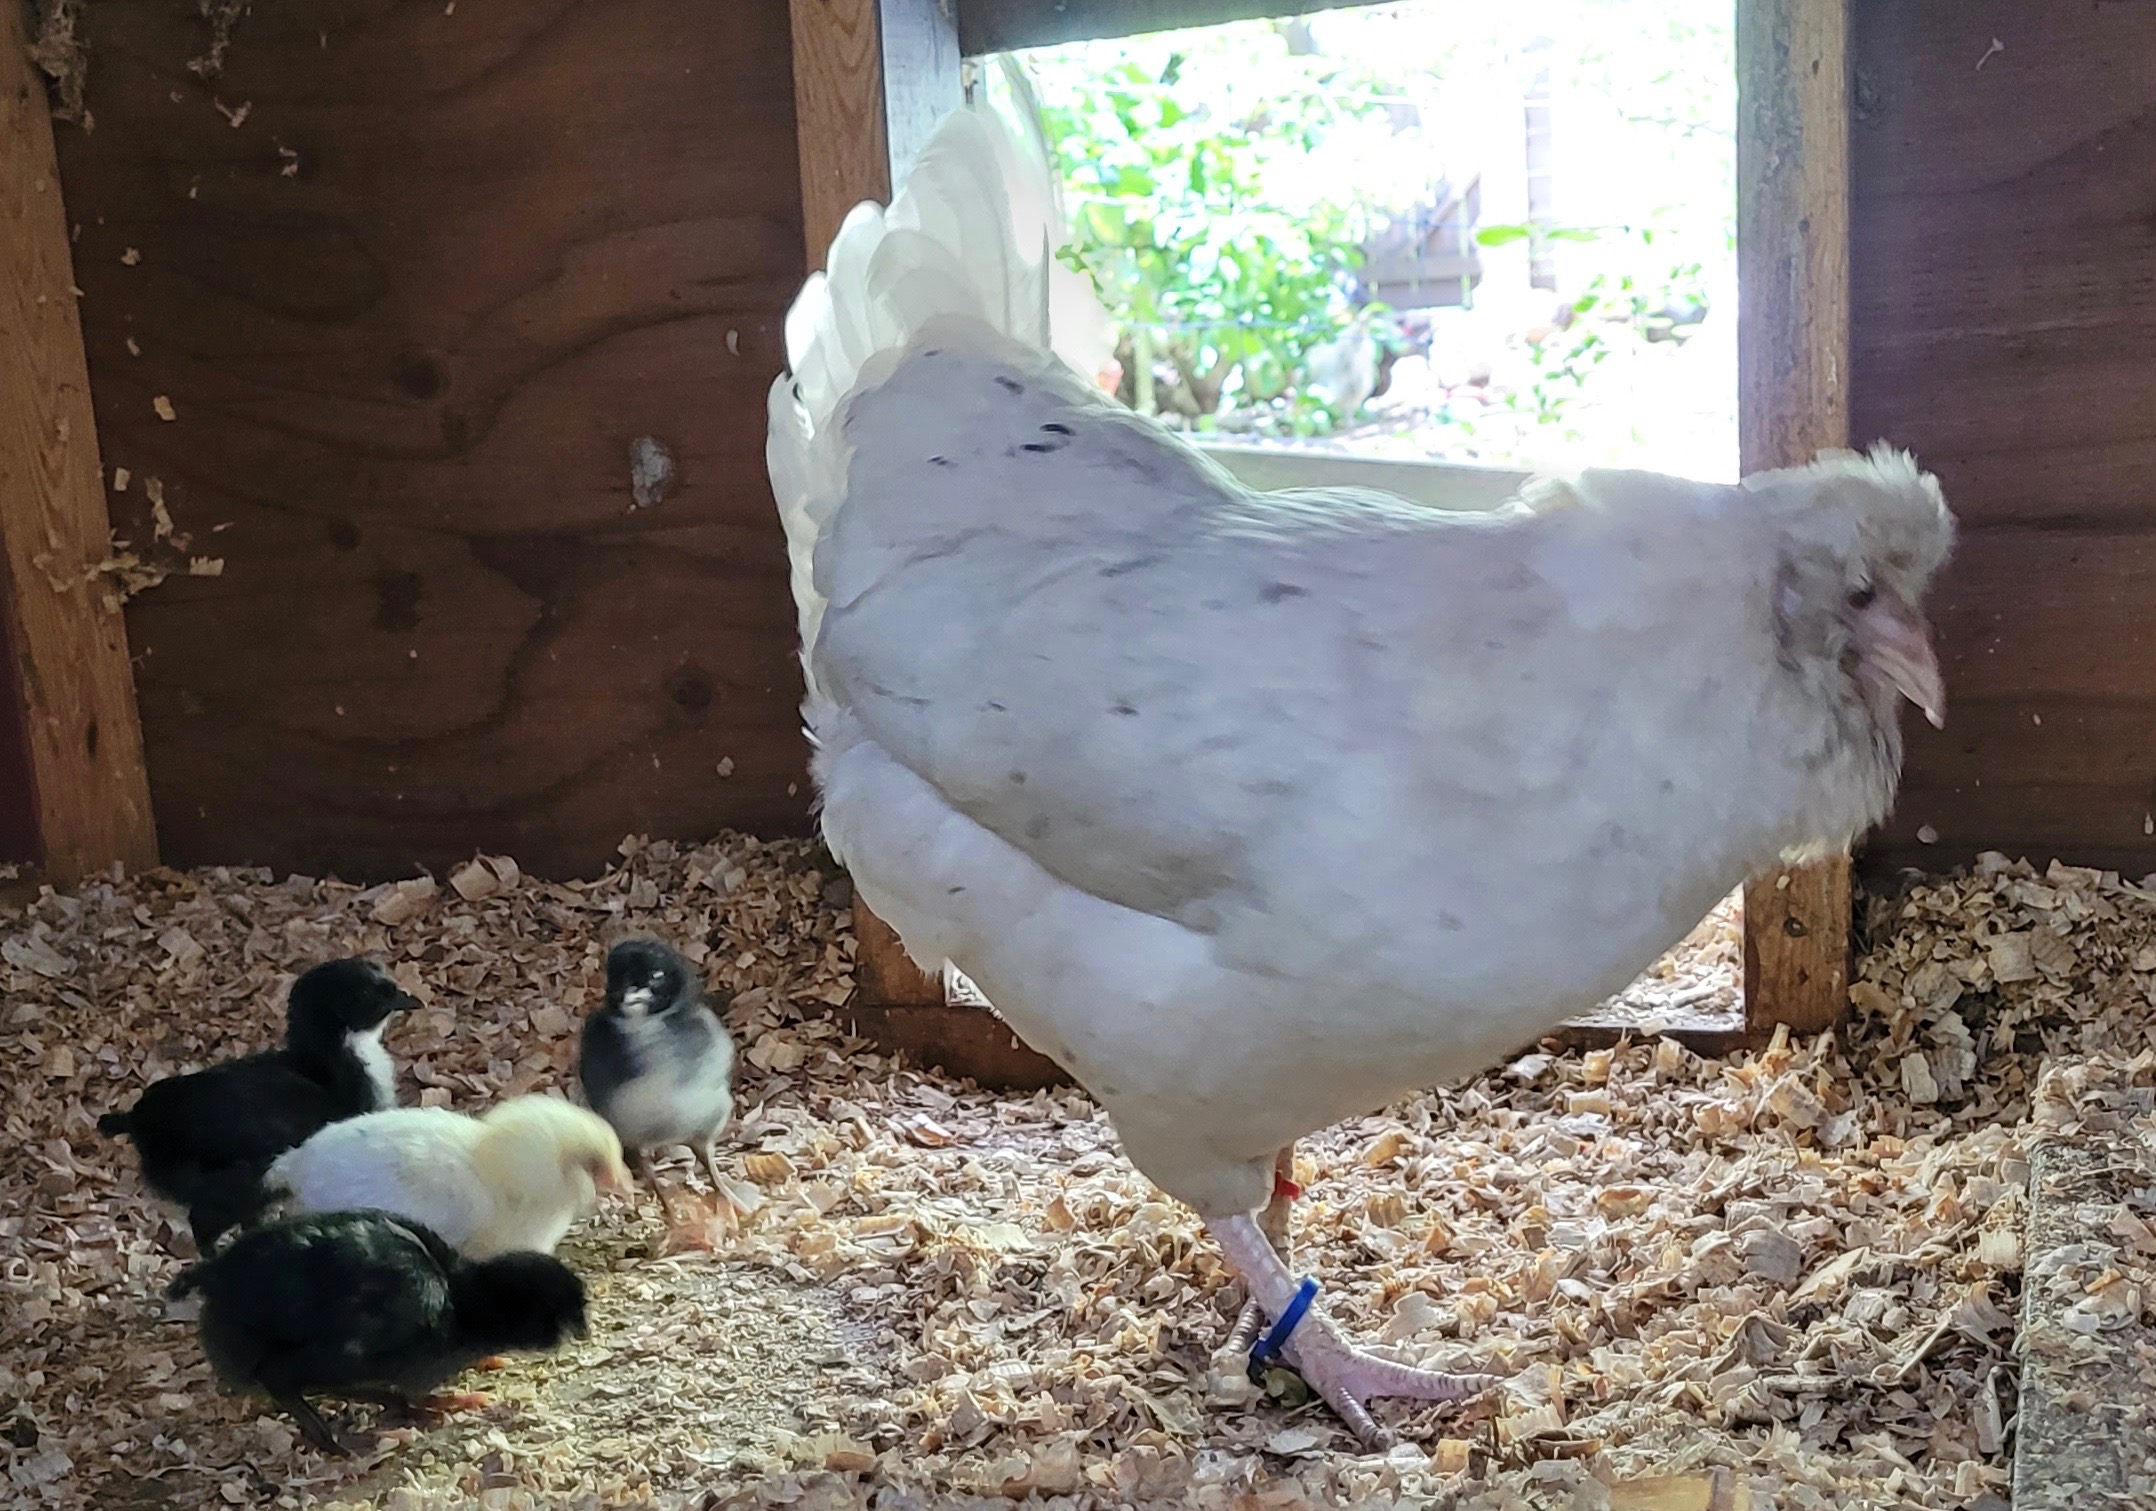
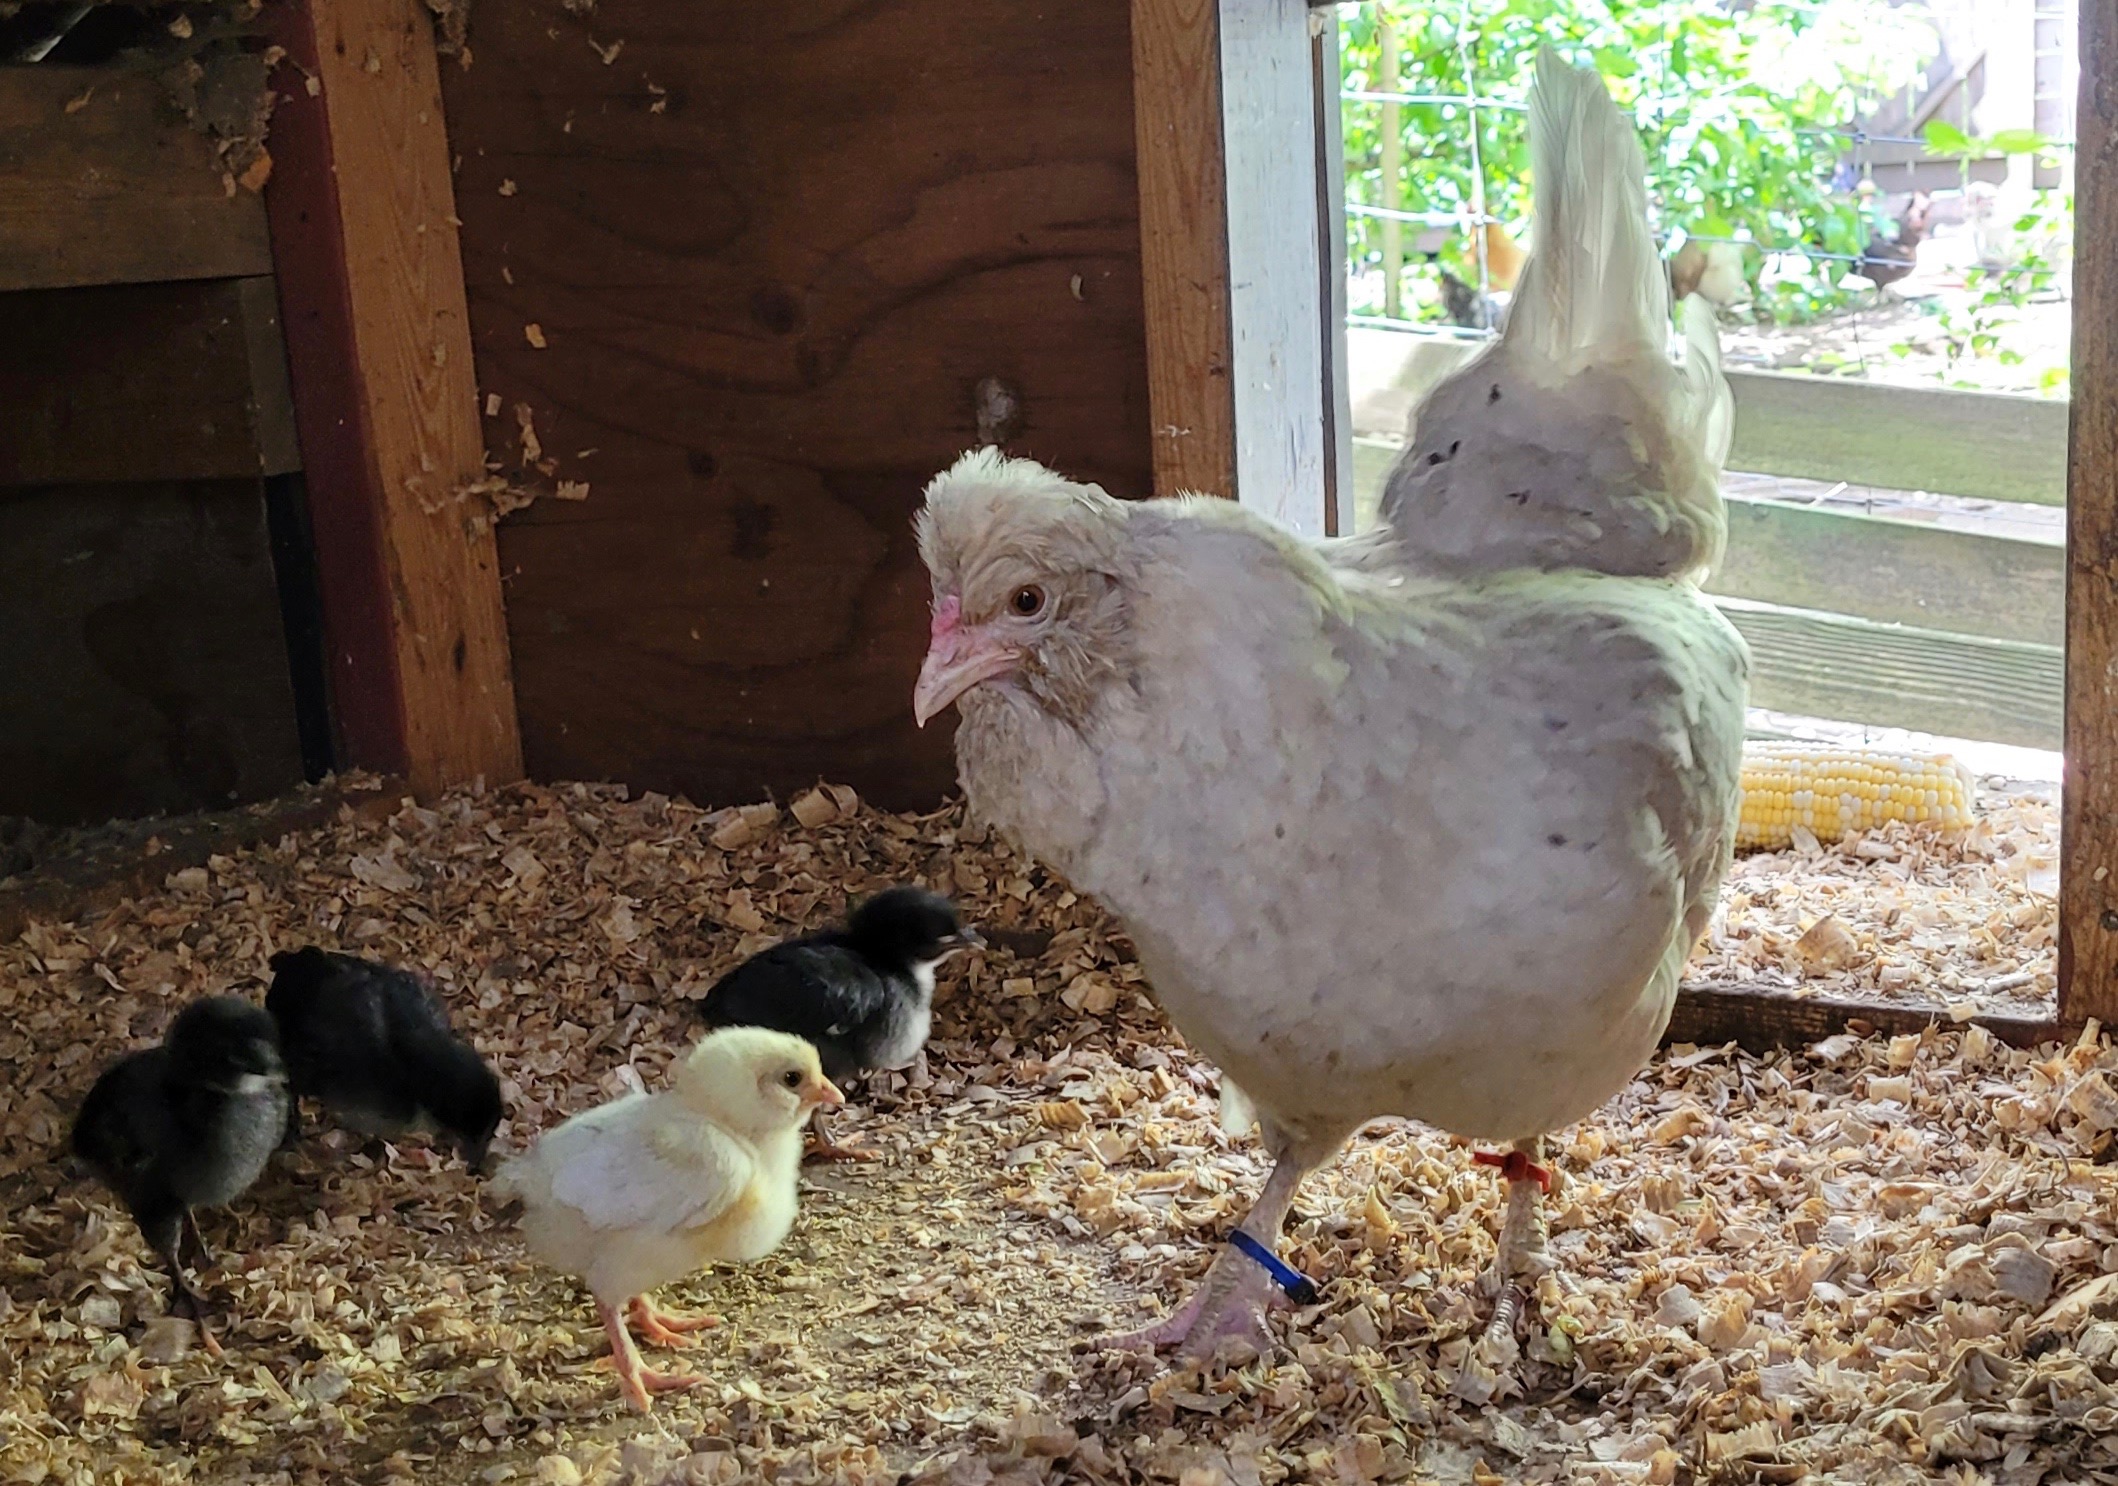
I painted them the same colour as the coop (Benjamin Moore Amethyst Shadow which is a purple-grey tone) and then took the panel and the Omlet parcel over to Tracy’s. I had a broody hen sitting on eggs in that coop and didn’t want to disturb her until I actually needed the door so decided to attach it to the panel and then just screw the panel over the old door opening when the time was right.
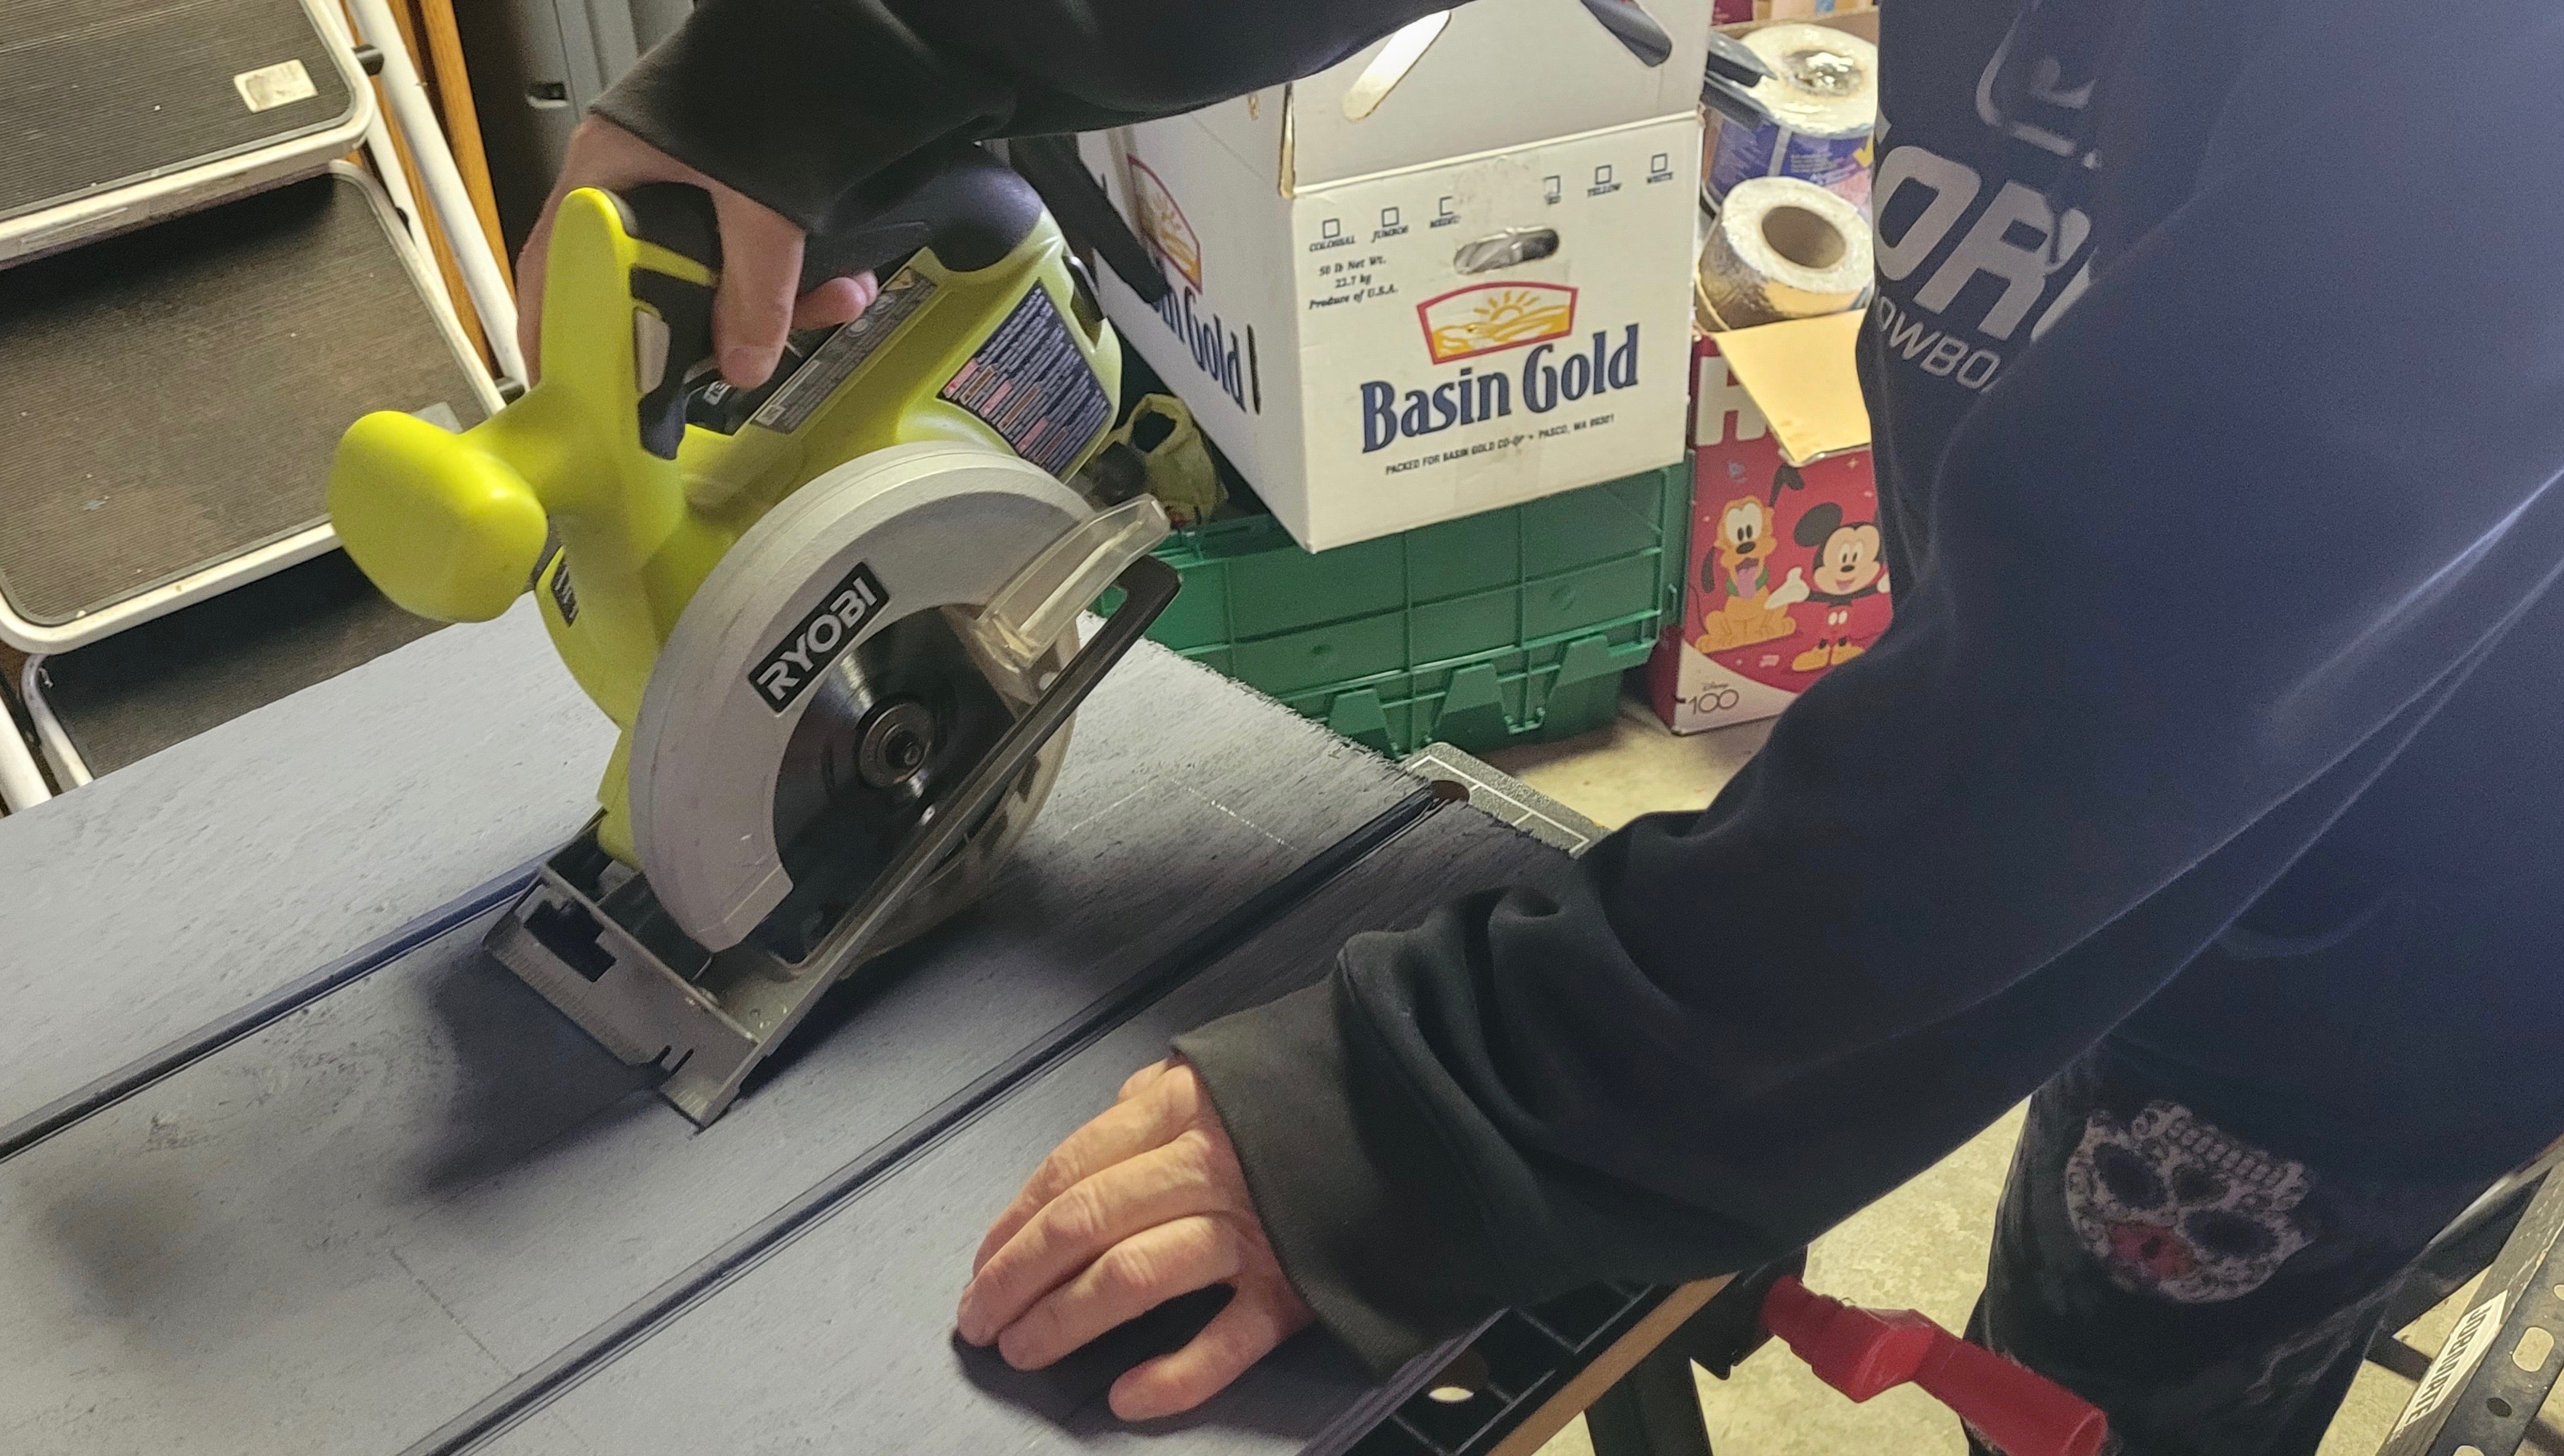
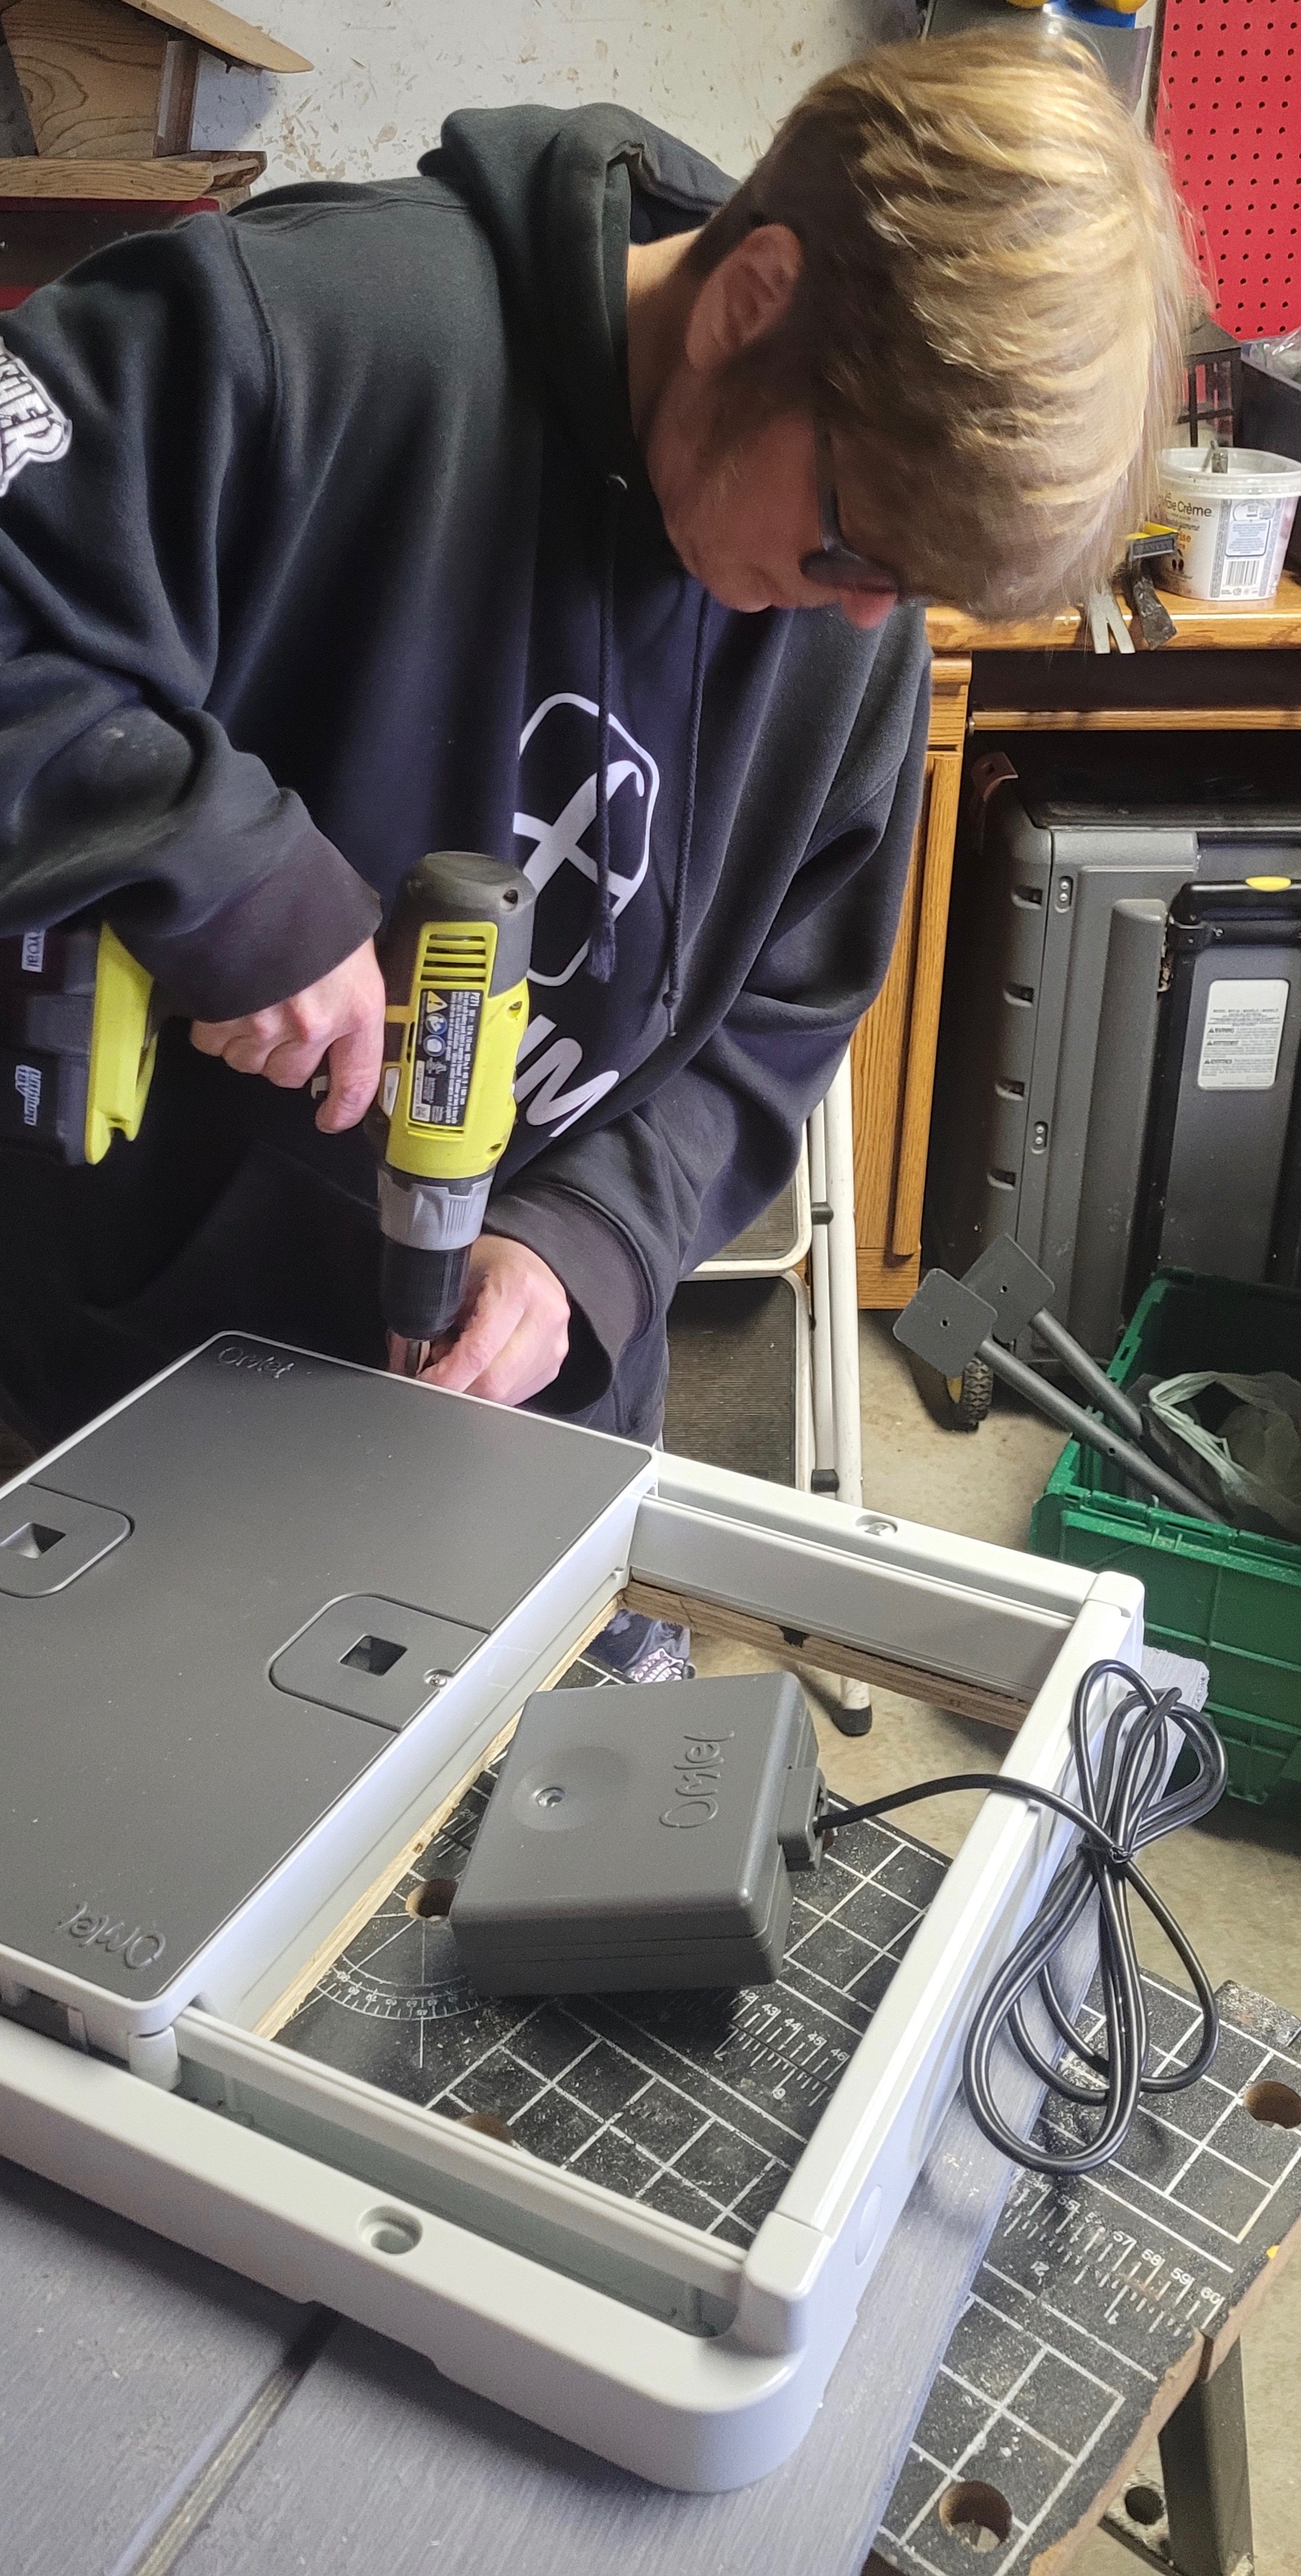
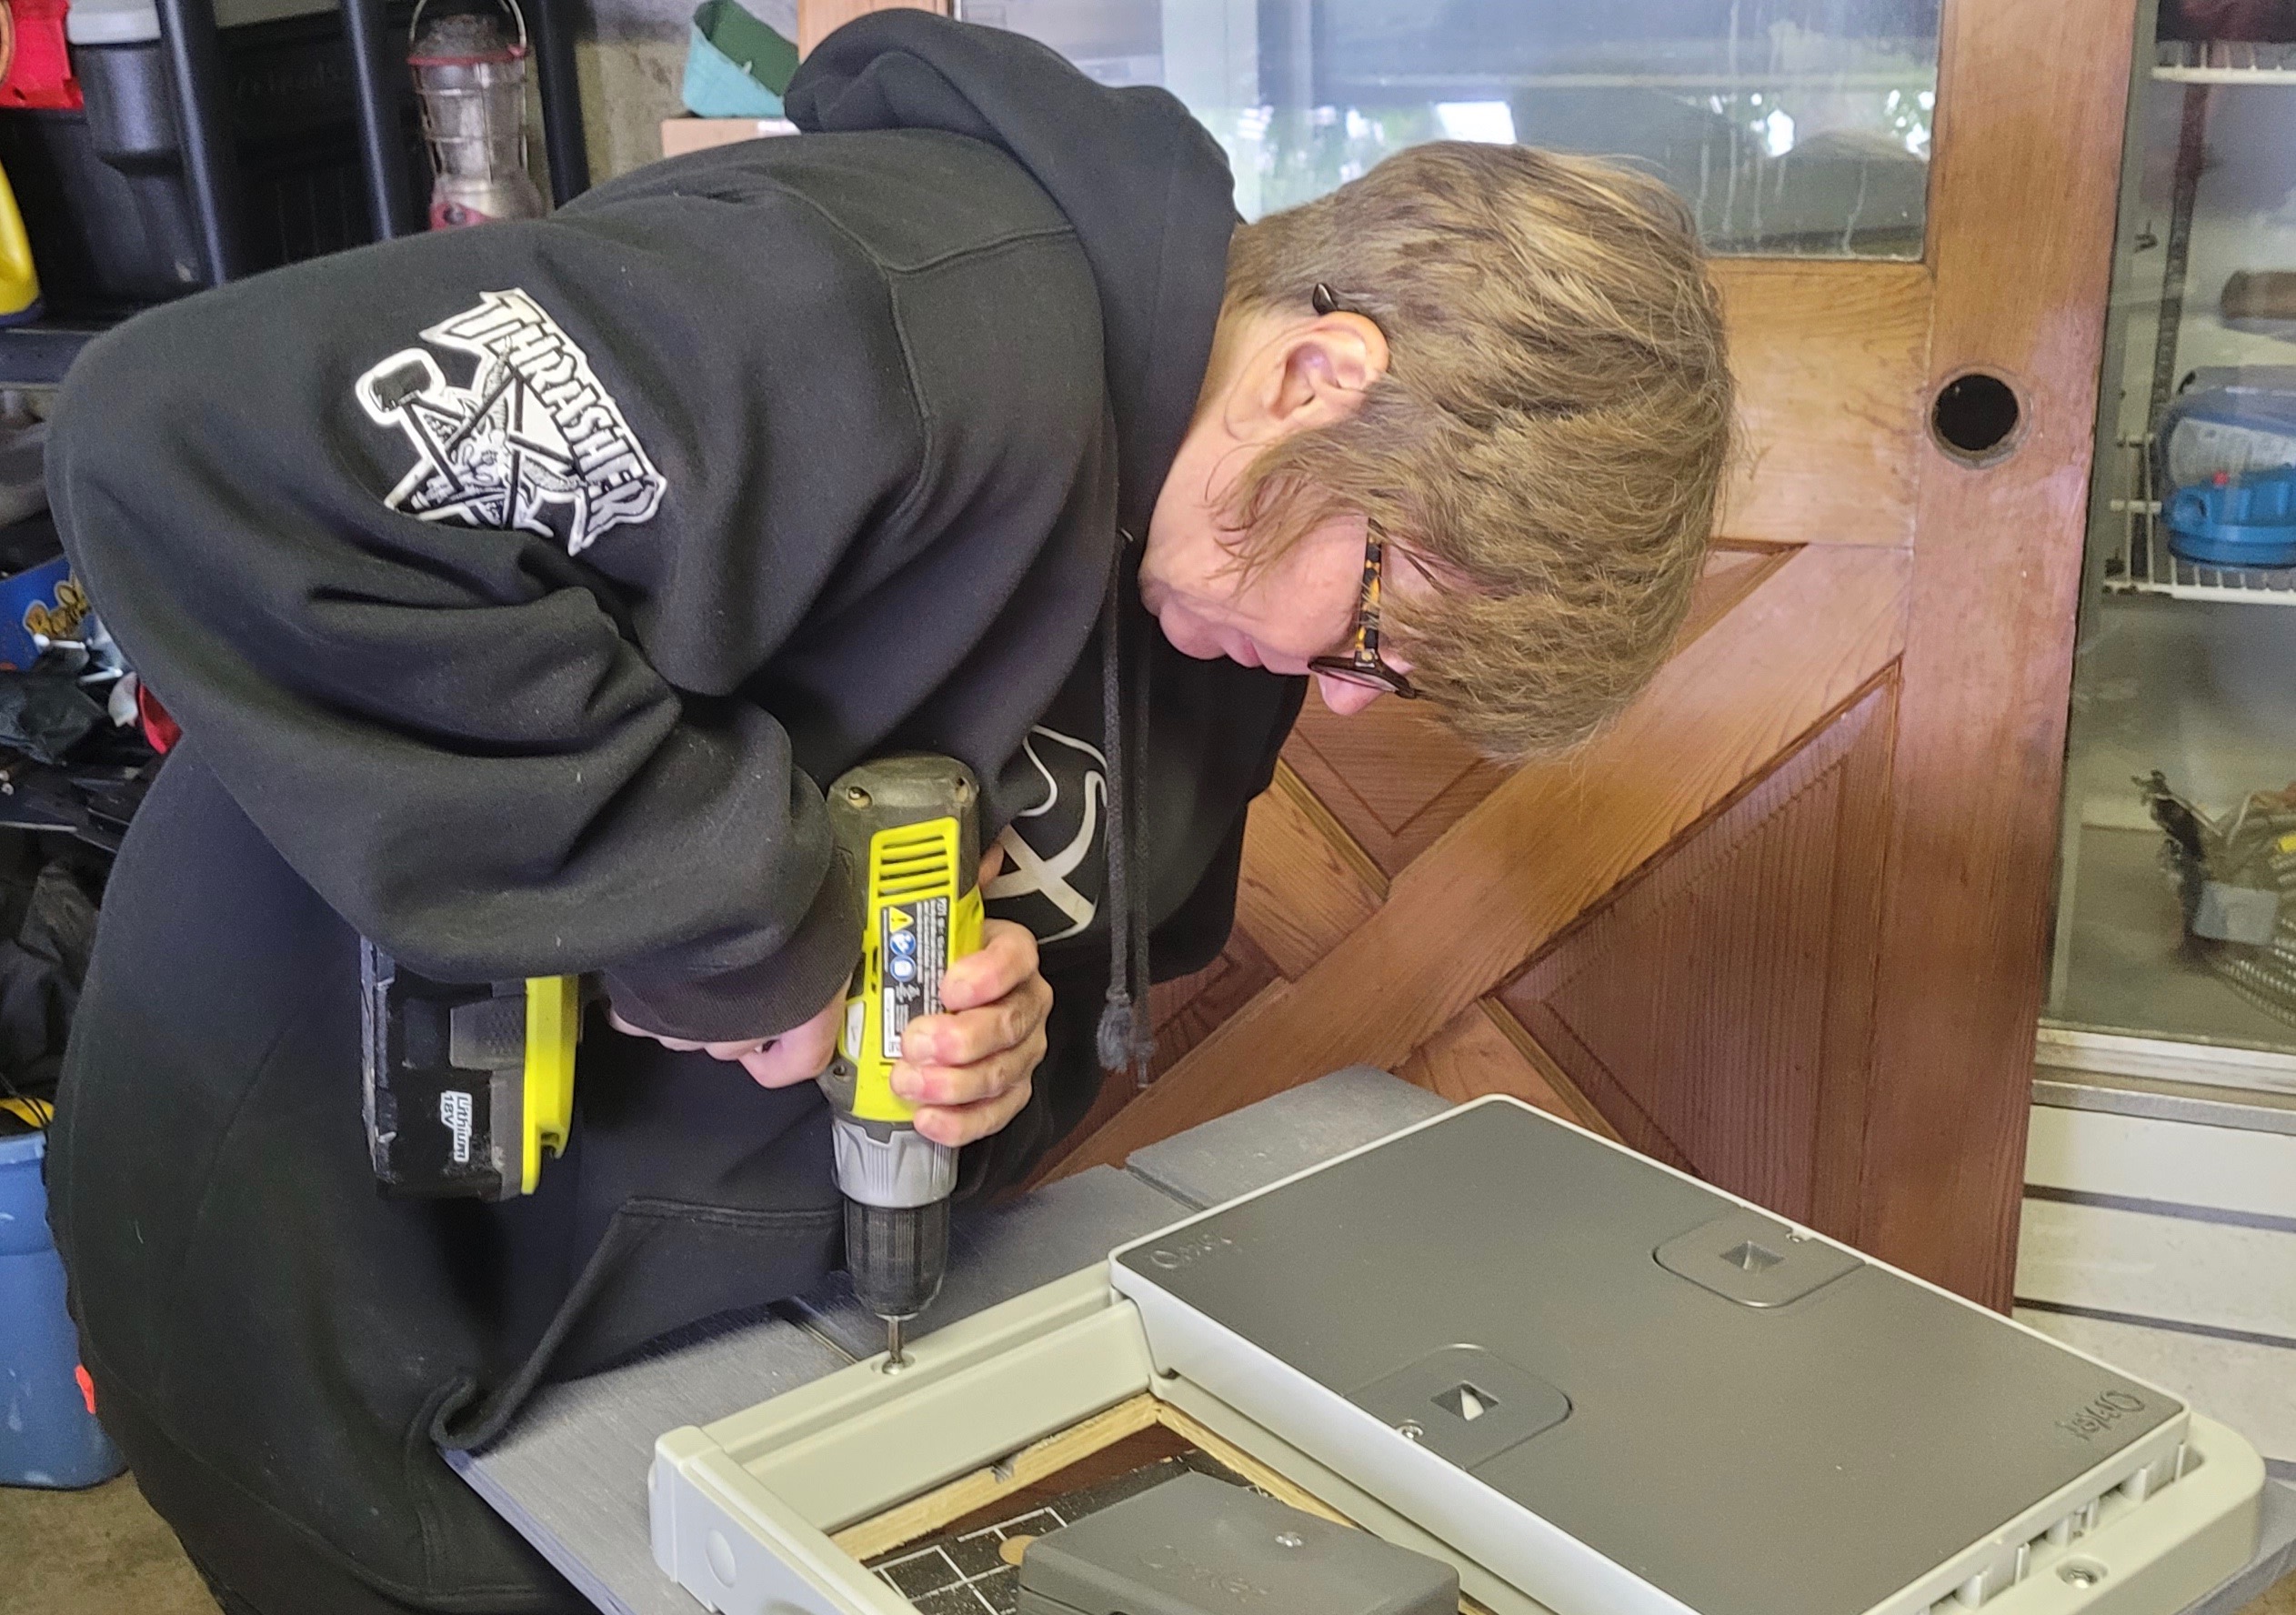
We set up our equipment on a sawhorse in Tracy’s garage. She’d just moved there a few weeks before so we had to clear a space to work.
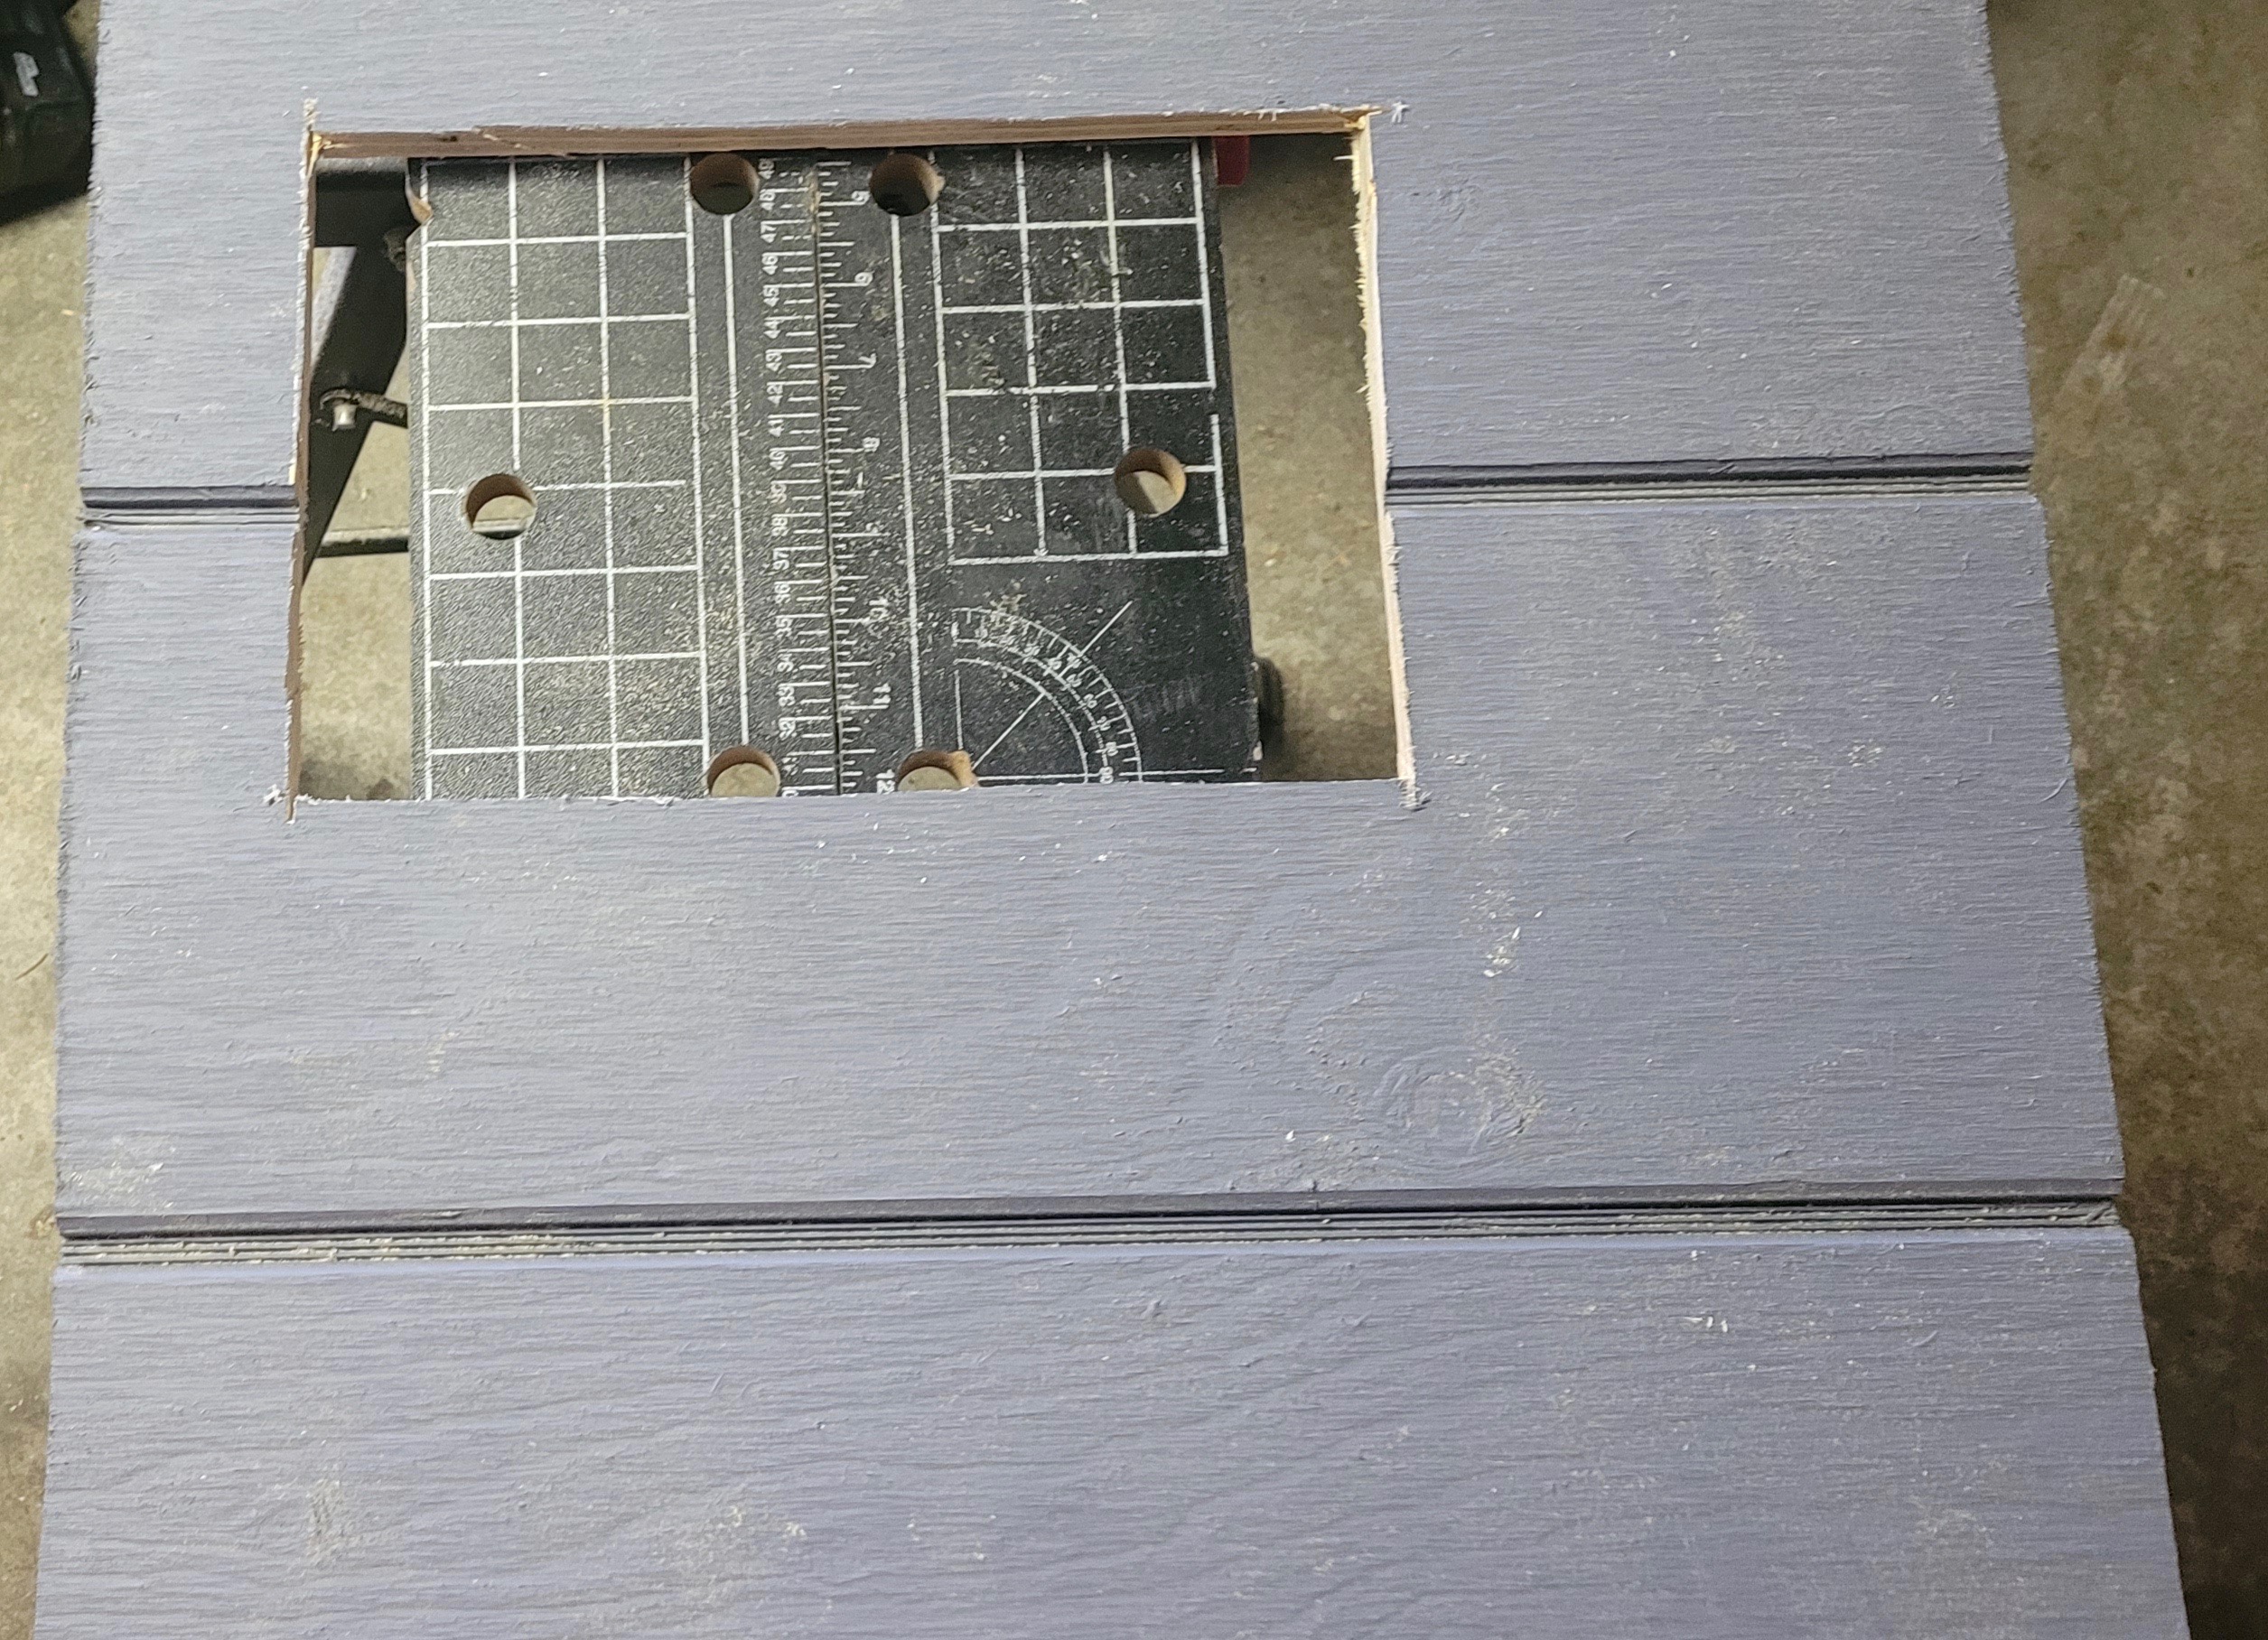
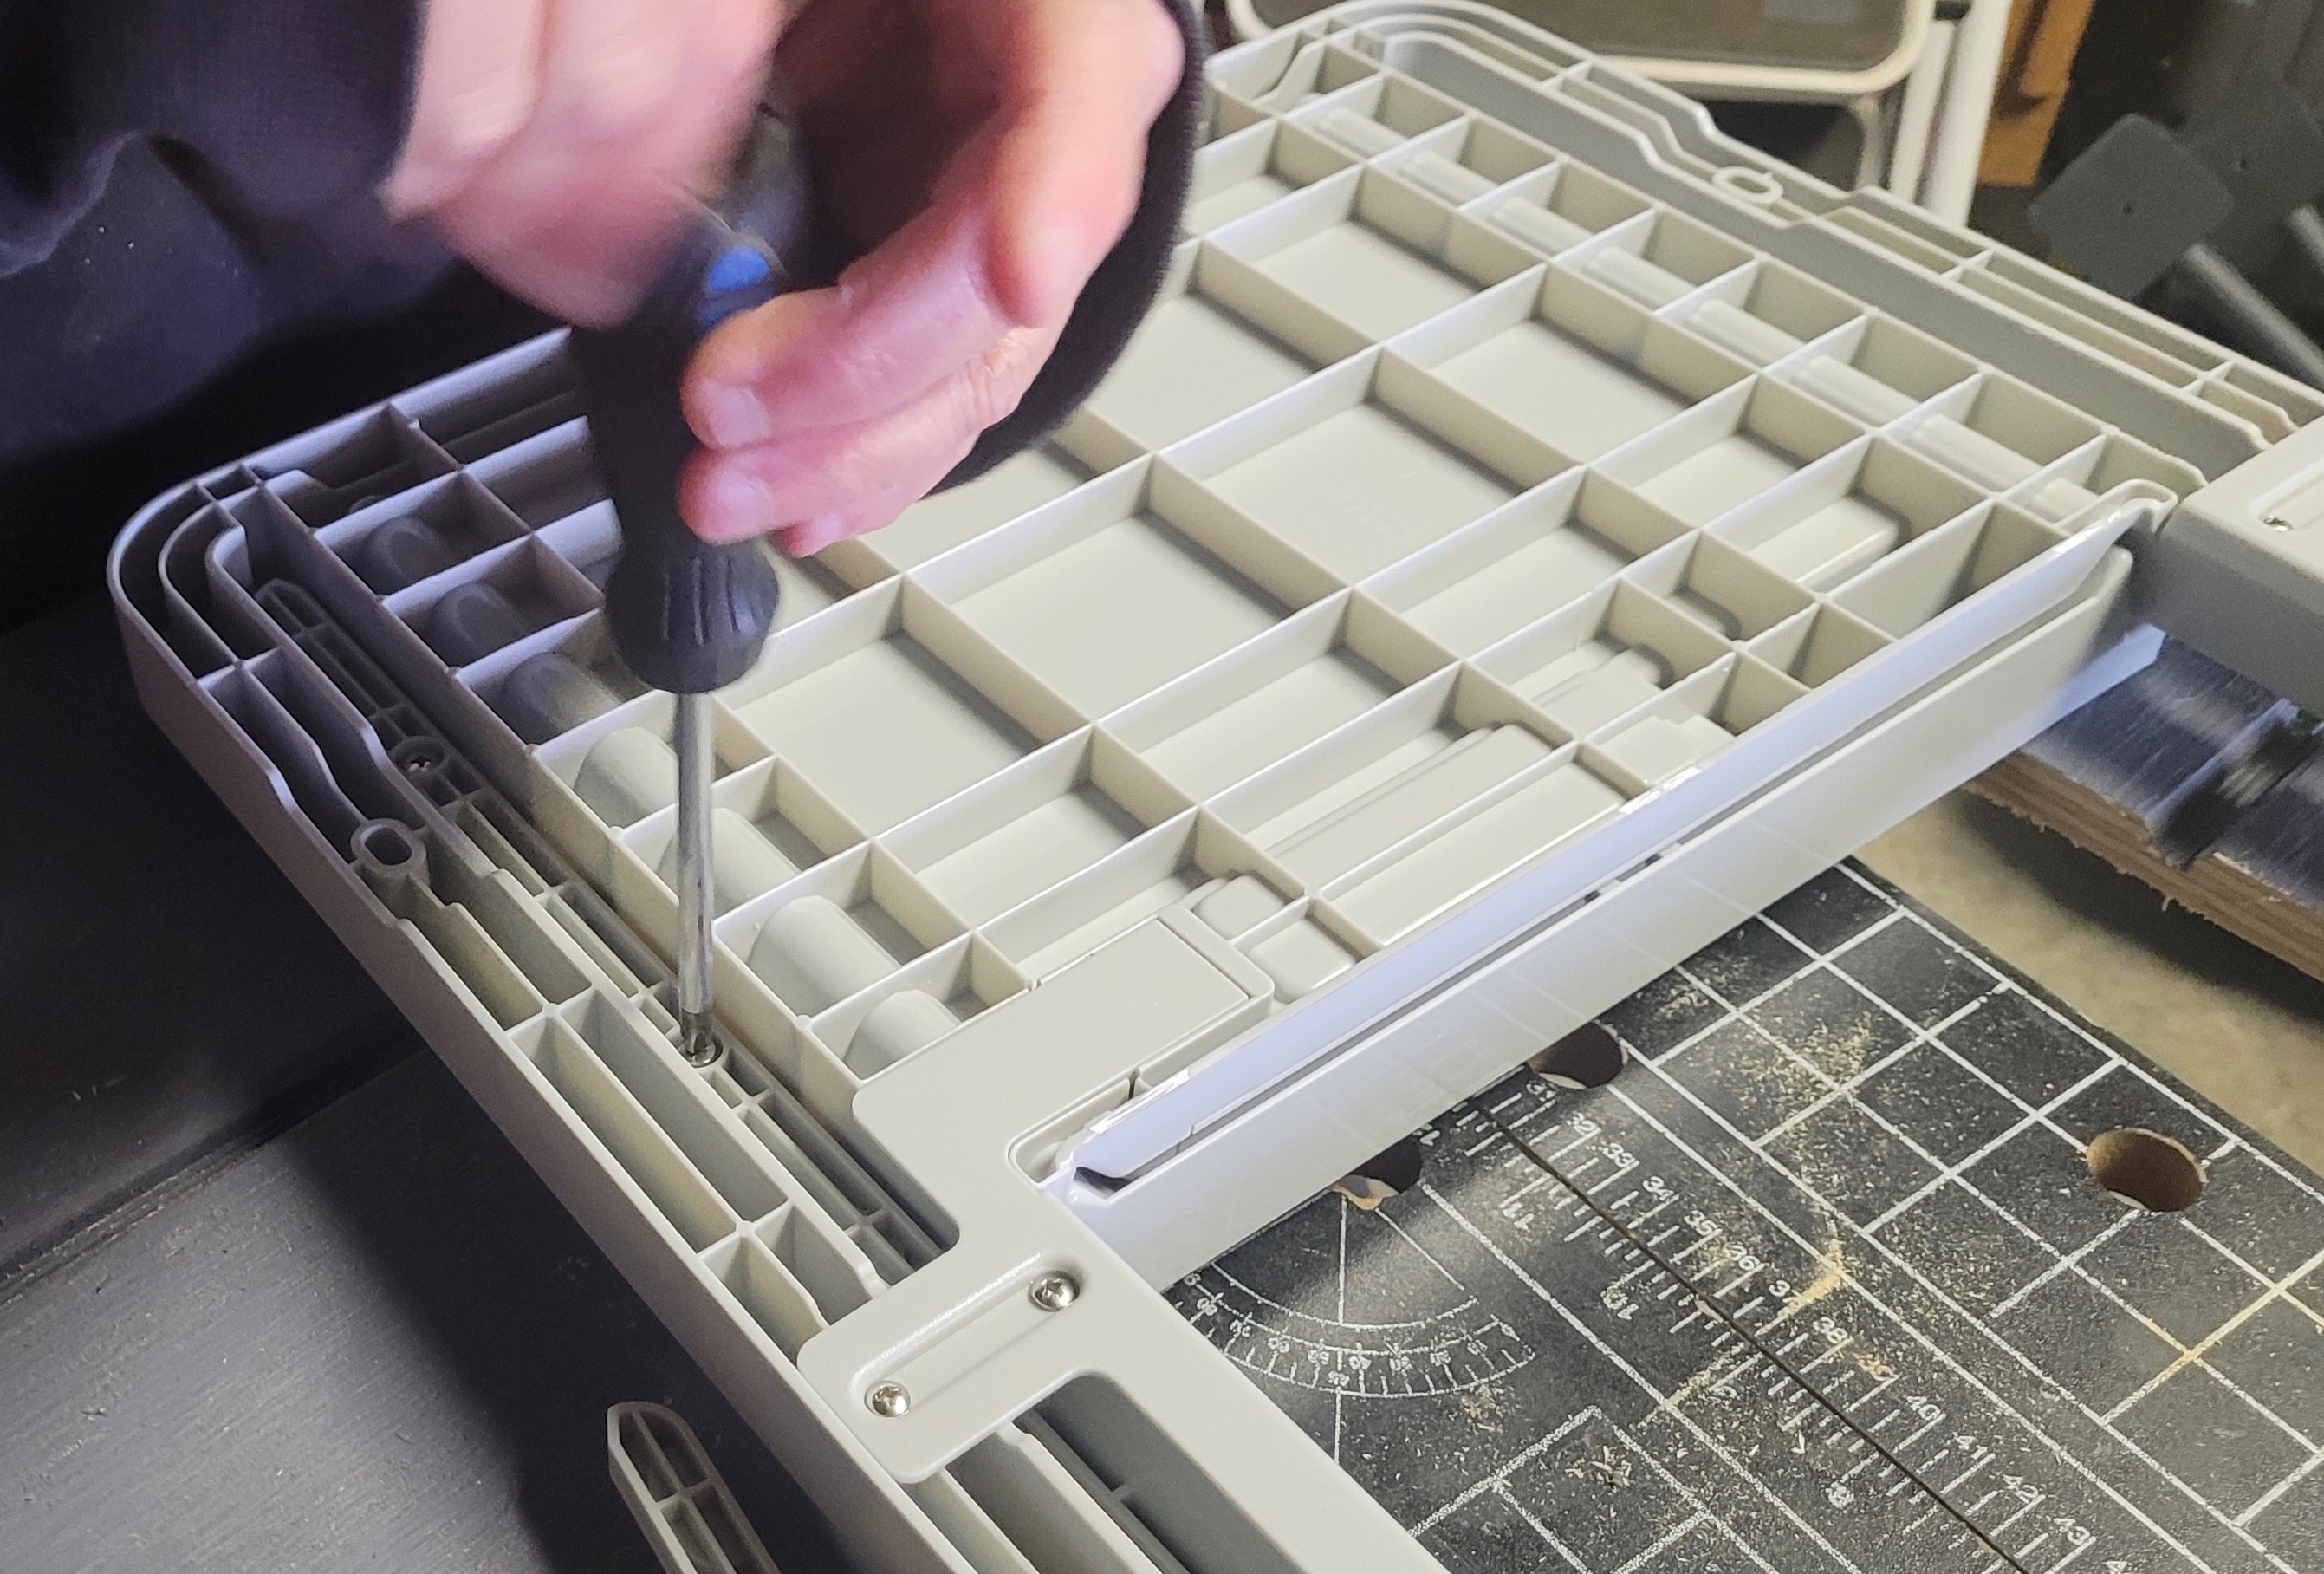
The first step was to trace out the template for the door opening and remove it using a skill saw. Once that was done, we set about figuring out where the Omlet hardware was meant to be installed. Full disclosure: both Tracy and I are a bit impatient and in our rush we missed a step and had to undo a couple of things and start over again. My suggestion is to read the booklet in full before you start so you understand the order of tasks. Things got better when we paid closer attention to the instructions.
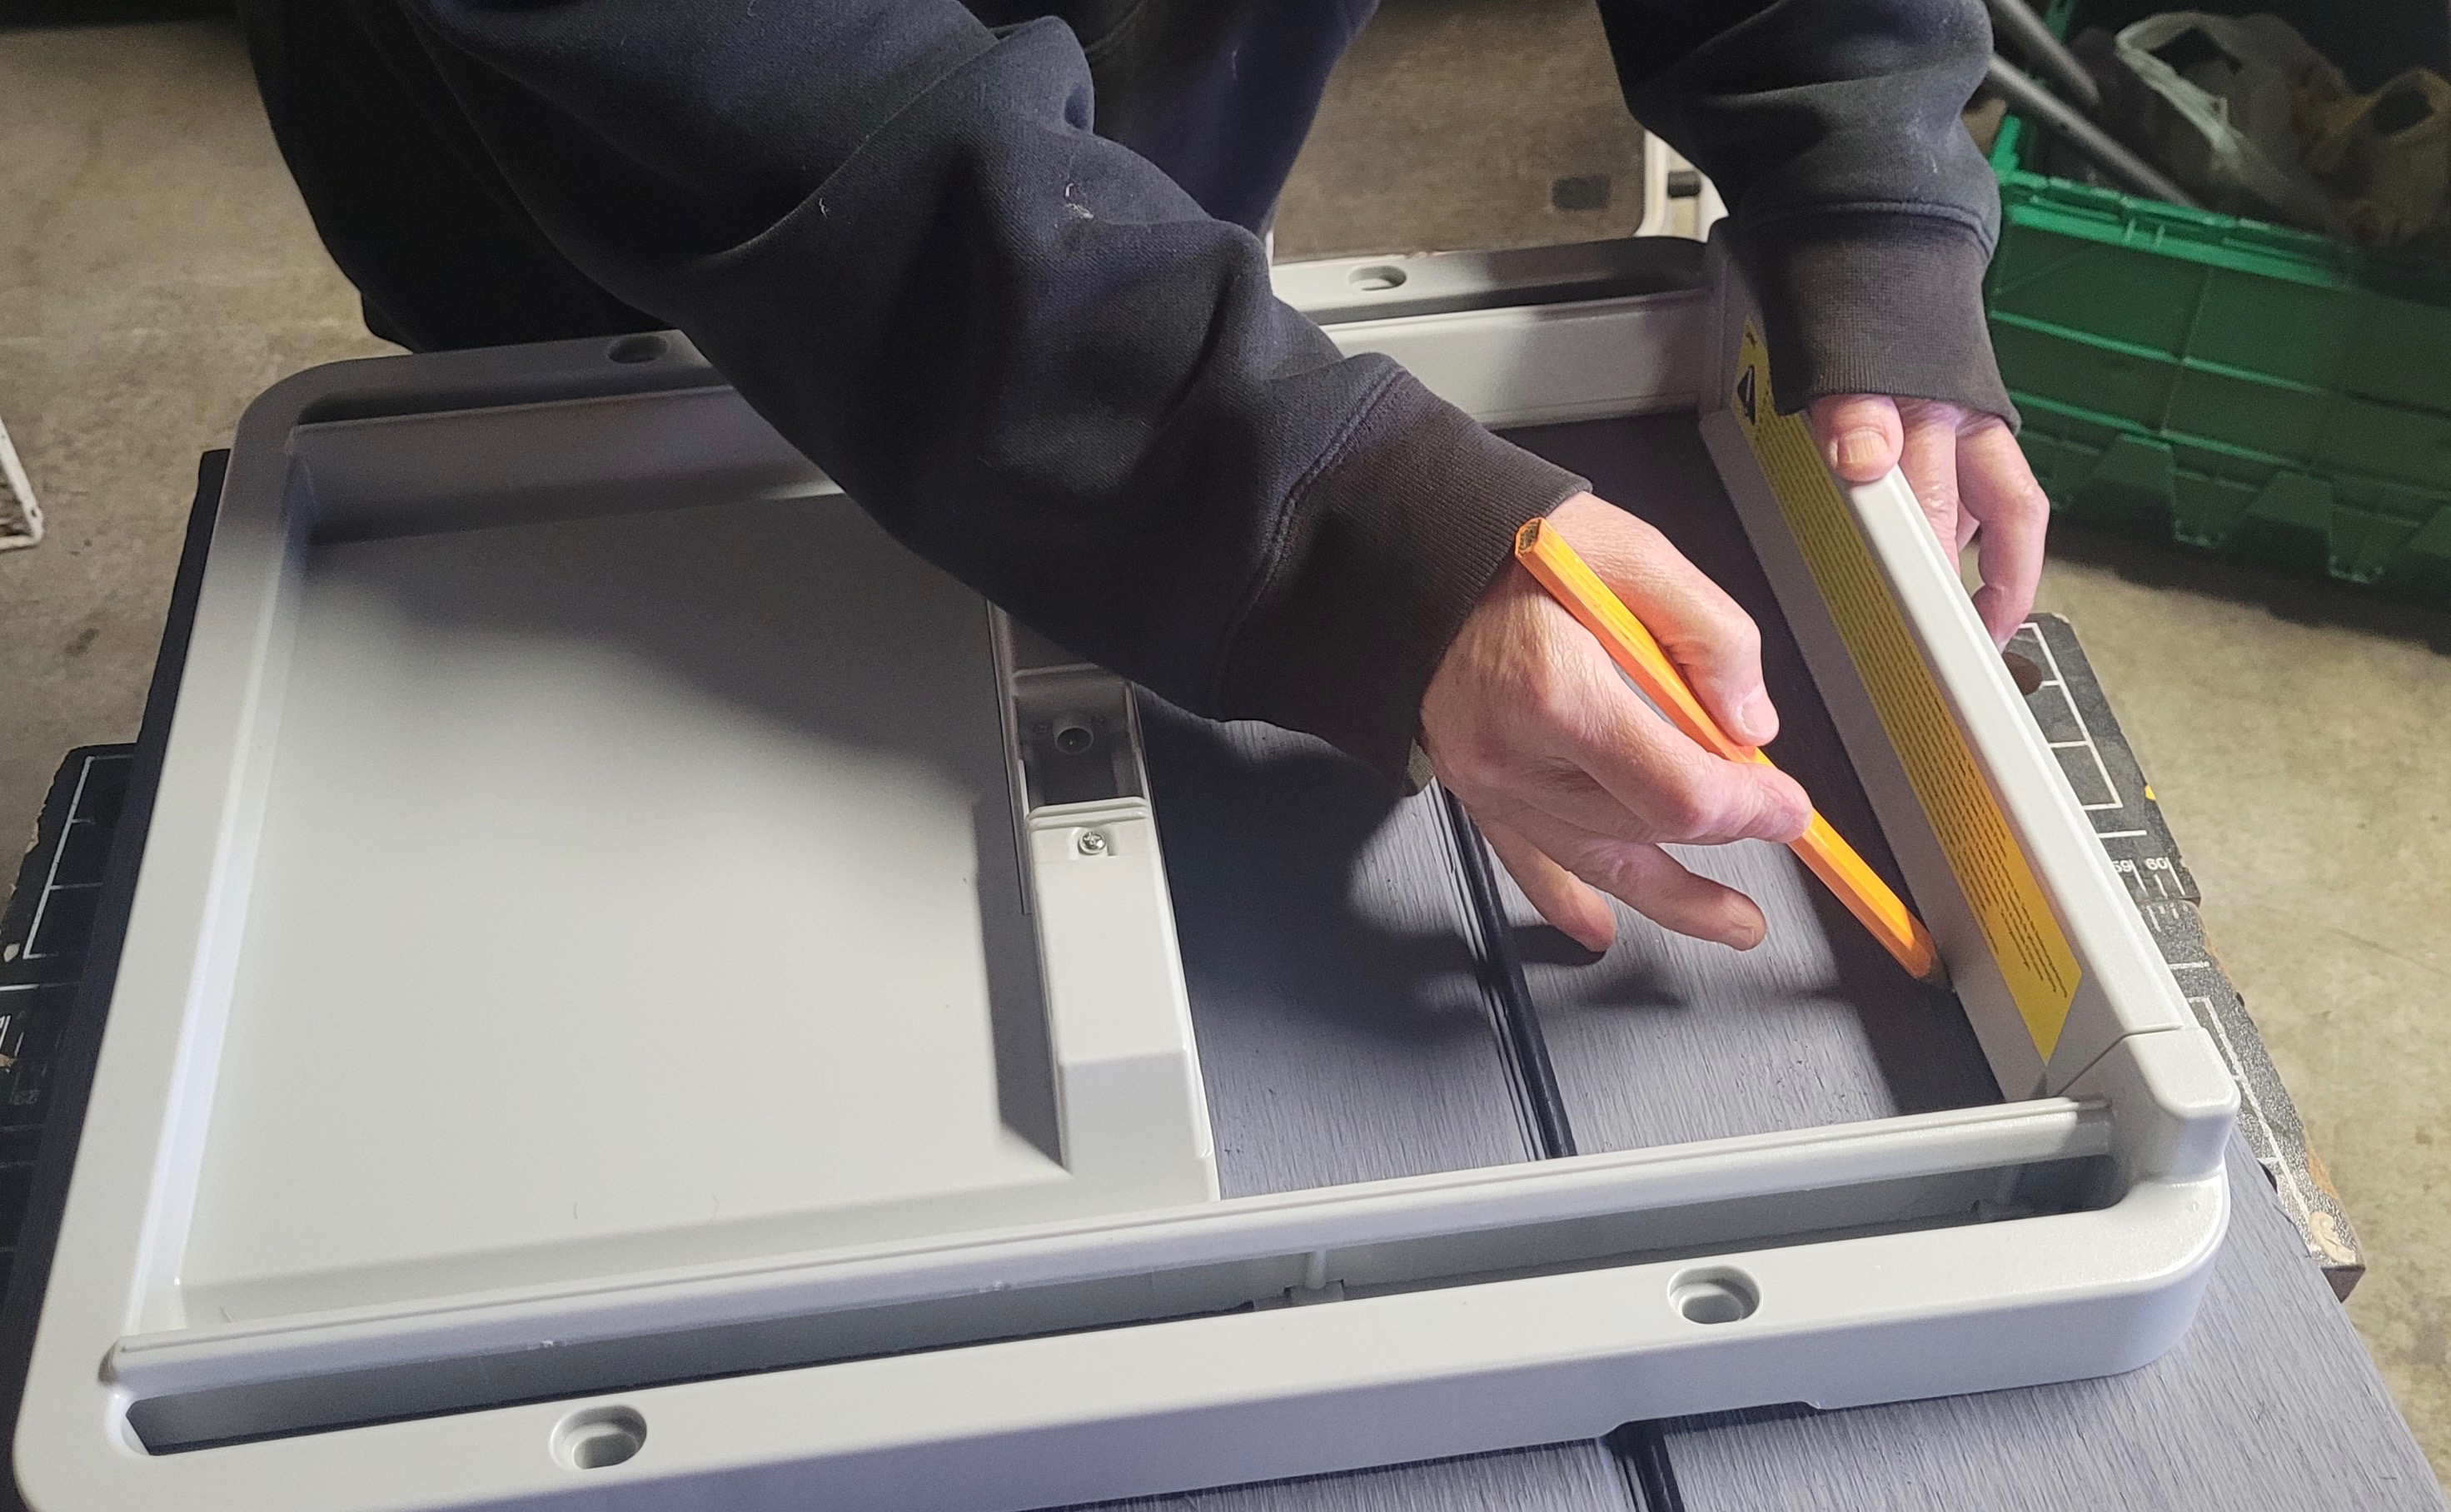
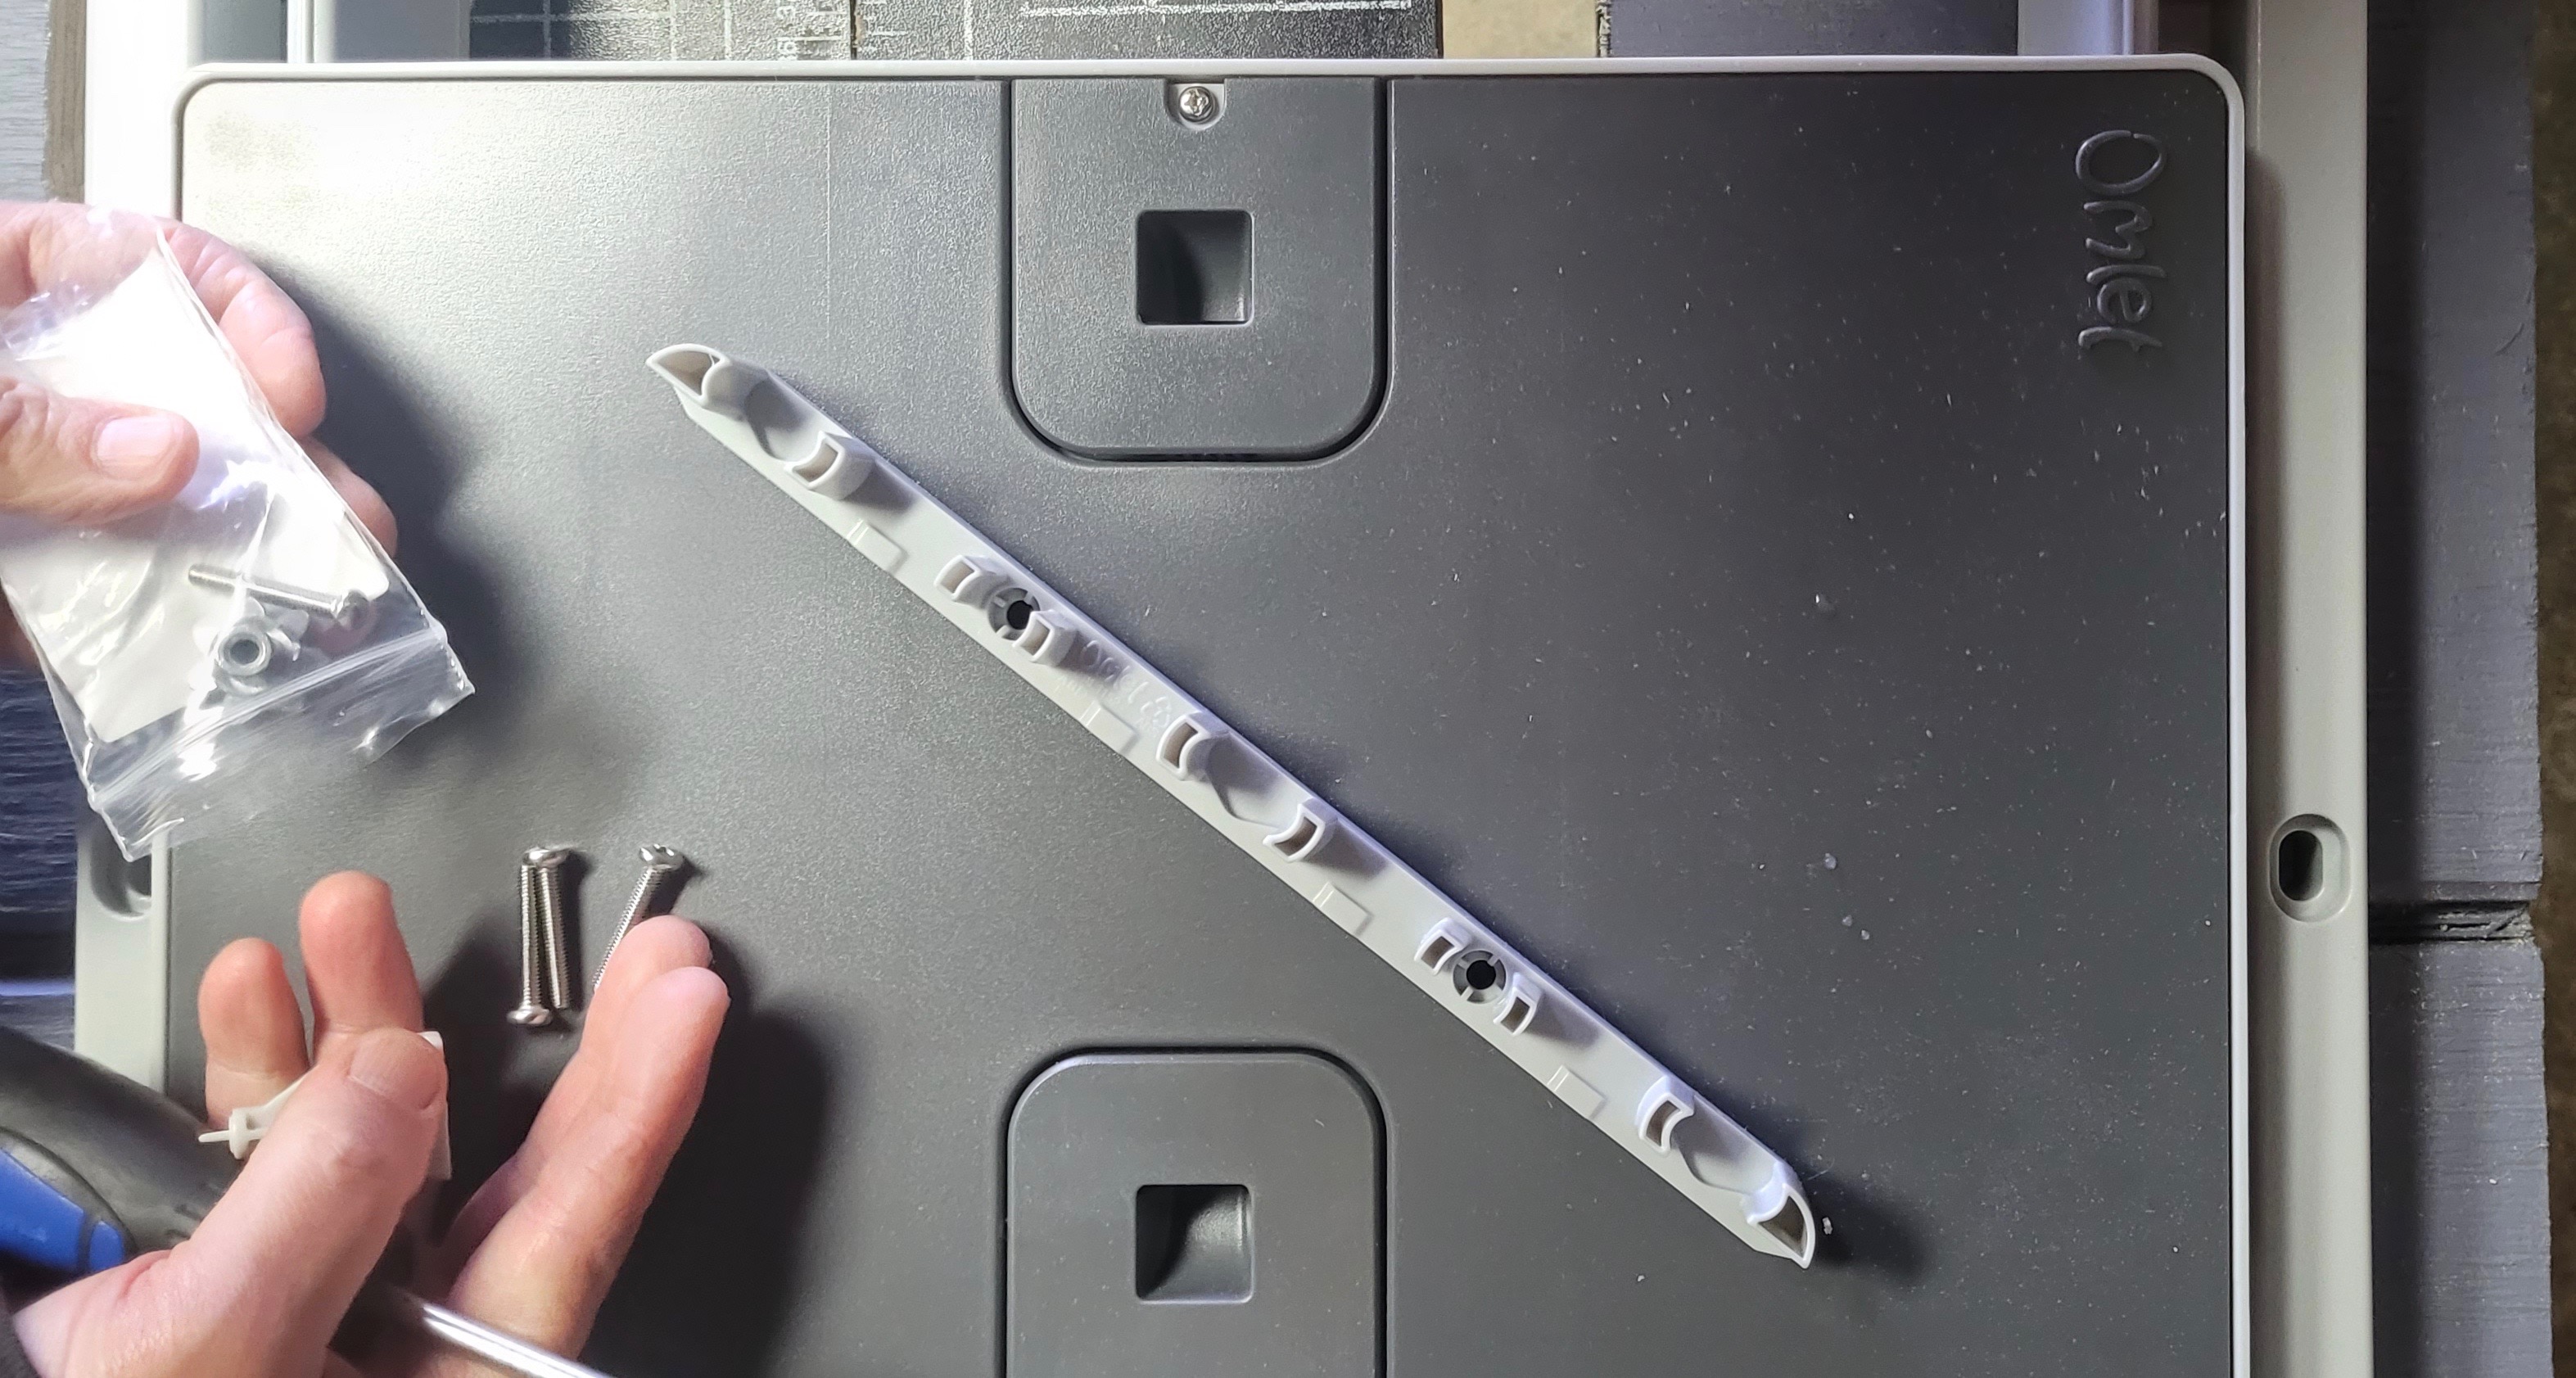
The door can be mounted so that it opens from either the right or the left giving it some versatility. In order for that to happen you’ll be required to install several pieces of hardware yourself based on how you want to orient your door opening. We grumbled about having to do those few steps ourselves, but later realized that it was necessary for that option to be possible. The horizontal door was ideal for this coop, as I don’t have a lot of clearance above the door for a vertical style one.
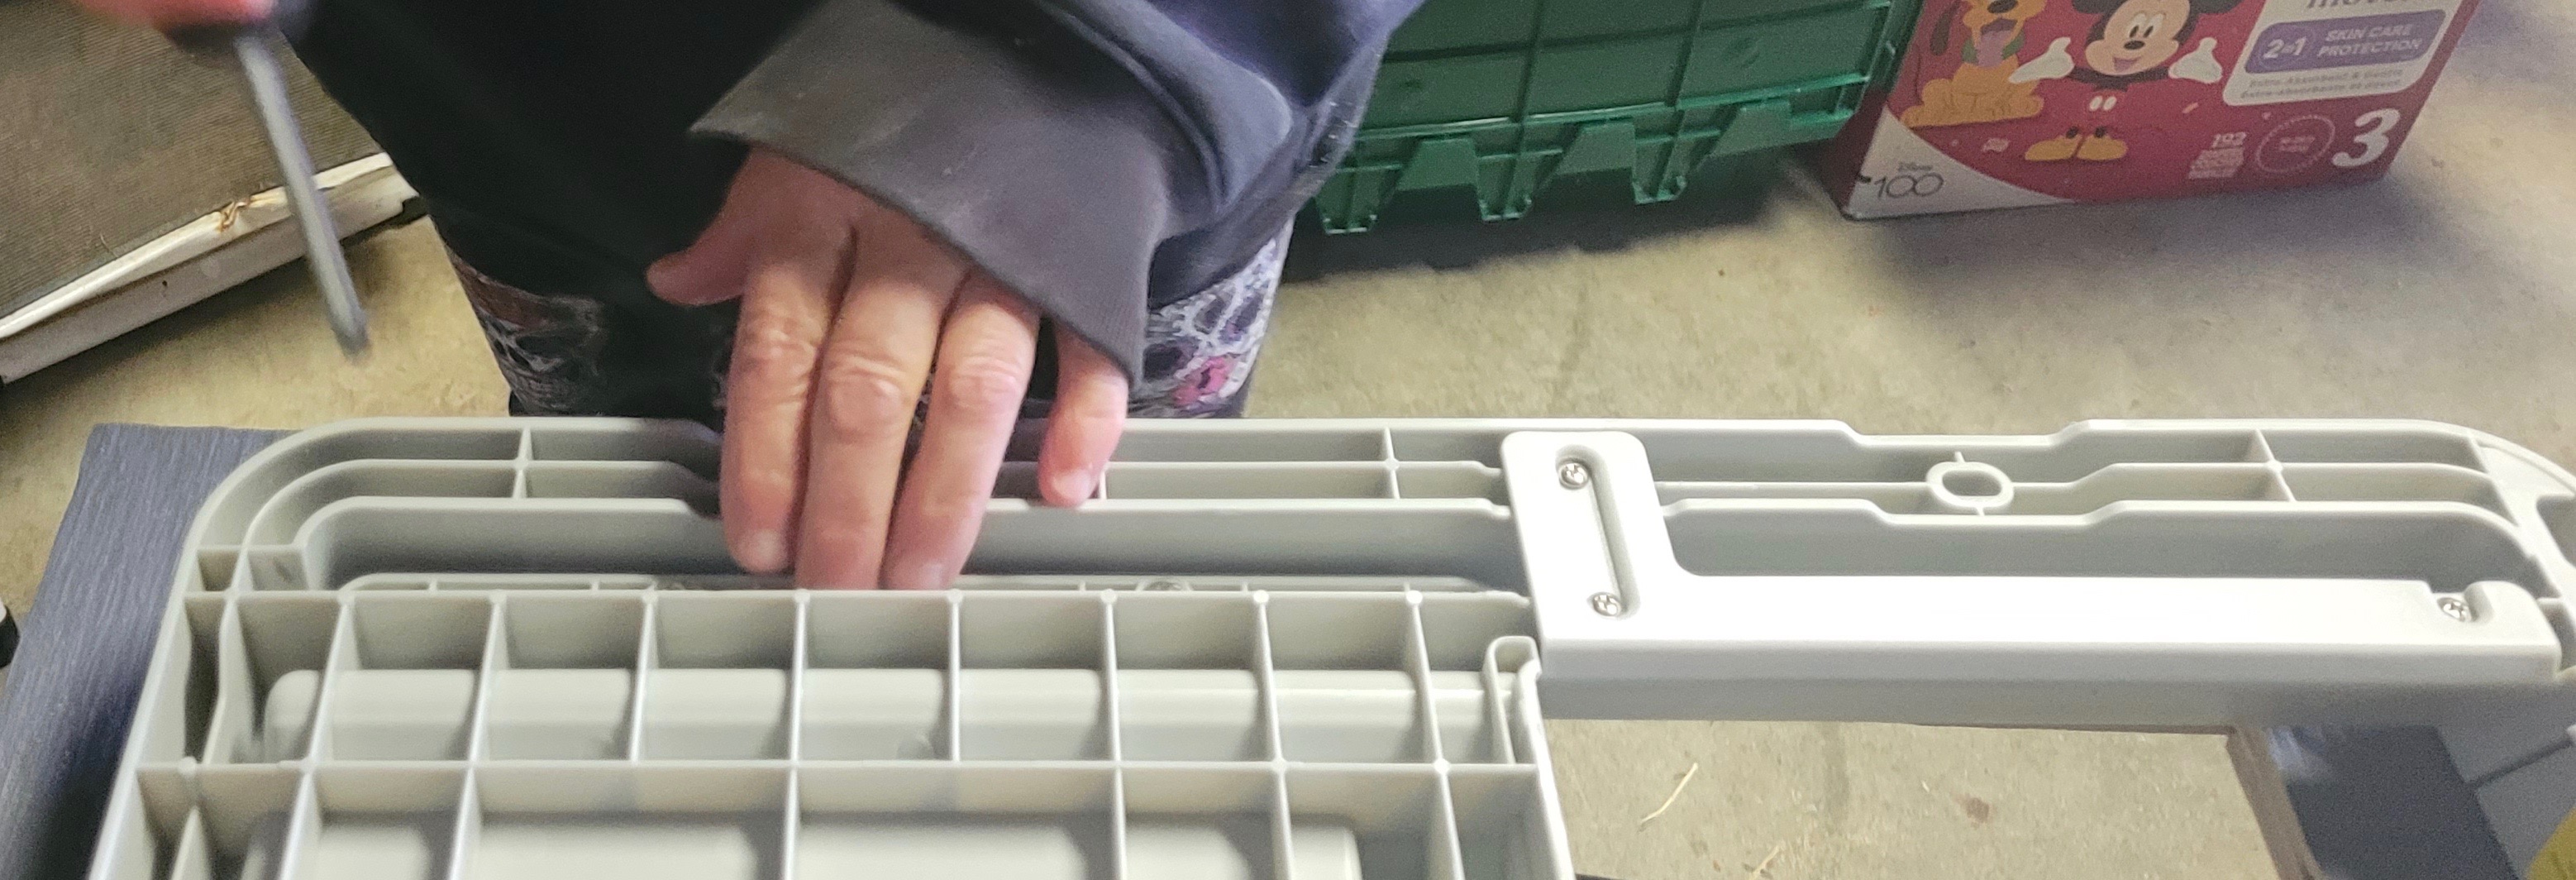
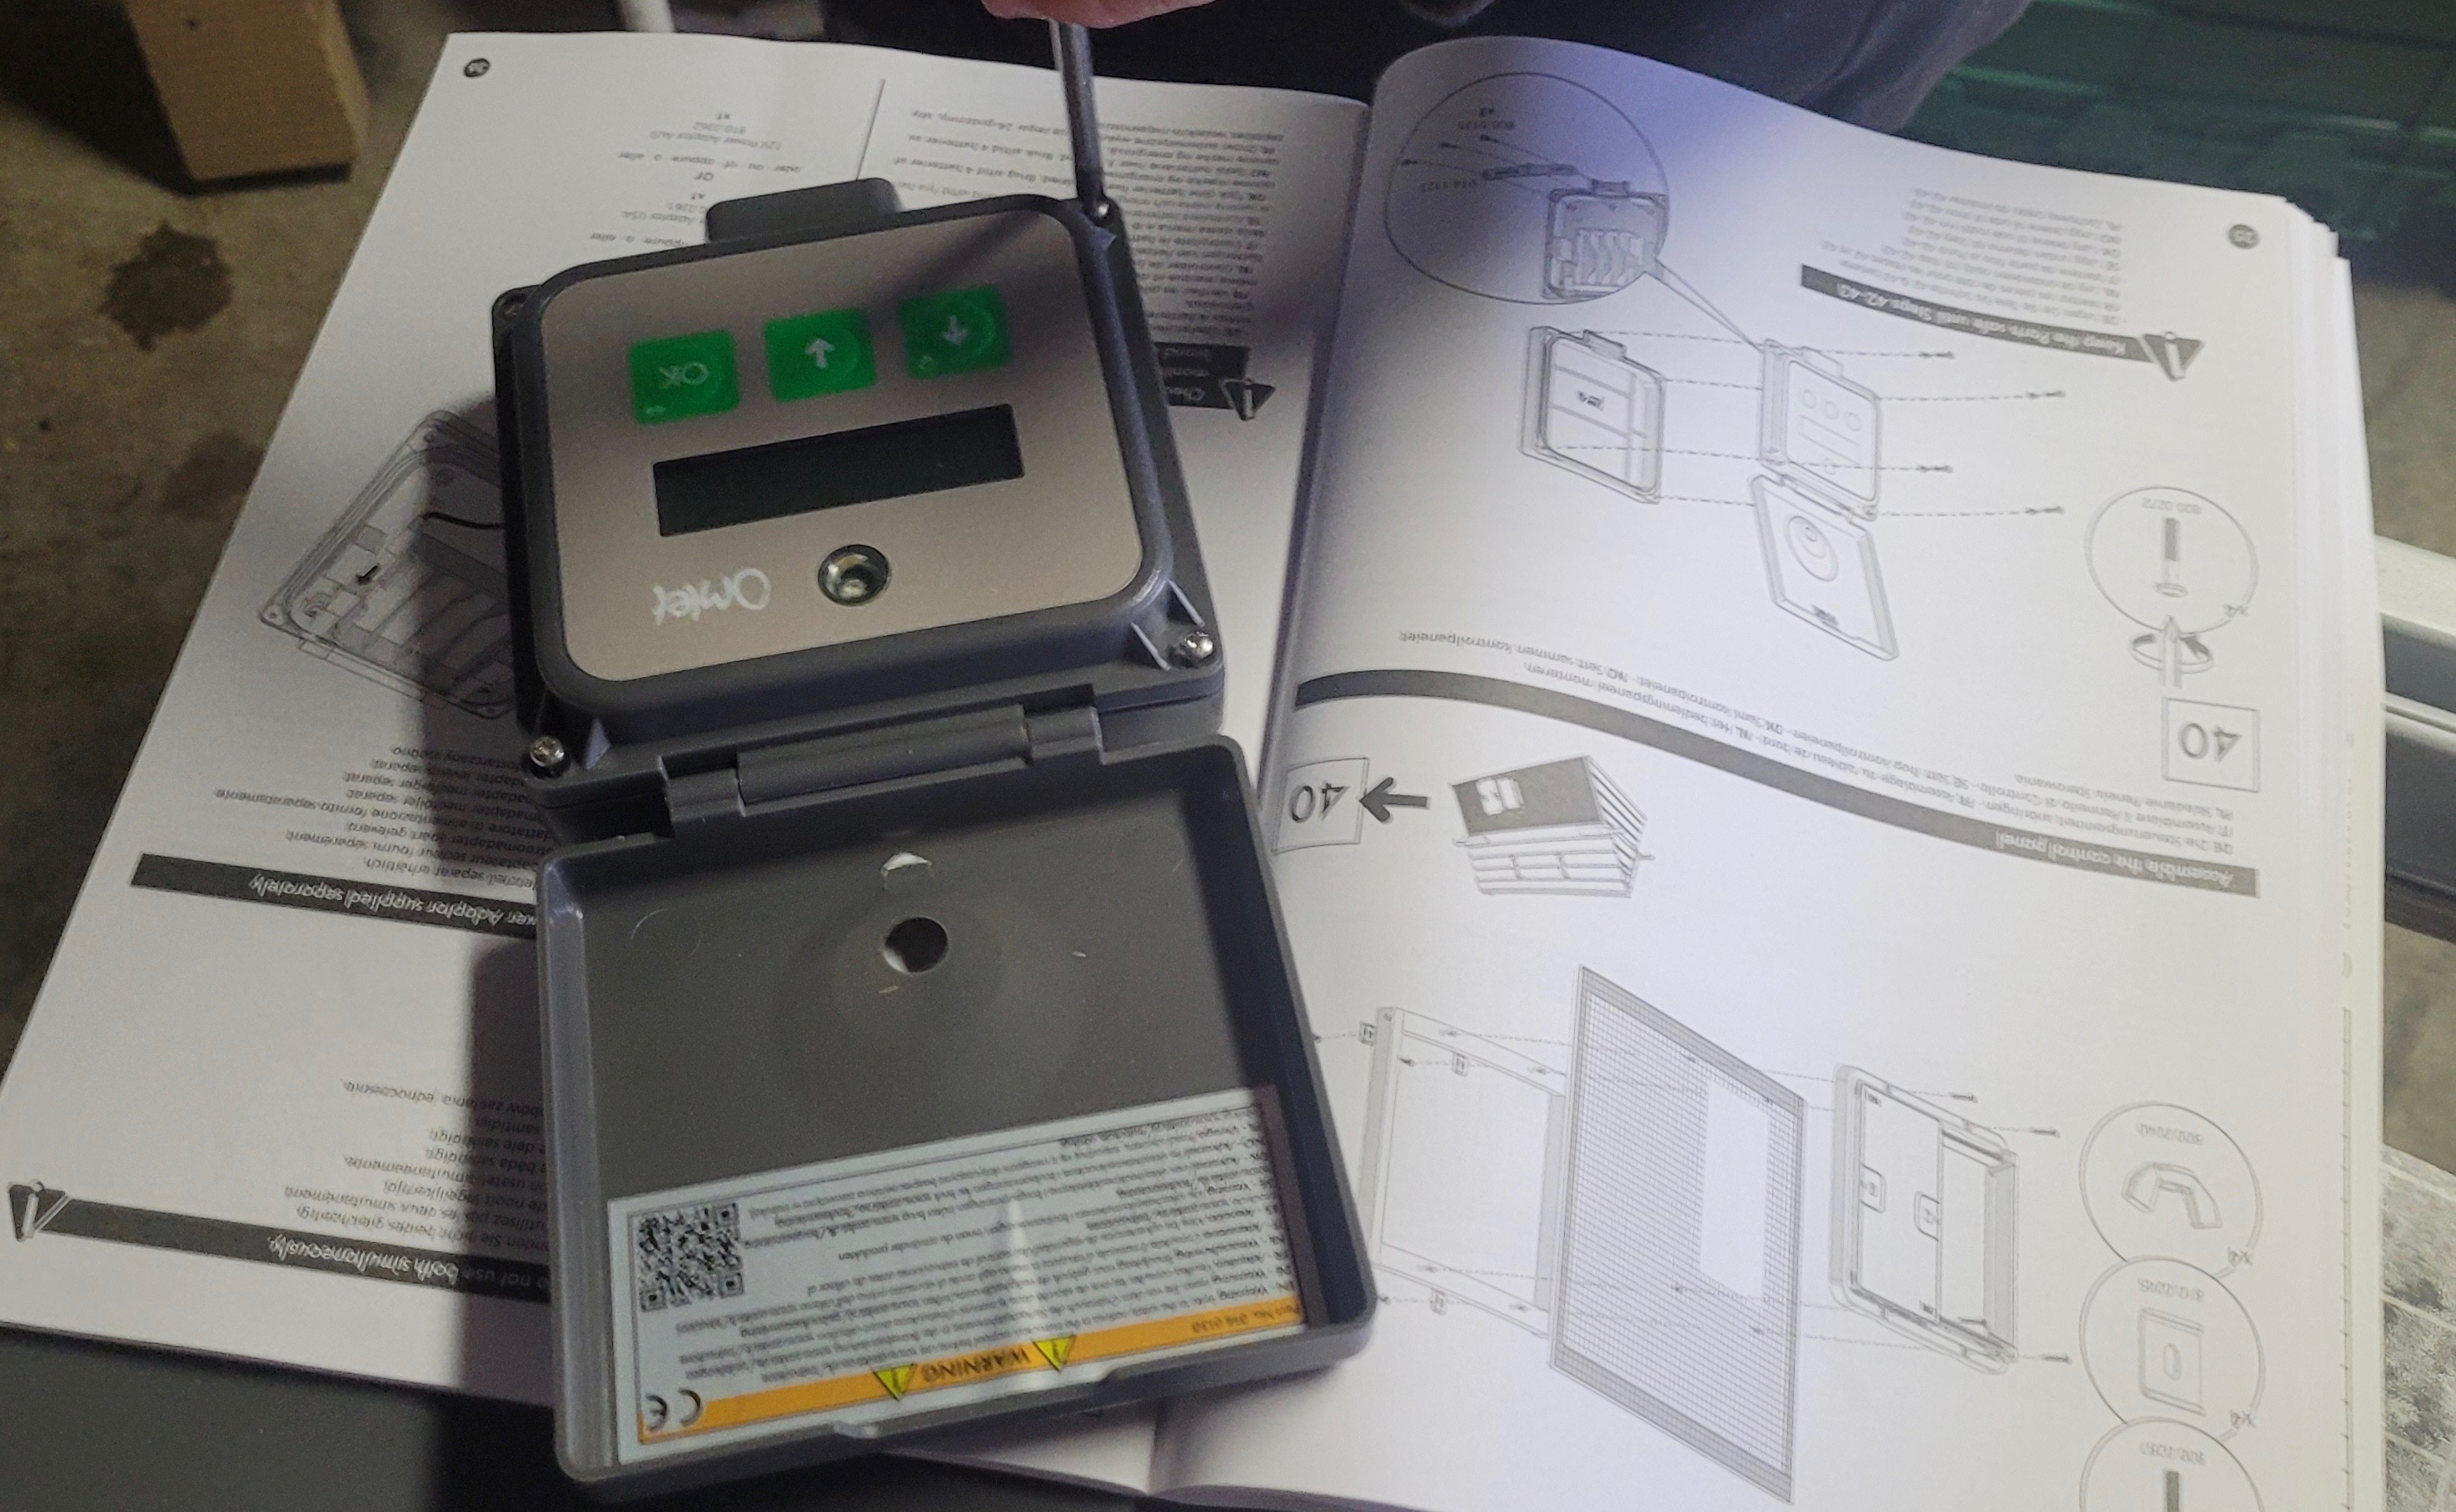
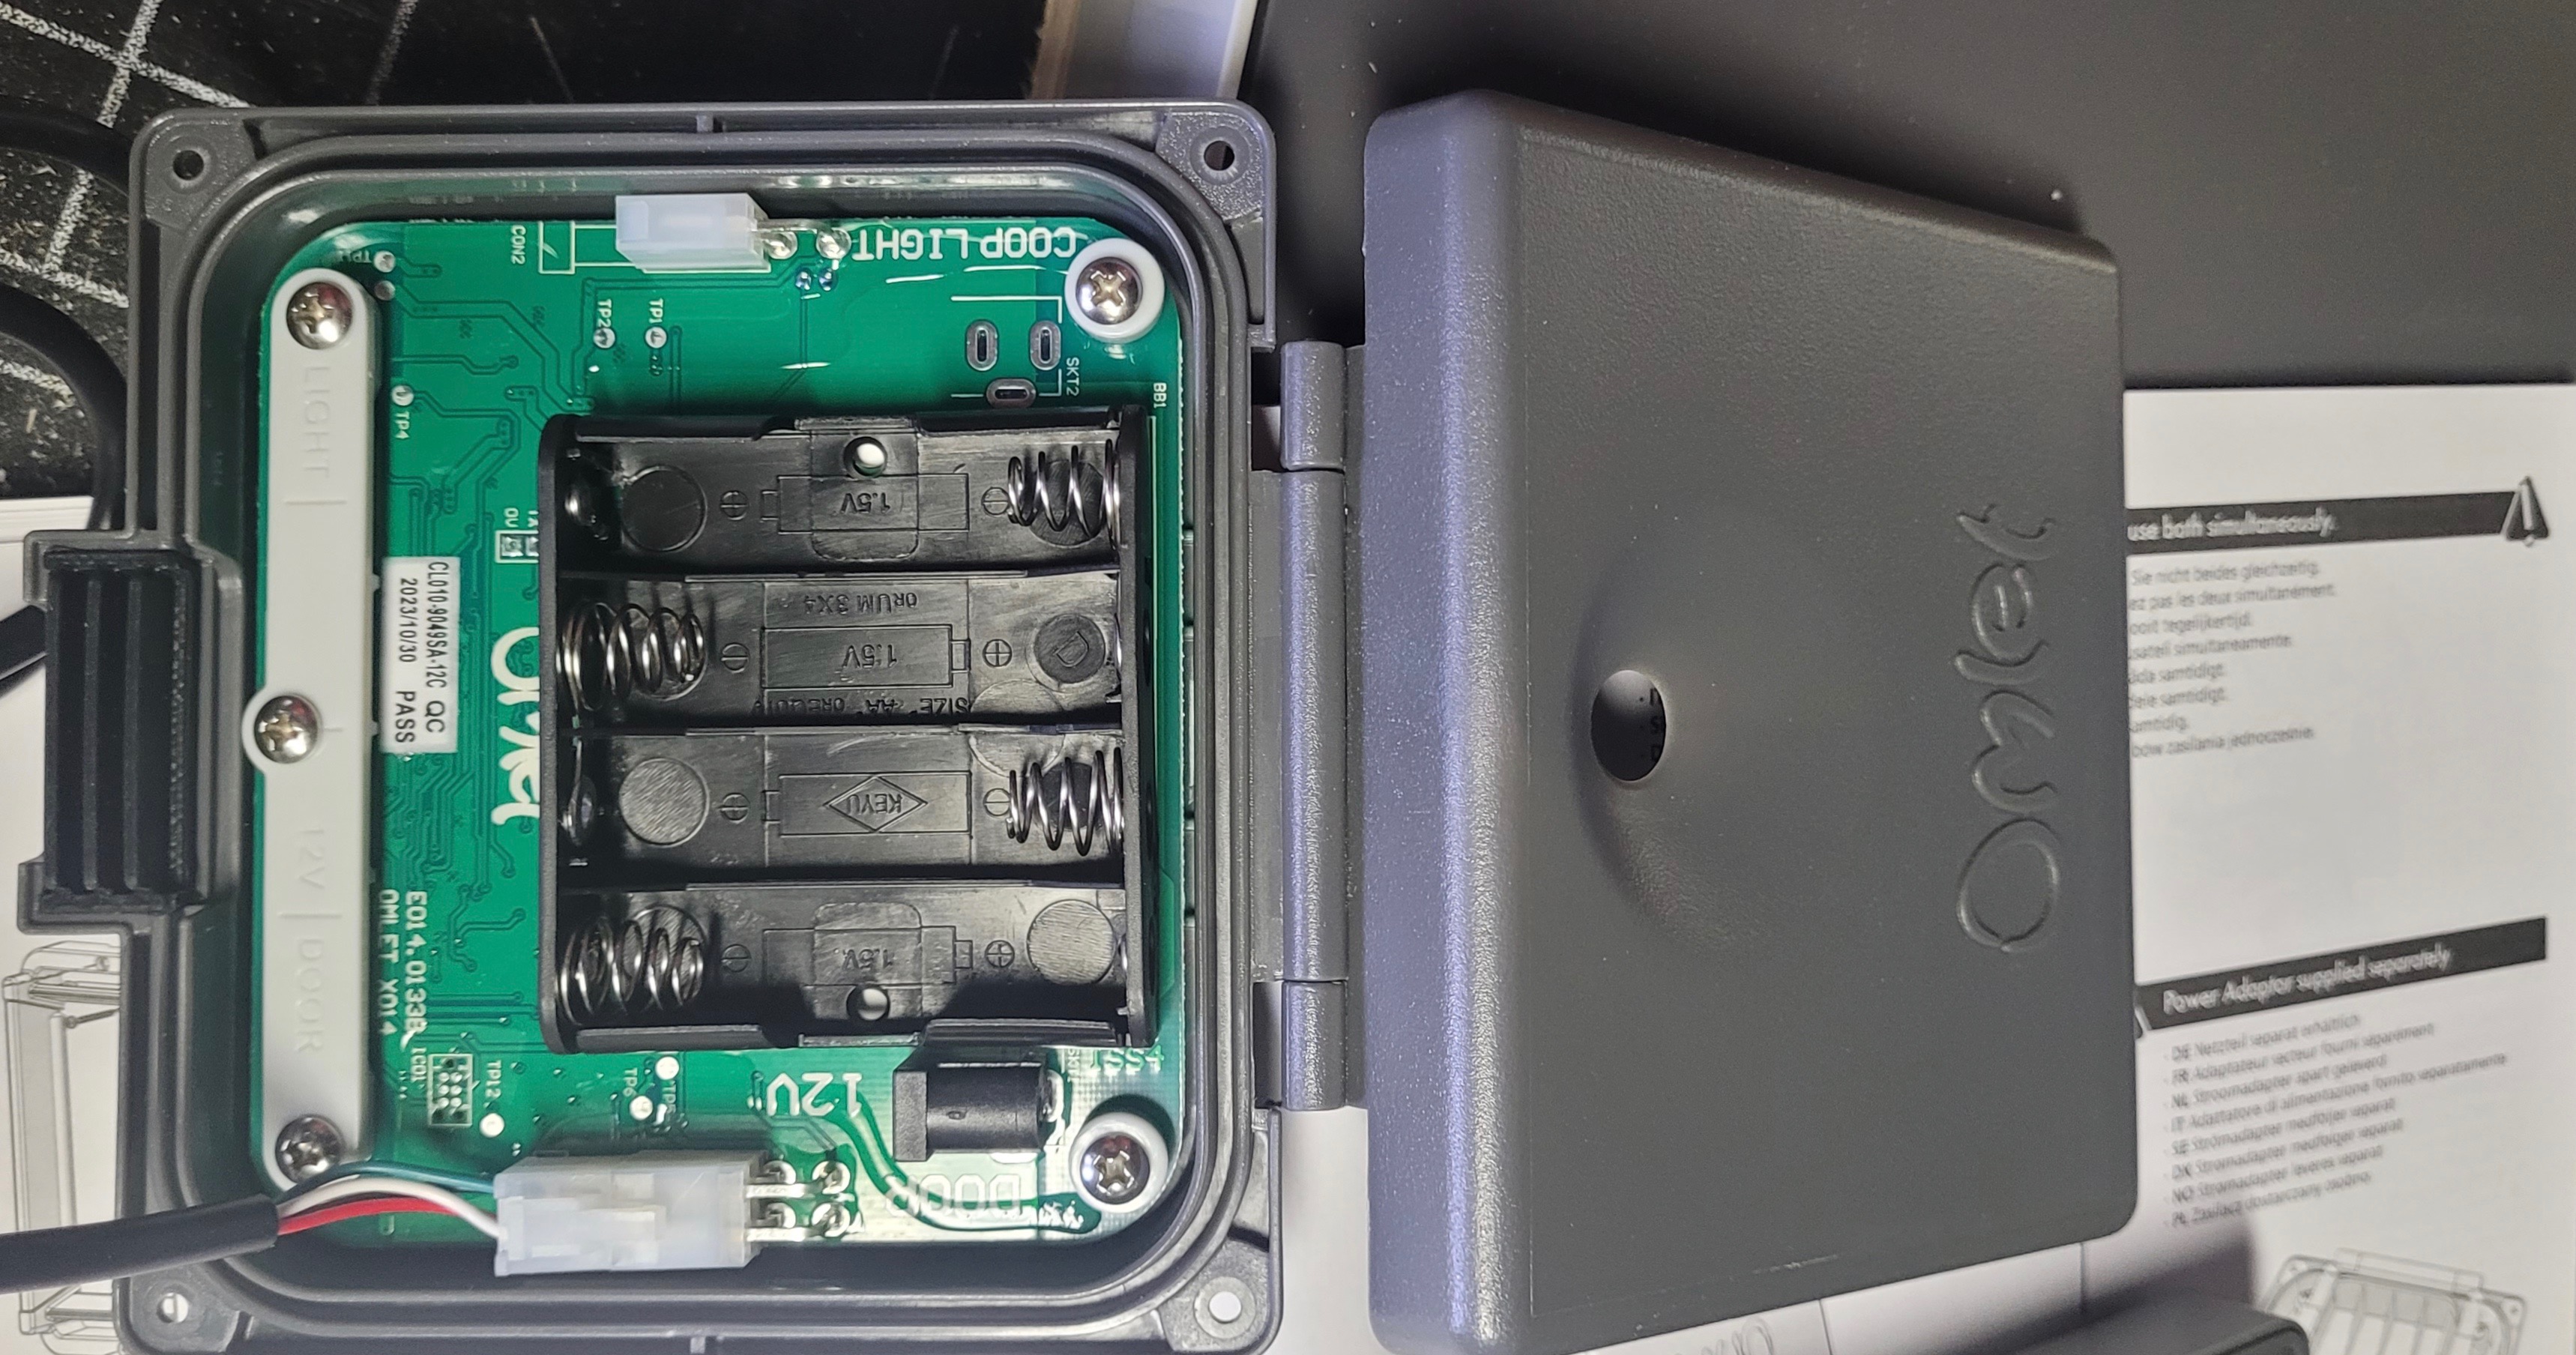
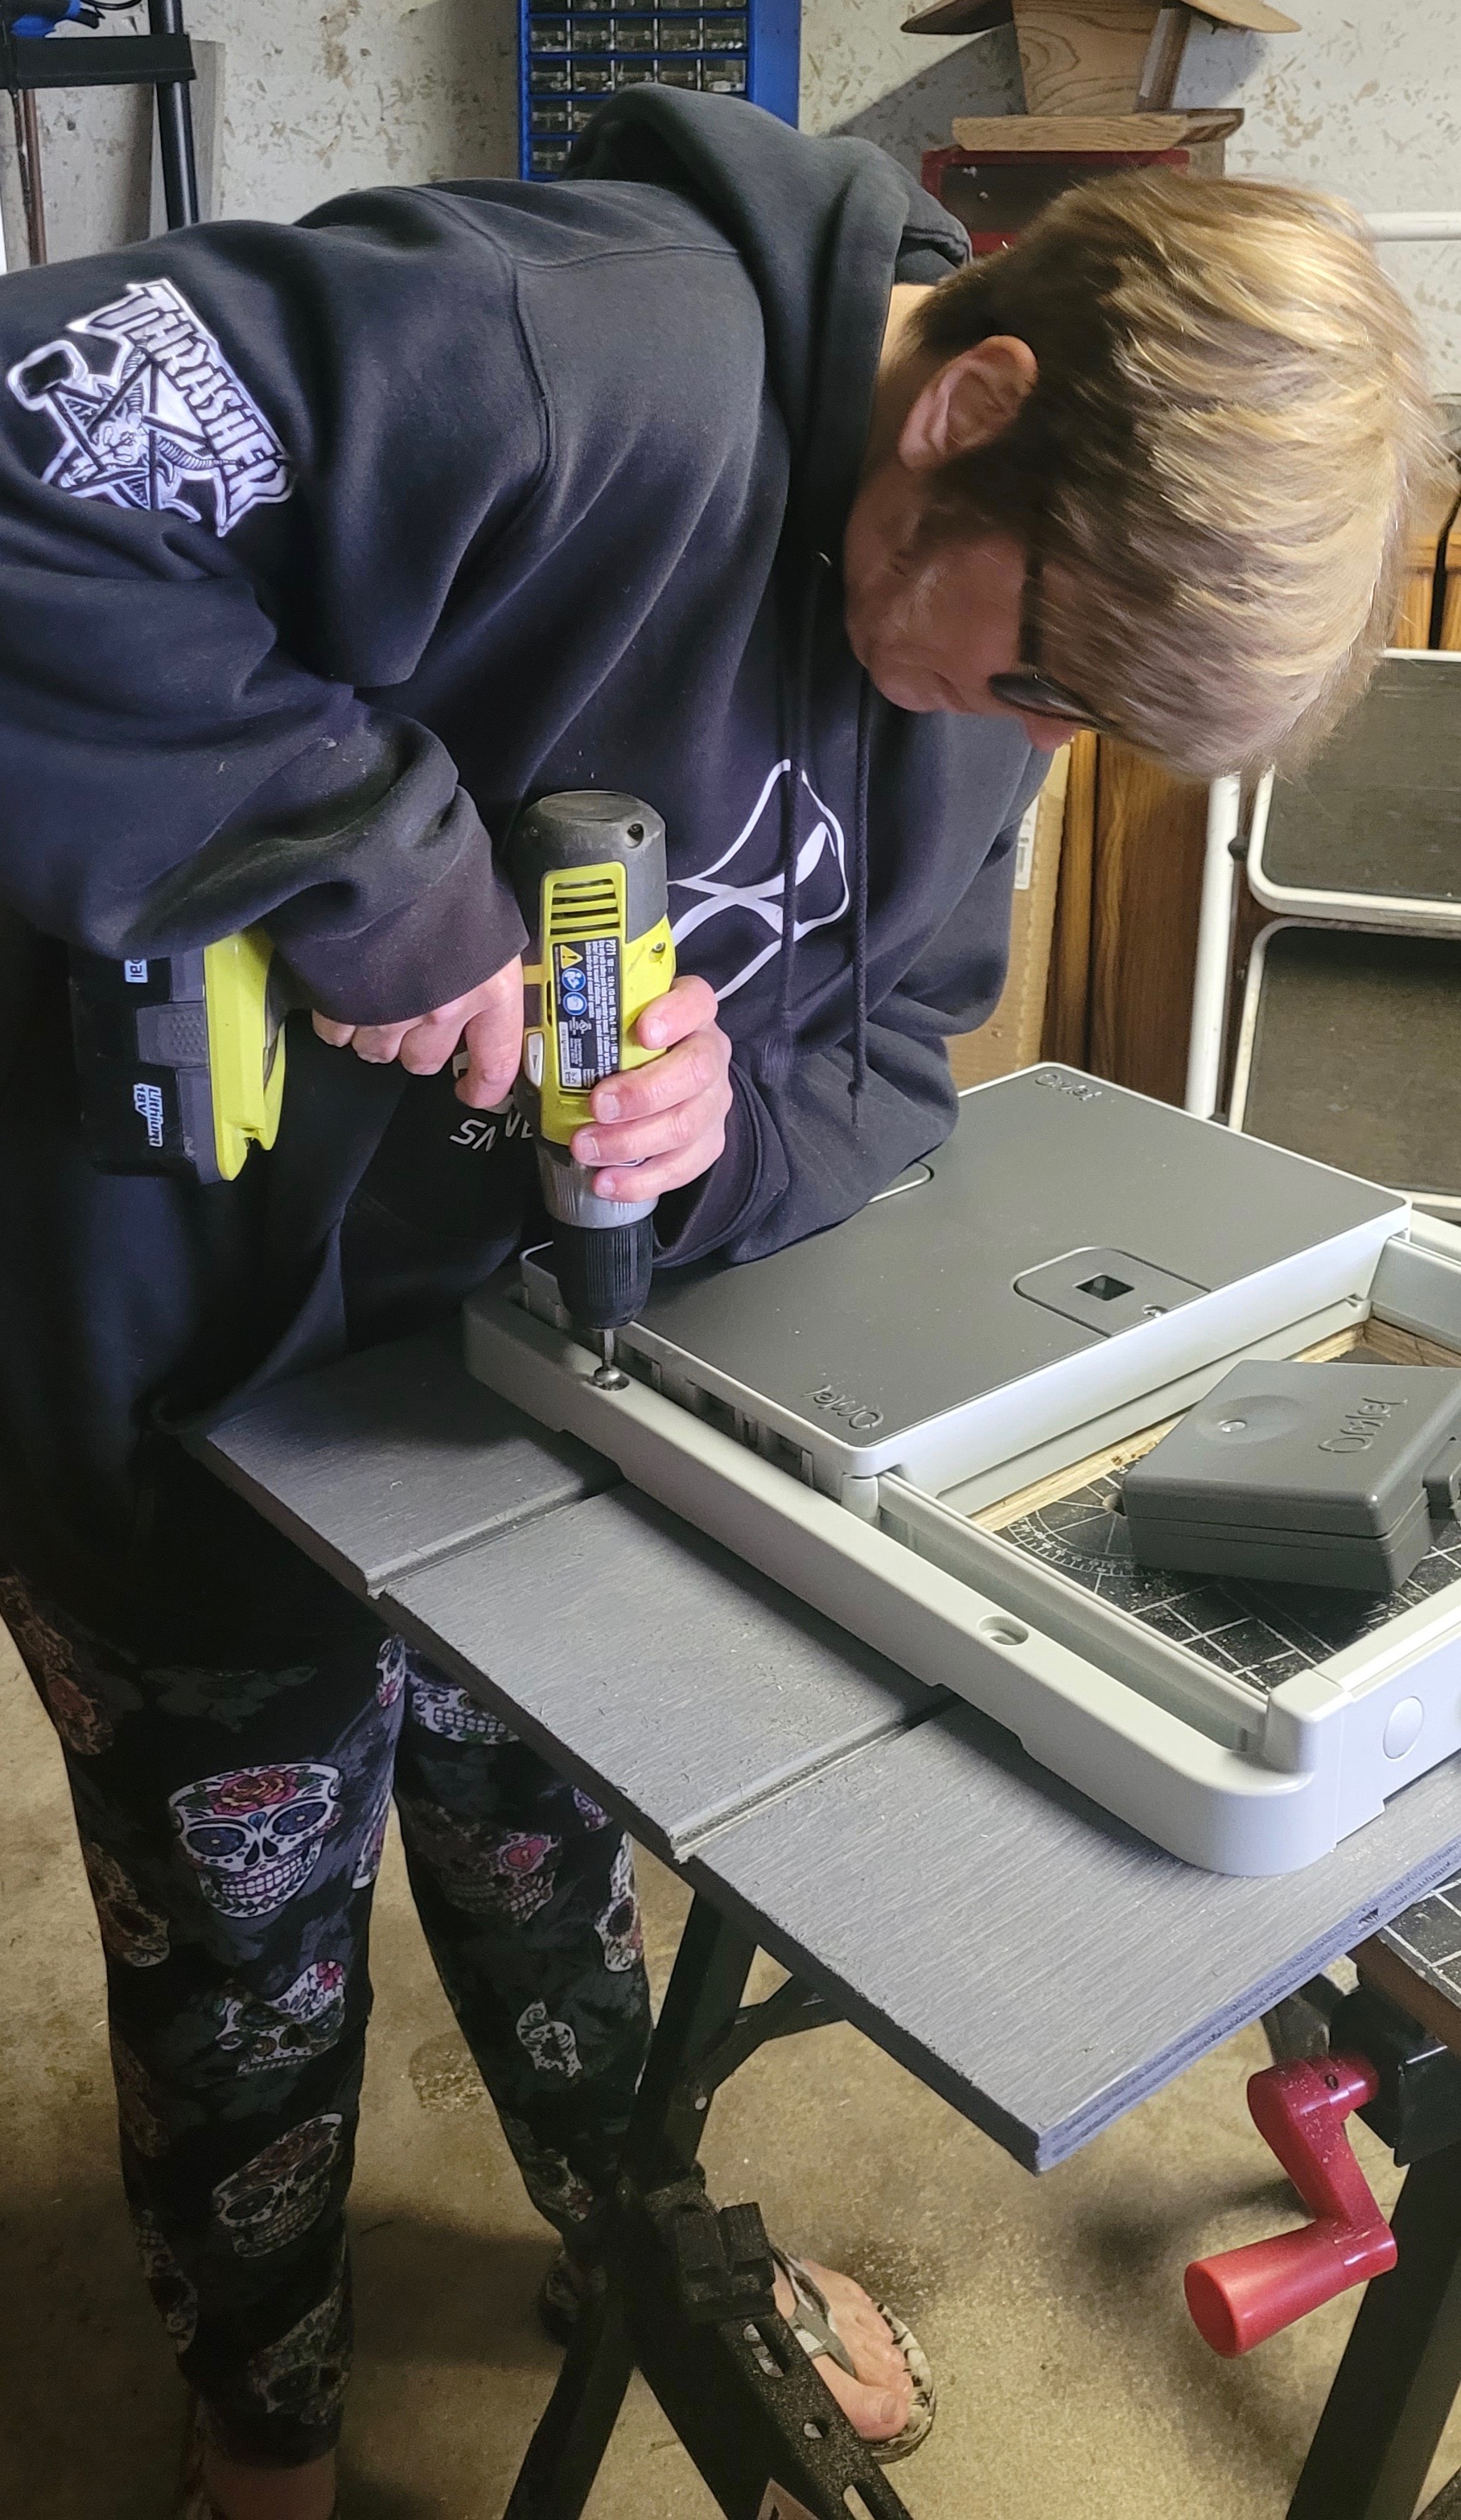
Once the door was affixed to the frame – a task which required several steps it was on to dealing with the control panel box. Tracy detached four screws and handed them to me for safekeeping. The cable needs to be connected within the box and four batteries installed. It turned out the door didn’t come with batteries unlike my previous three doors and Tracy didn’t have any.
We decided to close up the control panel to protect the interior and I would add the batteries later. Somehow we forgot which way the screws were oriented and attempted to put them in from the back to the front of the box instead of the other way round. As you can imagine, they fit but were slightly too short so the box kept popping open. We tried and failed and couldn’t figure out what we were doing wrong, when Tracy shouted, “We’re f-ing idiots!”, then reoriented the screws. Note to self: remember how you took something apart so you don’t end up cursing a plastic chicken door for your failings.
Last step was screwing the whole assembly to my painted panel. The screws that were provided didn’t work for our application but Tracy found some that the previous homeowner had left in the garage and they worked perfectly.
Even though it’s just a chicken coop I wanted to paint the exposed wood that was cut out for the door. Some painters’ tape to protect the door and two coats and it was ready to make its debut.
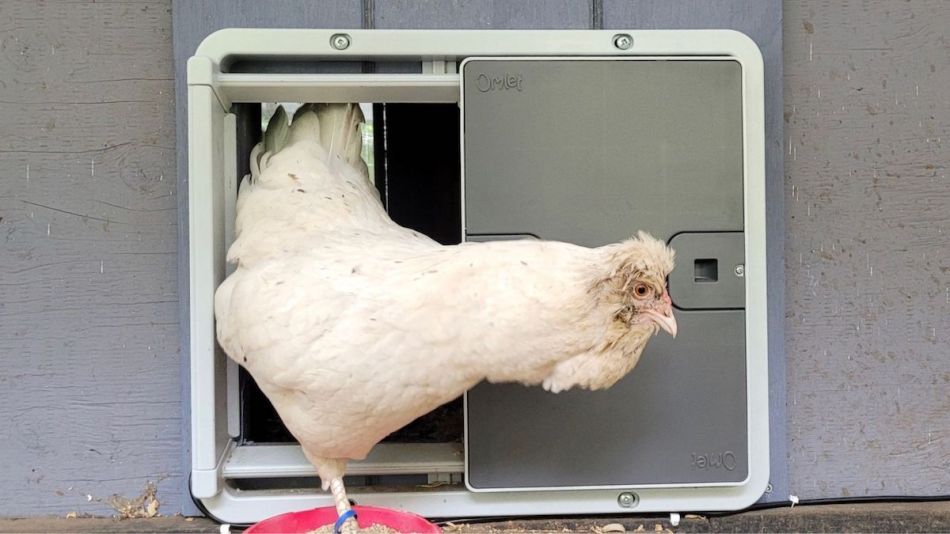
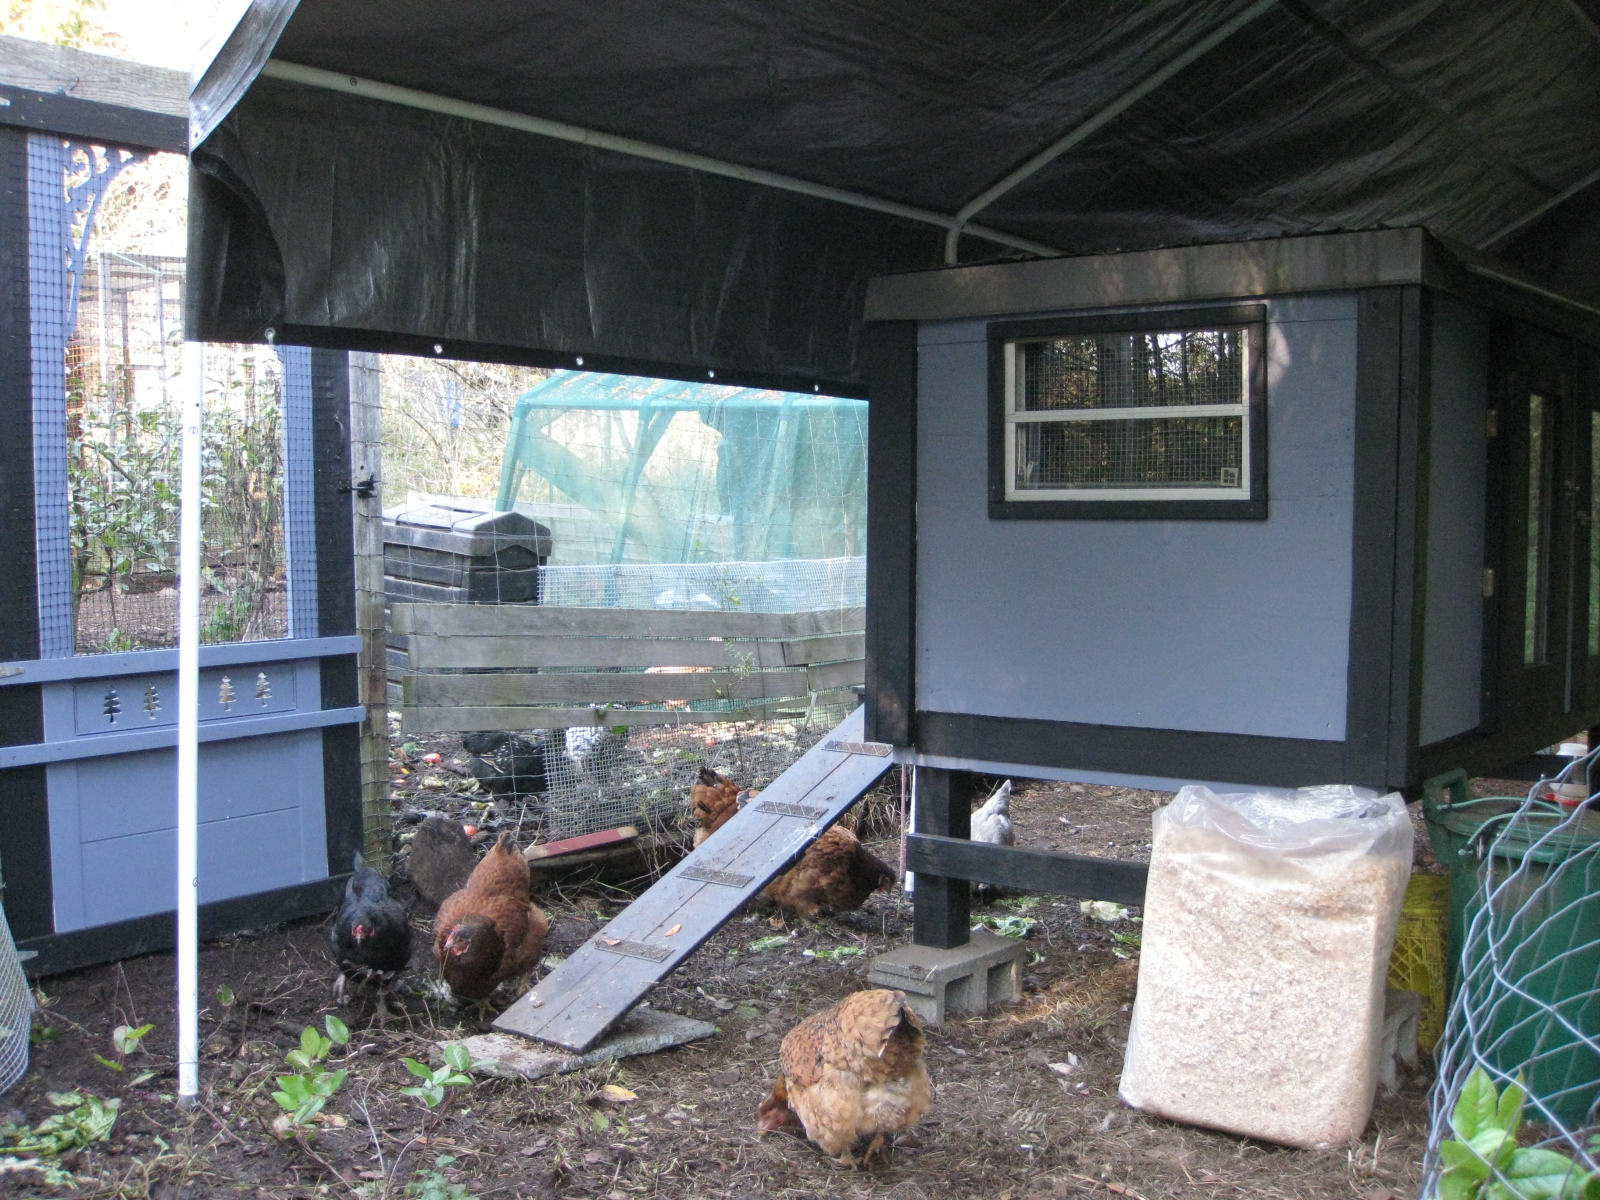
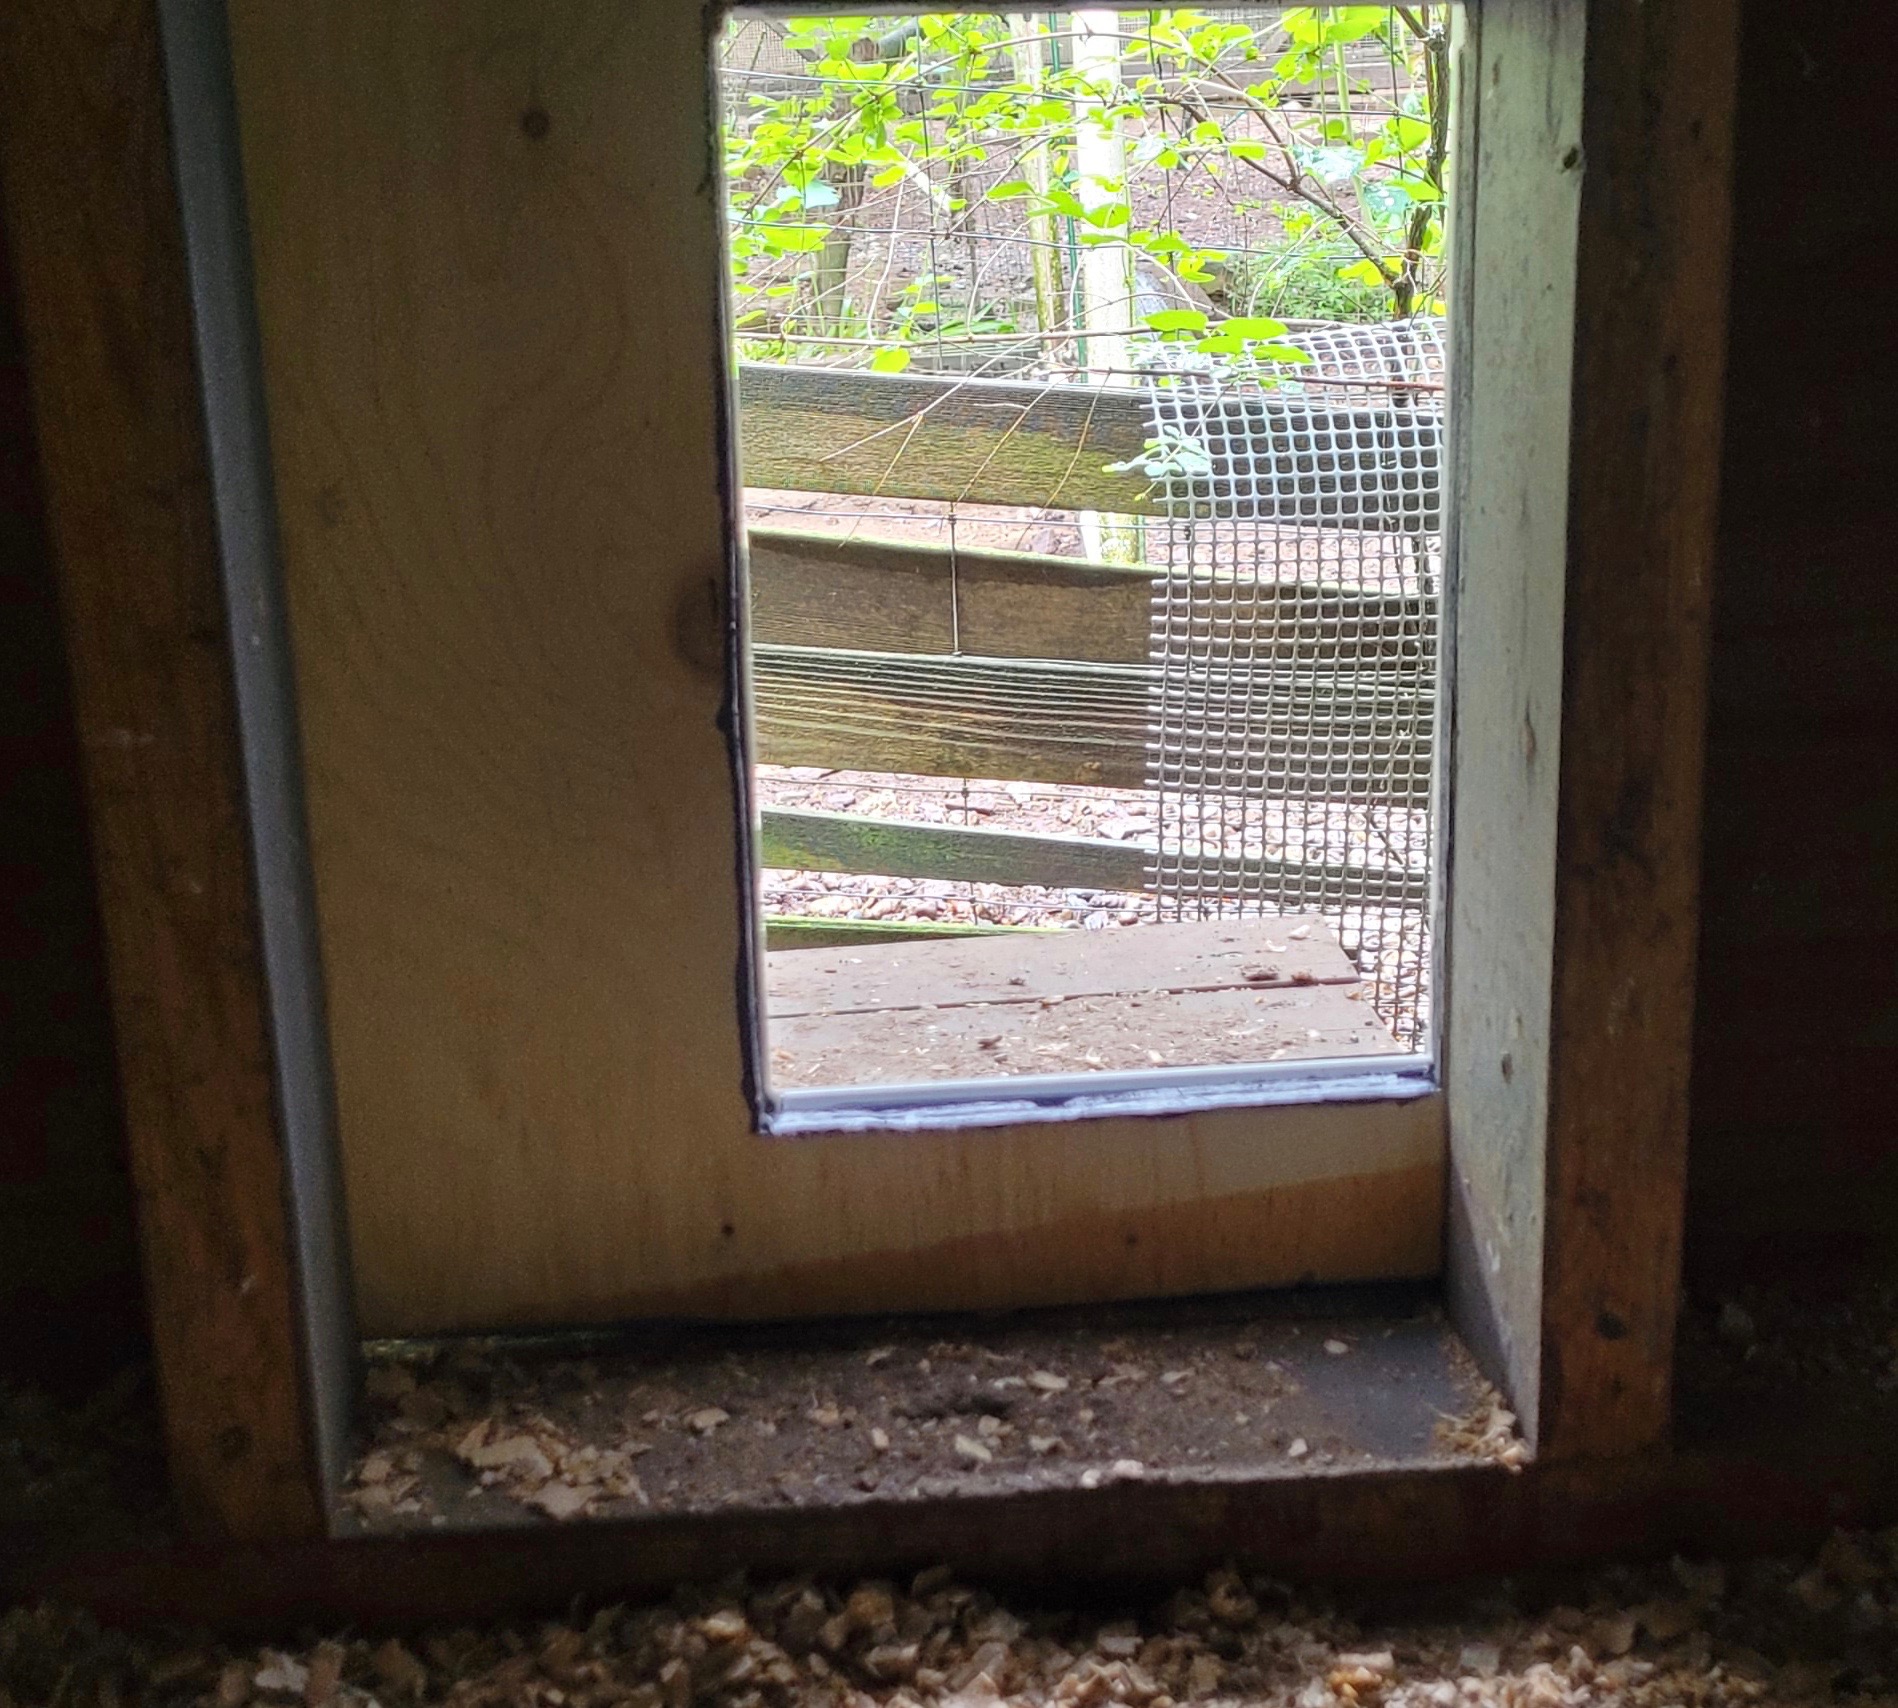
Once the chicks were born and old enough to navigate the ramp I removed the original manual door and mounted the new panel with the Omlet door over the opening. As you can see from the inside, the new door is considerably smaller, but seems to work just fine.
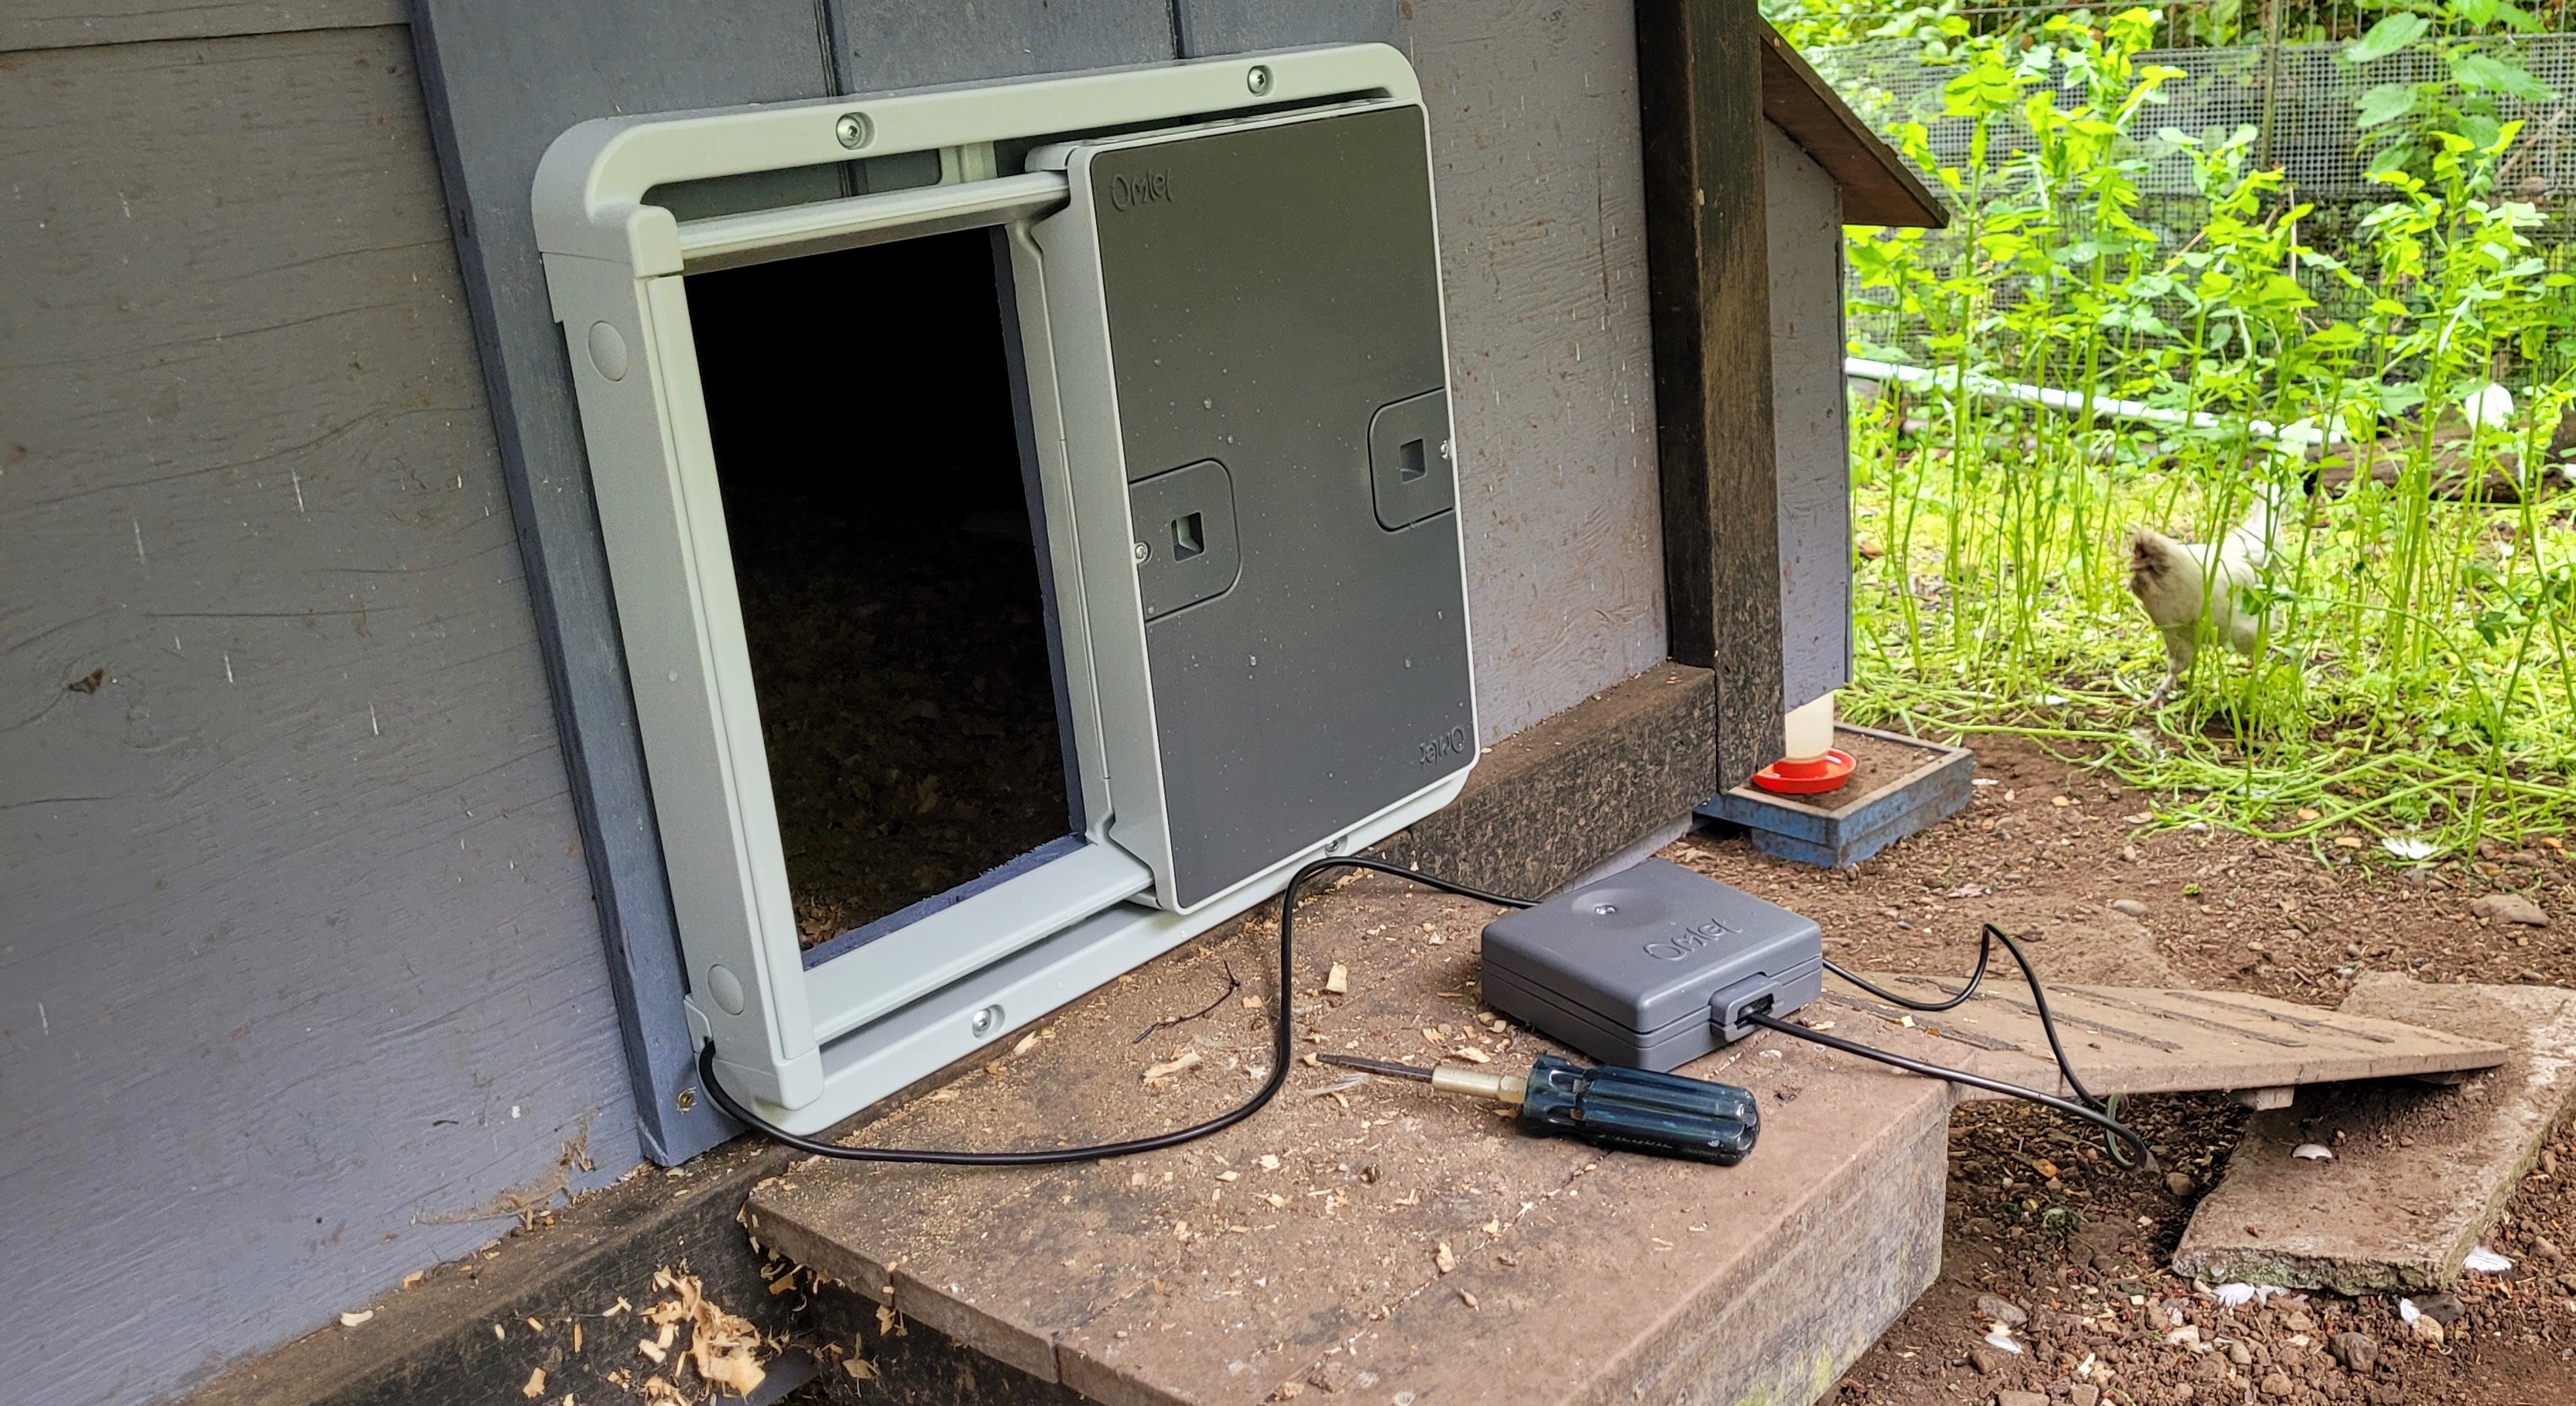
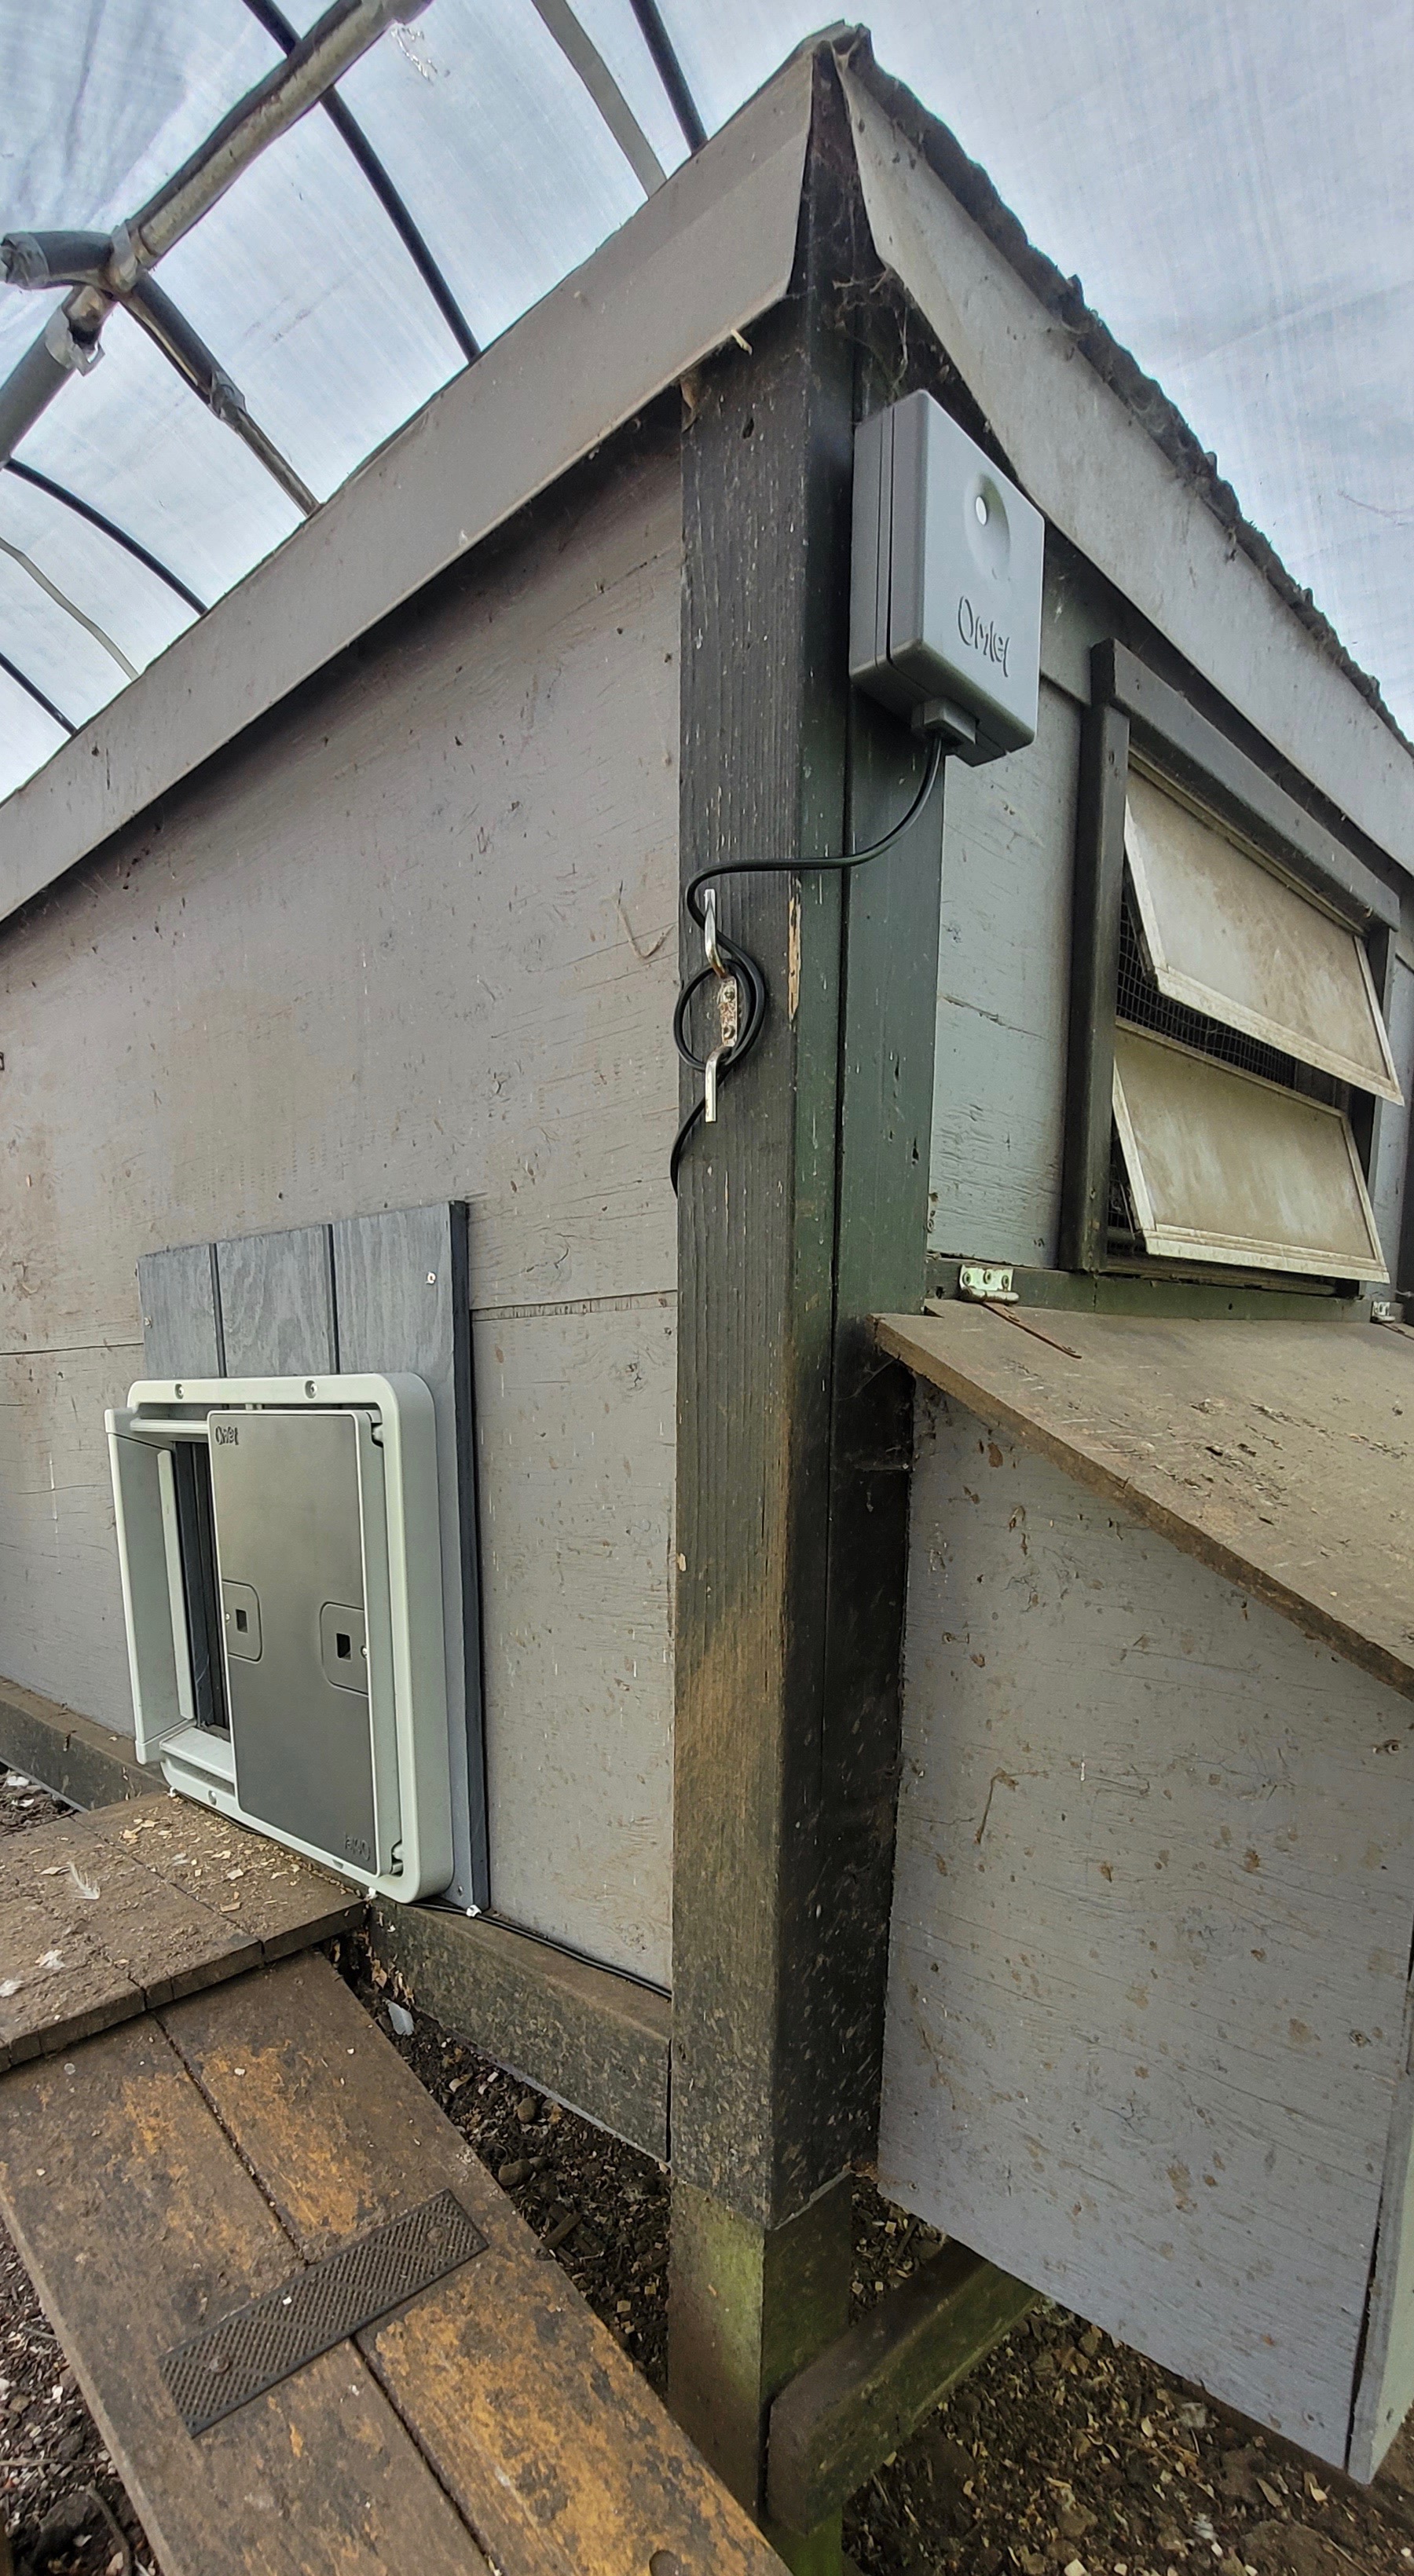
This 15’ x 30’ pen is largely covered by an industrial tarp affixed to a 12’x 24’ metal car shelter frame. To maximize the exposure to daylight I mounted the control panel at one end of the coop. The cord allows for flexibility but it’s not a thing of beauty. I managed to push it under the door frame and then secured it with clips to the black trim (unfortunately I couldn’t find black clips so had to make do with white ones).
Options: The instruction booklet looks hefty but you won’t use most of it because it’s in other languages or offers options that might not apply to you. The illustrations are large and easy to follow. The section on set up is straightforward. There are three options for operating systems: manual open/close; set times; or the default mode of light sensor. I chose the latter and scrolled through the settings to program how much light would be required for the door to automatically open or close. I haven’t had to make any adjustments and it has been working reliably.
Summary
- Durable materials (zinc, steel and heavy duty plastic)
- Easy to install with a screwdriver
- No maintenance required
- Operated by light sensor, timer or manually
- Powered by 4 AA batteries
- Reliable in all weather conditions
- Built-in safety sensors so your chickens won’t get squeezed upon closing
- Can be installed on the inside or outside the coop
- Door colour is darker shade so you can see from a distance whether it is open or closed
- Coop light and WIFI upgrade accessories available
Cost: the Omlet site lists the basic door at £140/$177USD; the light £19/$24USD and the WIFI upgrade £59/$75USD. They were out of stock on the Amazon site. I did find a Canadian company that sells Omlet products with free shipping in this country. The basic door is $330/CDN and the light is $19/CDN. They didn’t stock the WIFI control panel upgrade.
Thanks to the generous folks at Omlet for the donation of an auto door, coop light and WIFI control panel upgrade. My chickens thank you too.
I’ve yet to install the coop light (it’s summer) or the smart control panel upgrade (my WIFI is spotty), but will report on them when I do.

What are the pros and cons of this door?
LikeLiked by 1 person
If you click on the word ‘Omlet’ underlined in blue at the bottom of the post it will take you directly to my post about my experience with the Omlet door. Good luck finding a door that suits you. I would recommend this one.
LikeLike
I live in Canada and bought my Omlet in 2023 from fourlegsorwings.com. I was disappointed to see their new smart door is already sold out.
LikeLike
That’s the only place in Canada that I’ve found Omlet doors and I don’t believe they are an authorized dealer. Too bad.
LikeLike