As a chicken keeper, there was nothing nicer than being greeted by my flock running to meet me after being gone for the day. The downside of free ranging though is that they go where they shouldn’t (e.g. in your garden, over to visit the neighbours), poop on your front porch, lay eggs in the woods, hide when they are broody and most importantly, are vulnerable to predators. My first flock was free ranging and did all the above. I lost two to hawks and the neighbours’ Shih Tzu grabbed the same hen twice. Luckily she survived those encounters.
I took a break from chickens for four years. When my partner encouraged me to get back into birds it was with the proviso that I pen them. I bought a used coop from the online classifieds that came with a 4’x12’ run. I soon realized that space was far too small for four hens and that I wanted to sit out with them, but not separated by a fence.
Fast forward a few weeks and my pen was expanded to 30’x40’, enclosing the existing fruit trees that I had planted several years before. It wasn’t long before I realized that the whole top required netting if I wanted to keep out hawks. It’s difficult to cover that area without some kind of structure to support the netting, especially when it snowed. I found a secondhand car shelter and strung netting from one side to the other and over that structure. Bit by bit I added a couple of other structures to support the netting and, when tarped, they provided shade in the summer and a dry place in our long rainy season.
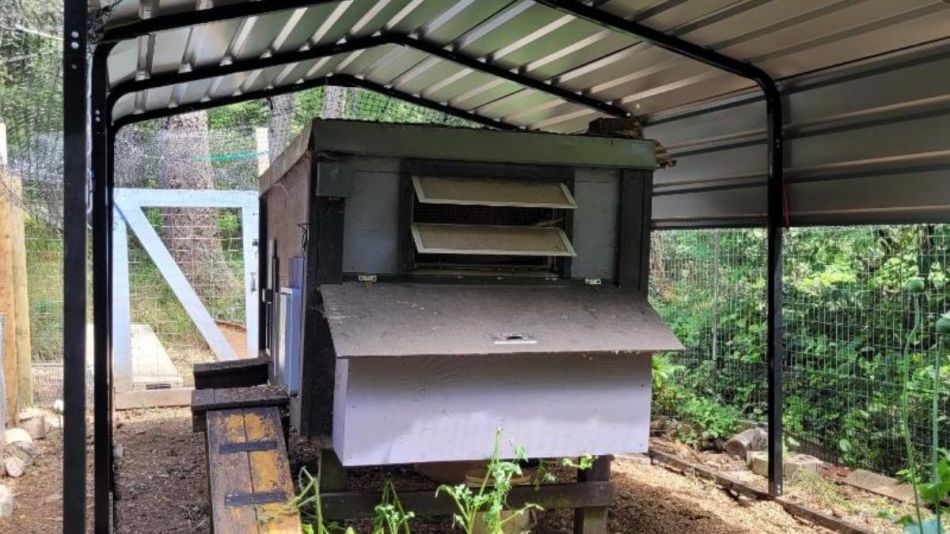
Six years later, I expanded my compound. Blame it on Chicken Math. I used the back side of the main pen as one side of the new 15.5’x 30’ enclosure which housed my broody hen/grow out/infirmary area. The coop is 4’x8’ (divided into two separate 4’x4′ areas complete with opening windows, doors and auto doors) and I covered it with a 10’x 20’ car shelter which I picked up for free. It didn’t come with the cover, which was fine because I didn’t want the sides enclosed. I used a commercial grade tarp attached to the frame and extending out to the fence. I netted most of the top. I soon learned that ‘most’ is not good enough. Hawks are persistent and can find their way through small gaps.
Over the next eight years I went through two metal frames and at least three tarps – all damaged by snow. I live off the west coast of Canada and although our winter is mostly characterized by rain we do get snow. When I’m home I knock it off the tarps several times a day using a yard broom. If it snows overnight or I’m at work that’s another matter.
Last winter we had one snowfall. I knocked snow from the tarps, went to bed and woke up to 10” of the white stuff. I have back and knee issues and just couldn’t manage to get the now heavy snow off. Too bad, as the weight ripped my tarp and worse, bent several of the poles so the whole structure listed to one side and came resting on my fence.
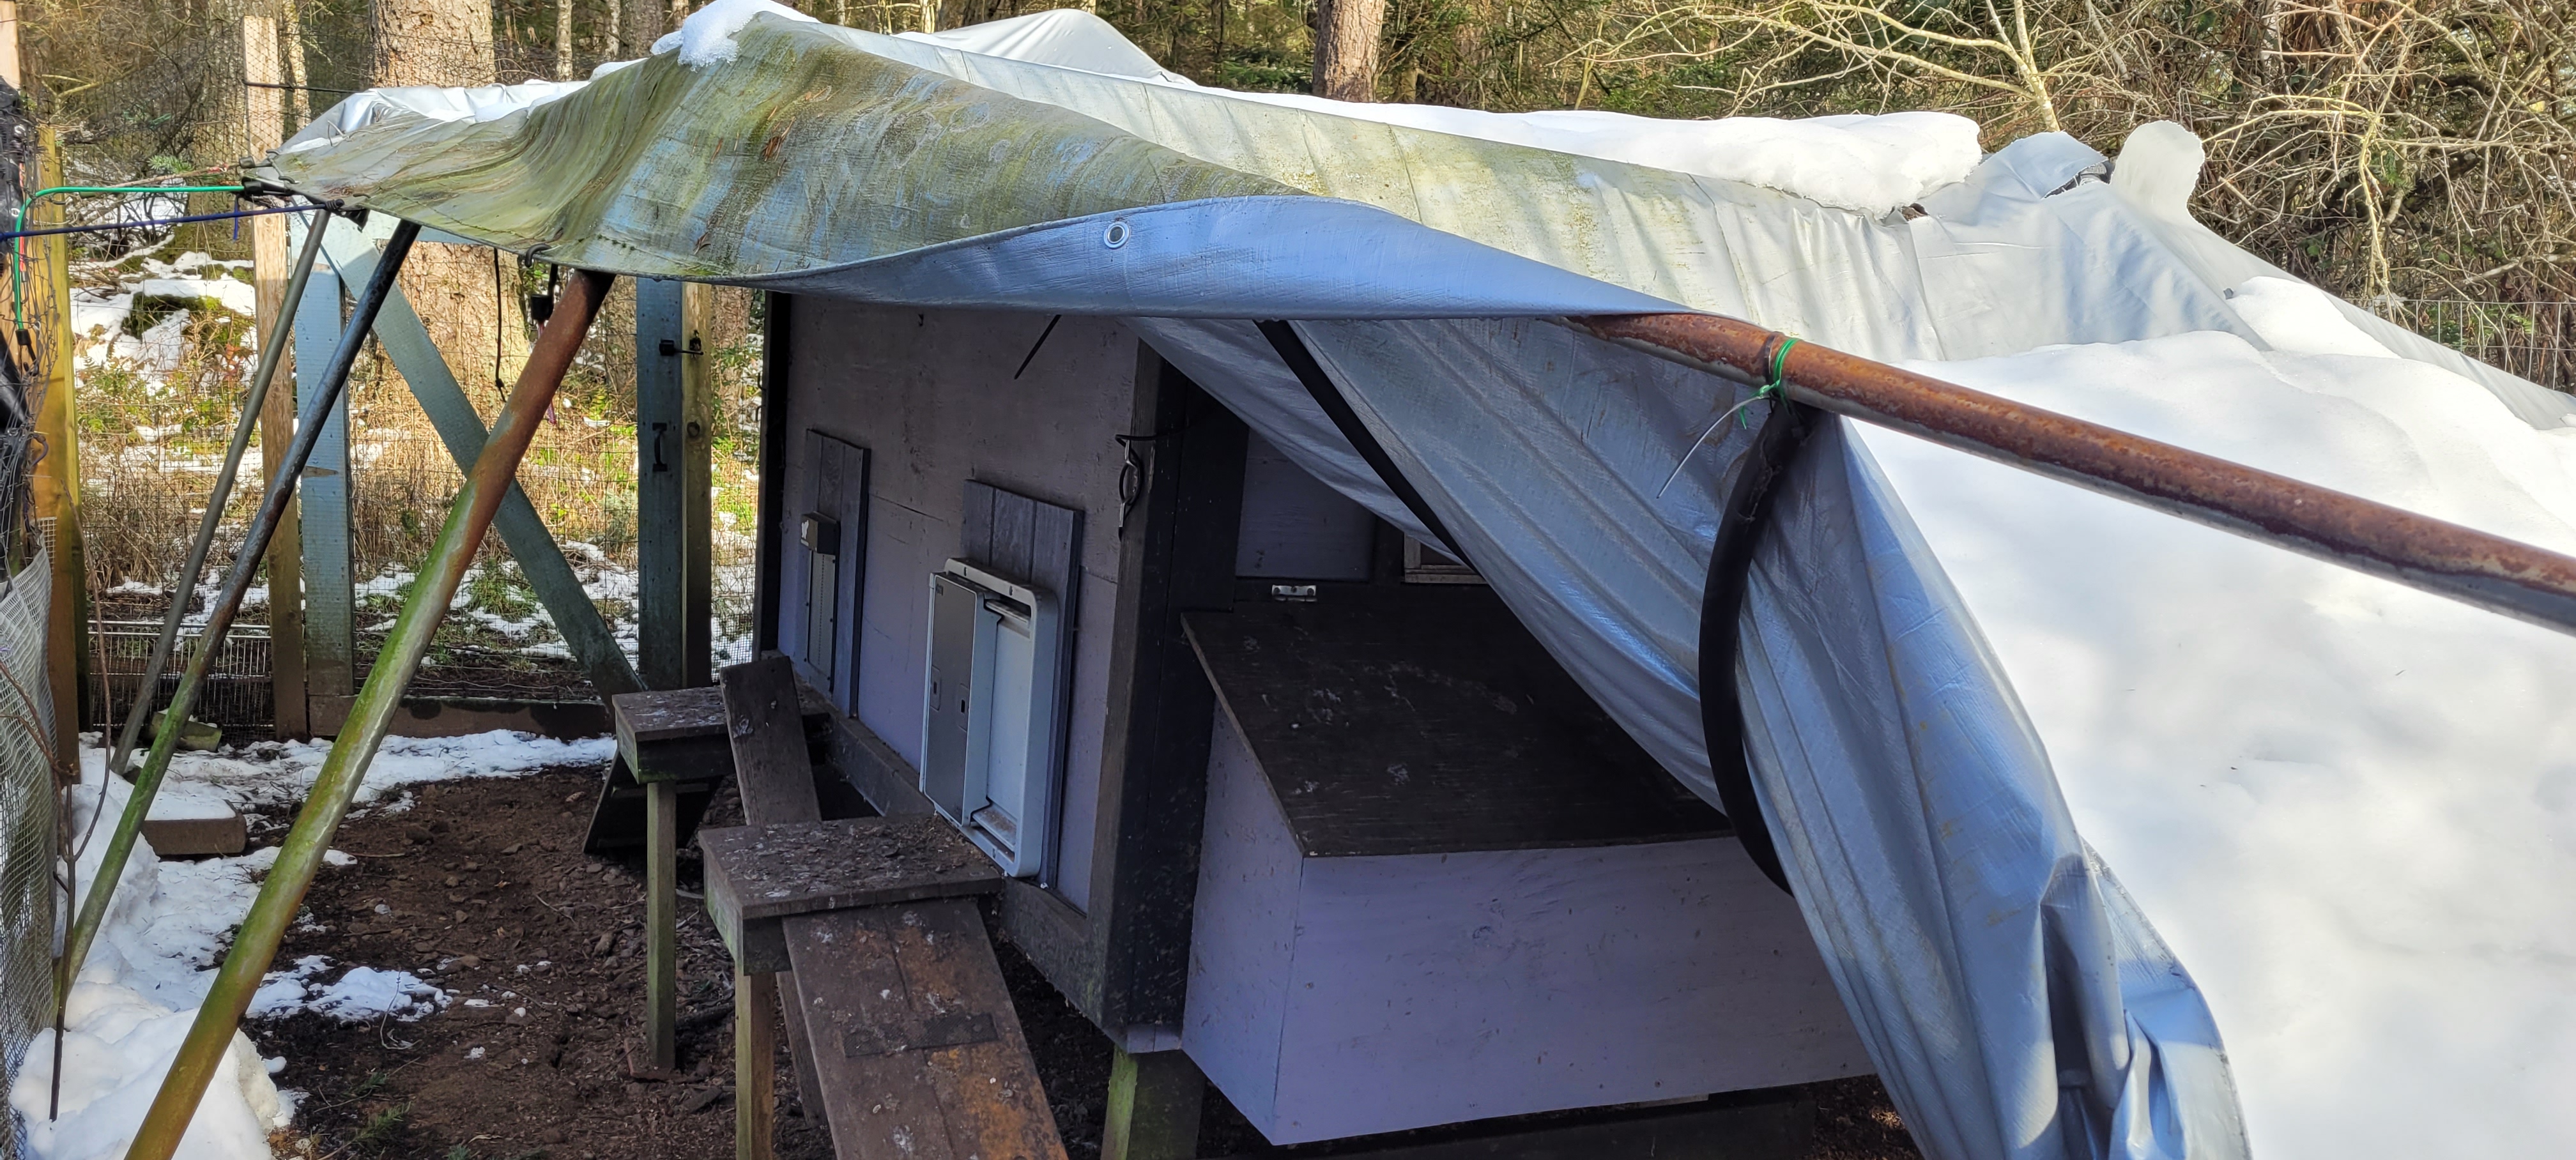


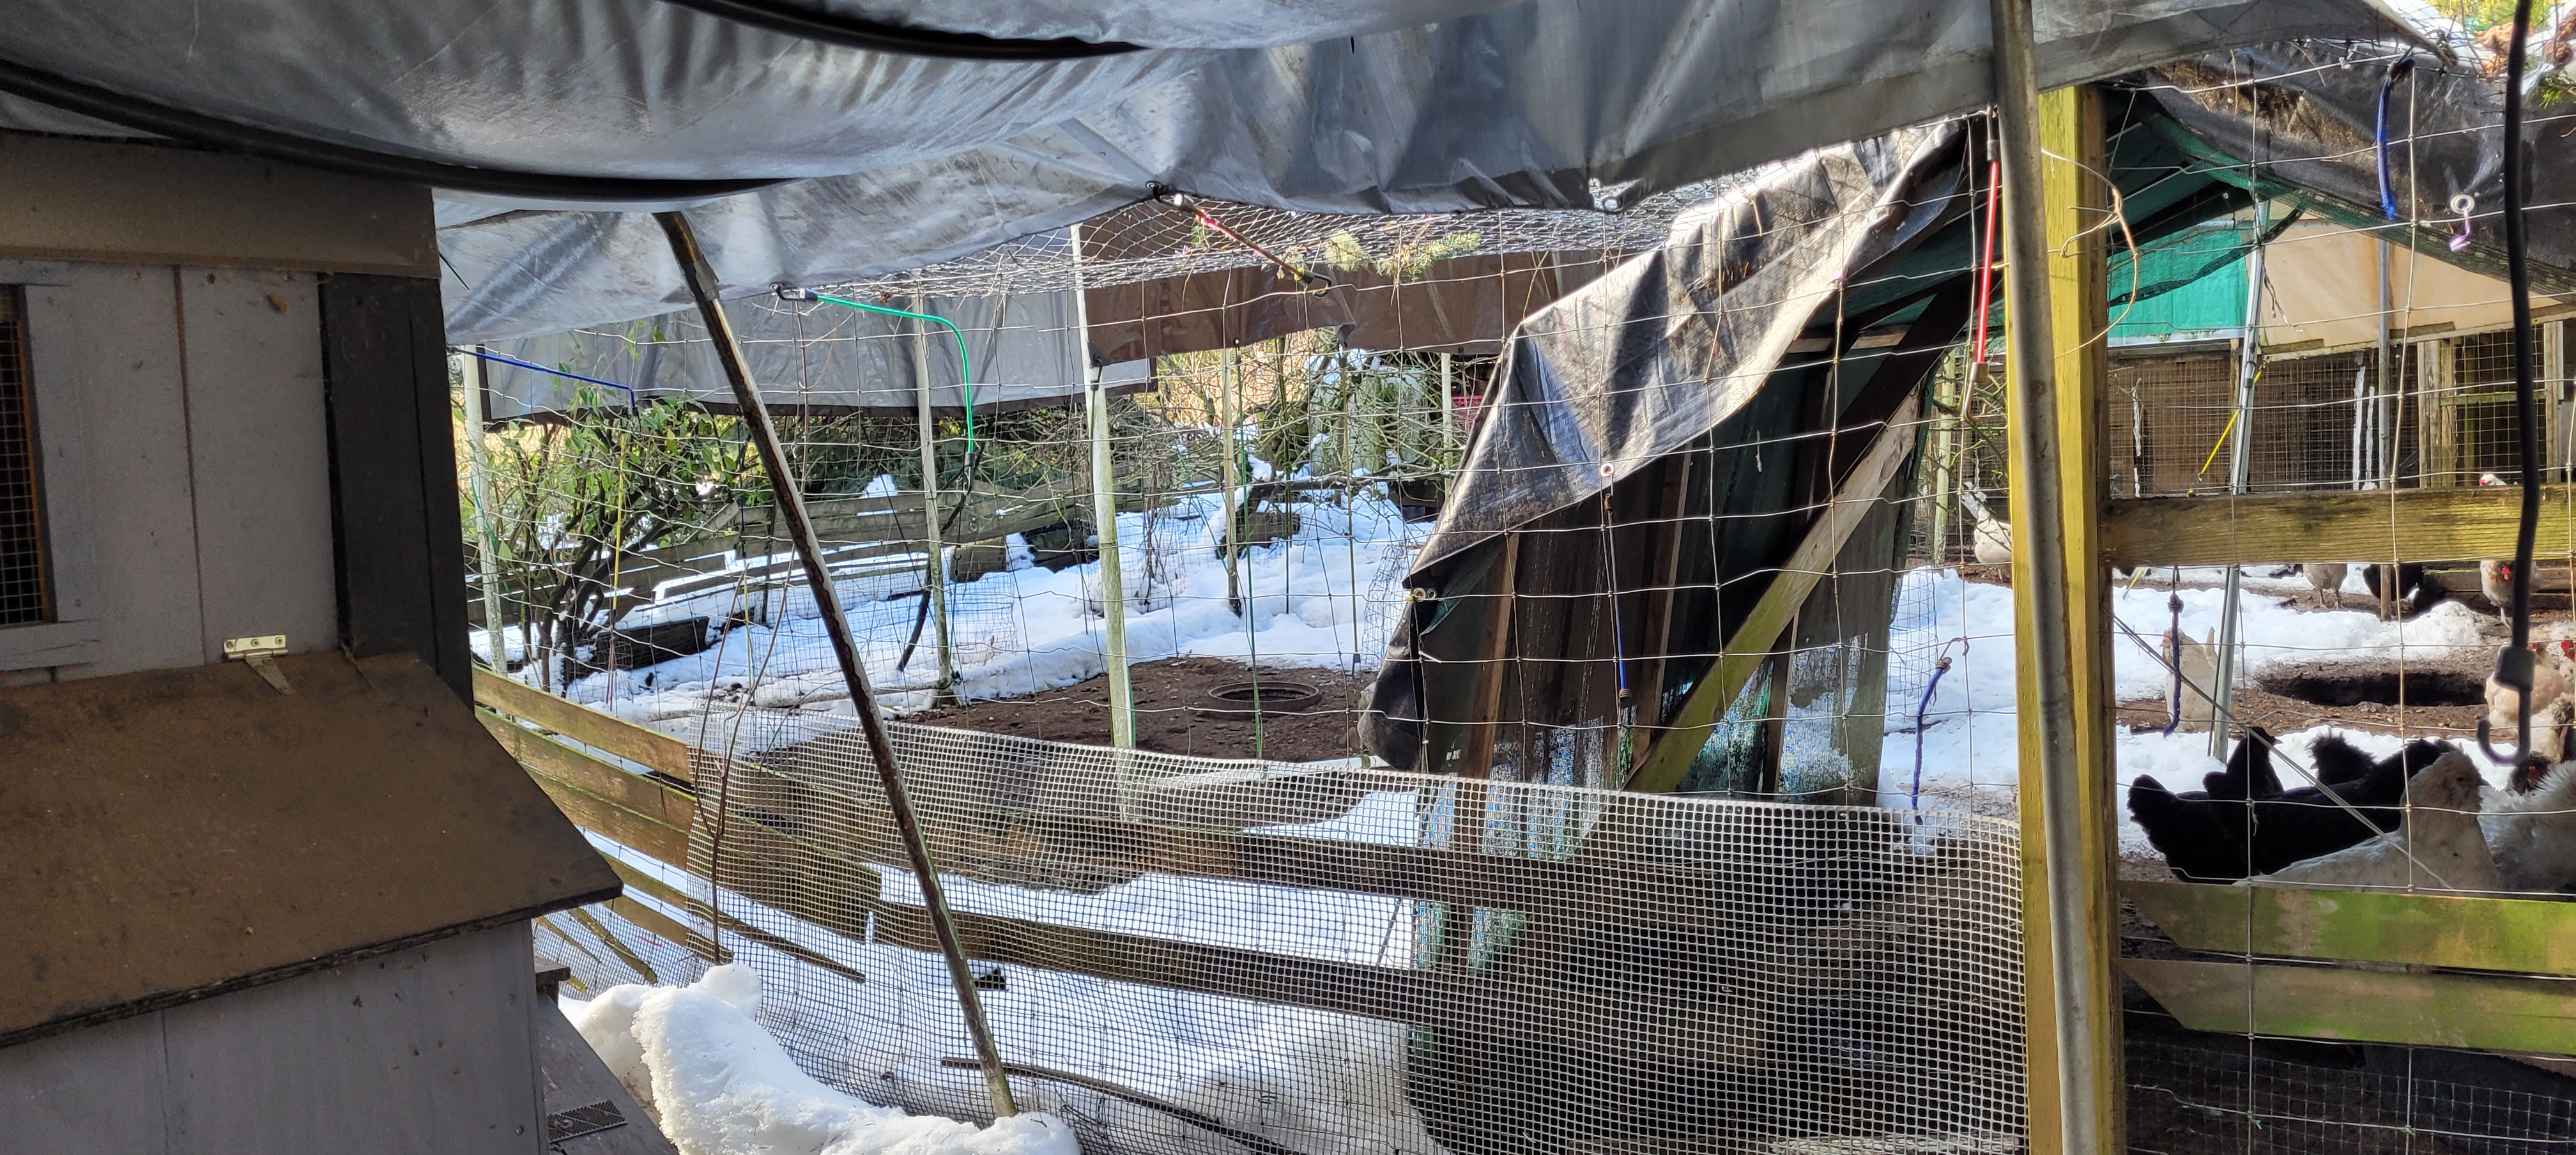
These solutions were relatively cheap fixes. I got the car shelters for free and the tarps cost @$100/each. The problem is they took some maintenance in the snowy weather and required replacement when damaged. A tarp that size takes at least two people to install and is a beast to wrestle over the frame without any damage. I hate to admit it but I’m not getting younger and my body is now reflecting years of physical labour. For the last few months I’ve been dealing with chronic lower back pain, sciatica and a torn meniscus. I needed to come up with a solution that I was going to be able to manage given my diminished abilities.
My partner and I considered building a wooden frame covered by a metal roof. Building materials have skyrocketed and finding someone who could do the job without breaking the bank was another matter. I started looking online for prefab structures that might do the trick. Of course, cost was a consideration. If you know me you’ll be aware that some of my favourite words are ‘free’ and ‘cheap’. At this point in my life I had to concede that maybe I was going to have to spend more money than I wanted.


Broody Hen Pen Pre-Carport Build
I came across Delightful Yard’s website and thought I found a product that might work. It was on sale till the following day so I made the decision to take the plunge and hope I wouldn’t regret it. I had looked at local big box stores like Home Depot and Canadian Tire and didn’t think I would find anything comparable for less. Delightful Yard is an online retailer located outside of Toronto. I chose the Arrow 10’x15’ carport with a metal roof ($1555 CDN including tax). There are various size options with two choices for roof colour: charcoal and eggshell. I chose the former. I’d say it’s grey, rather than charcoal, but lovely all the same.
Delivery is free, except if you live in the boonies like me. I was dinged $300 for that service, which turned out to be a tad problematic. The local delivery was subcontracted by a company on Vancouver Island to bring it to Gabriola Island where I live. The driver called me from the end of my driveway saying, essentially ‘Houston, we have a problem’. I thought he might be reticent to come down my long driveway. I limped up to the road to see what the issue was. Turns out his truck was massive and he was concerned my overhanging tree branches would scratch it. There was some back and forthing on the options: he could take it back to his company and see if his boss could find someone with a smaller truck or leave it there. I screeched he couldn’t just leave it at the roadside. Worried if I let him take it away it might be weeks till it came back I settled for him leaving it at my next-door-neighbours. They have a short, accessible driveway. My four boxes weighing a total of 485 lbs were left on a pallet till I could find a work party to move them. I should have negotiated some kind of discount, given that I saved them a second trip, but was in too much of a flap at the time to have done so.


Thanks to Art, Kai, Kevin and Karen my carport made it safely to my place.
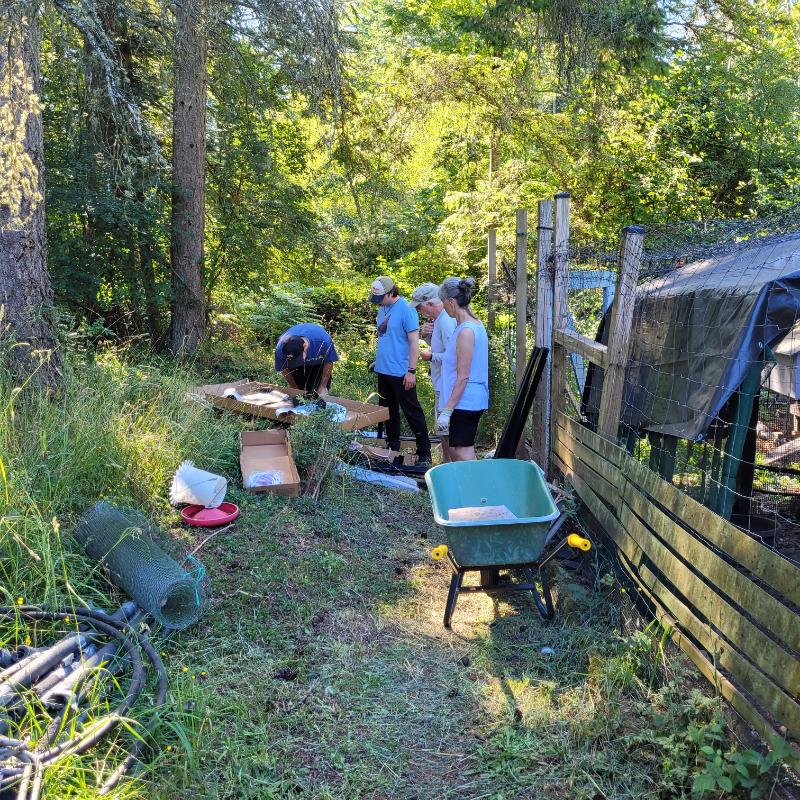
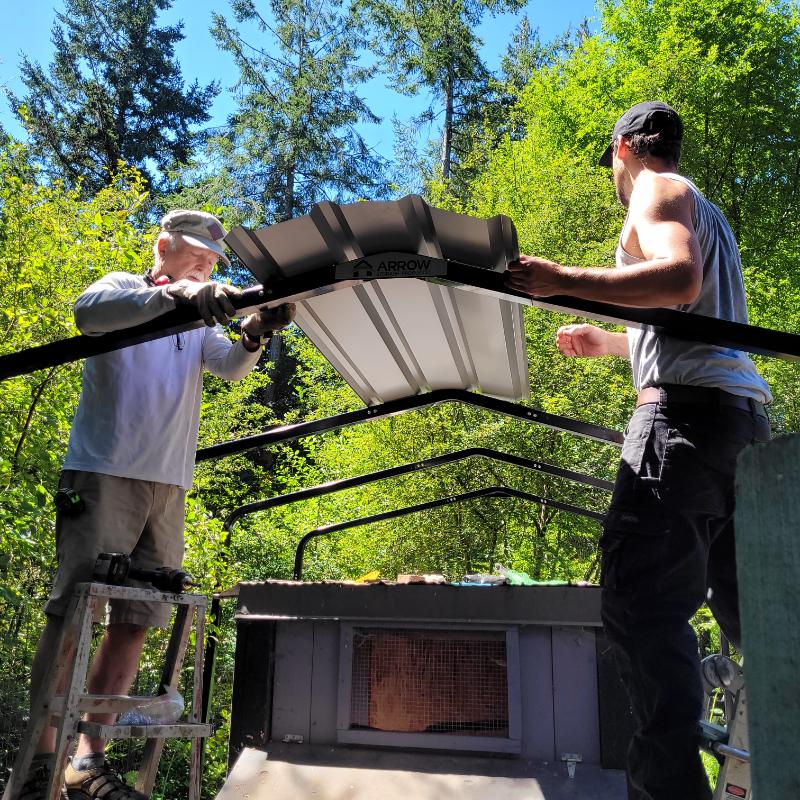
The following week I rustled up some helpers and between us we got a box in each vehicle and all safely delivered to the side of my driveway close to the build site. I asked some of them to come back to help assemble the carport ten days later. The crew consisted of a Art, retired house builder, Kai, a young guy we hire to do general handiwork and Tanta, an Irish volunteer through the Workaway program. Unfortunately the day we chose was 29C/84F and by early afternoon felt hotter.
In scanning through the website I didn’t see any information about build time. We were all pretty surprised that it took longer than anticipated. Seven long hours without a break! Admittedly the first hour was spent levelling the uneven ground in my pen, sorting through the boxes, reading the manual, watching the online build video and figuring out what tools were required.
Kai, Tanta, Art and Karen reading the instruction manual
My previous car shelters all consisted of round poles that slid together and went up relatively quickly. This carport puts those models to shame. I was impressed that the square tubular steel poles were high quality. The downside of the build (but good in the longterm) is every single one is screwed together in multiple places. The holes are not predrilled which took a fair amount of muscle to get the 132 self-tapping screws into steel. The by-product, which I wasn’t aware of until late in the day, is that the drilling created very fine, very sharp spiral shaped metal filings. Lead and zinc can cause toxicity in chickens, if ingested. I wasn’t concerned about poisoning because the poles are made of steel but more about them eating tiny metal shards. At the end of the day I used a large magnet mounted on a telescoping pole to pick up whatever bits I could. Had the guys been aware of the risk I would have had them clean up fragments as they worked.

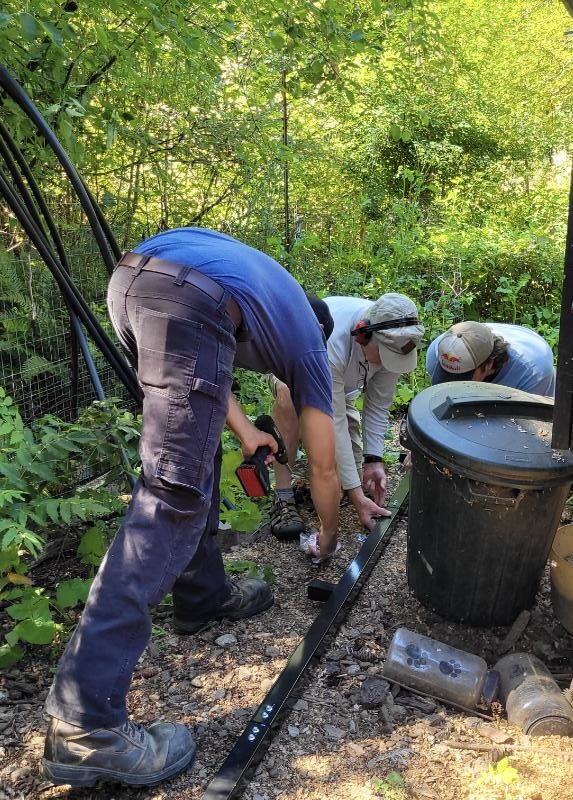
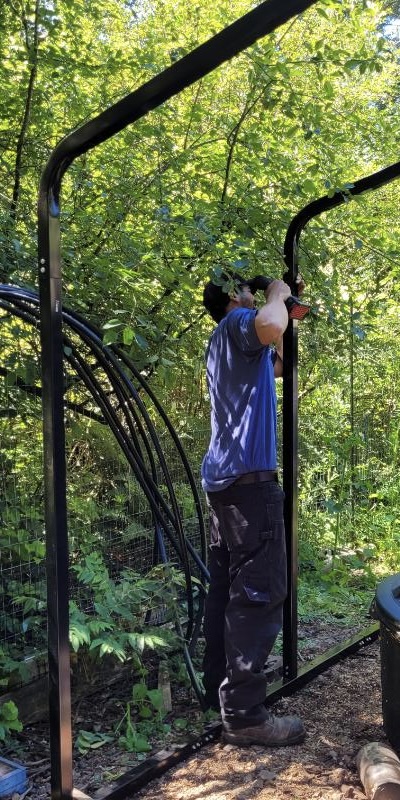
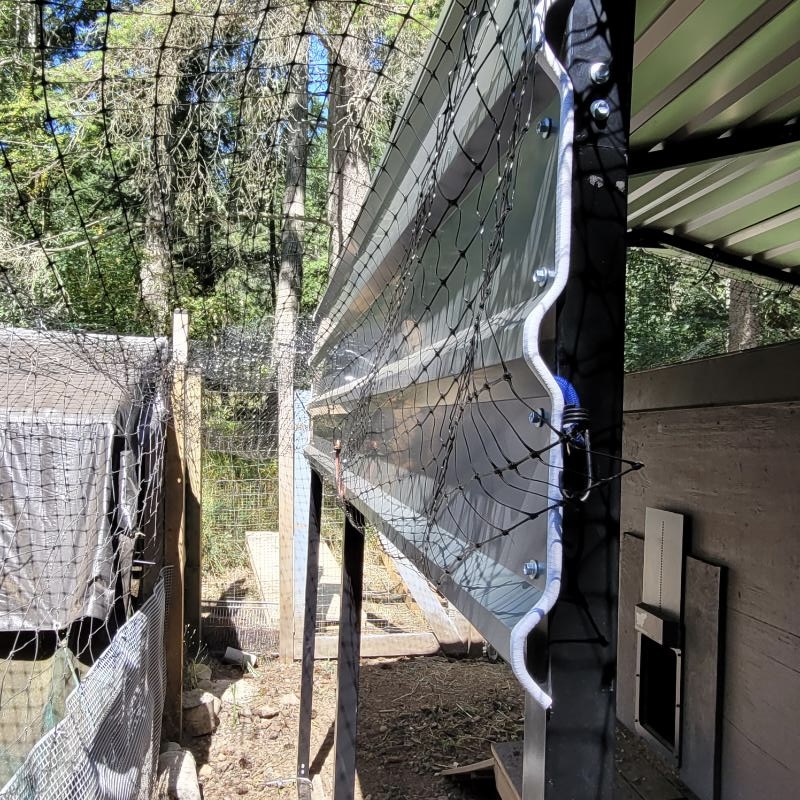
The frame consists of two 15’ base lengths that sit on the ground. Ideally this would be a nice level surface, but was not so in my case. There was a lot of fiddling to get the two sides as level as possible. There are four ribs that extend from the ground to form an arch. The metal roofing is screwed onto those poles: three across and three down on each side, plus one along the ridge line. It was critical that the first course was totally square or the successive ones would be out of whack. I was grateful for the expertise of our former house builder to keep the guys on track. The roofing itself has pre-drilled holes, but the poles do not. It would have saved a lot of time if they had.
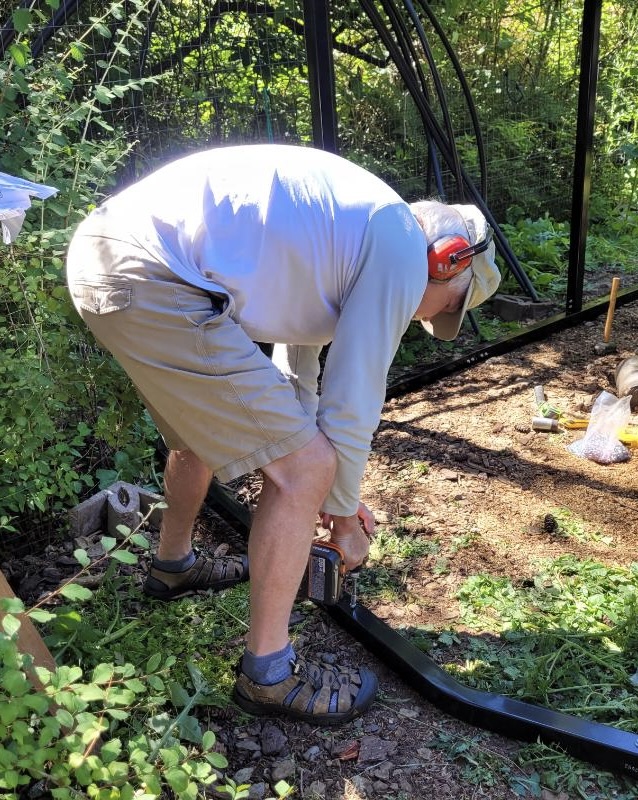


I had ordered the kit that was 9’ high. I did so because there was no difference in price between it and the 7’ height. Once the frame was half built I realized that the peak would be higher than I wanted (both for the build and also maintenance) so opted to omit the 2’ extension poles. When it was completed I was happy with the lower roof.
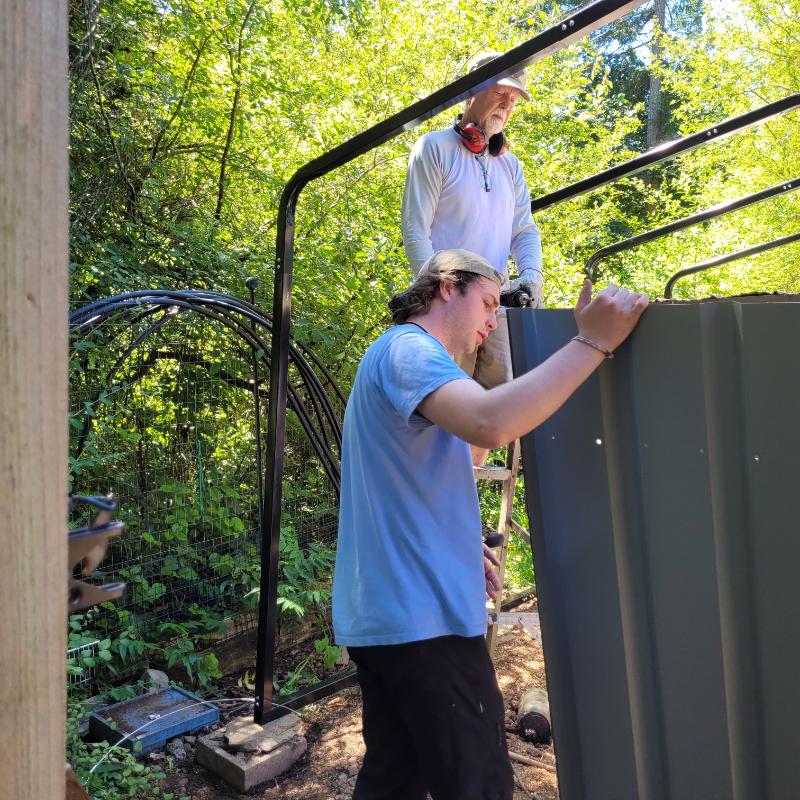
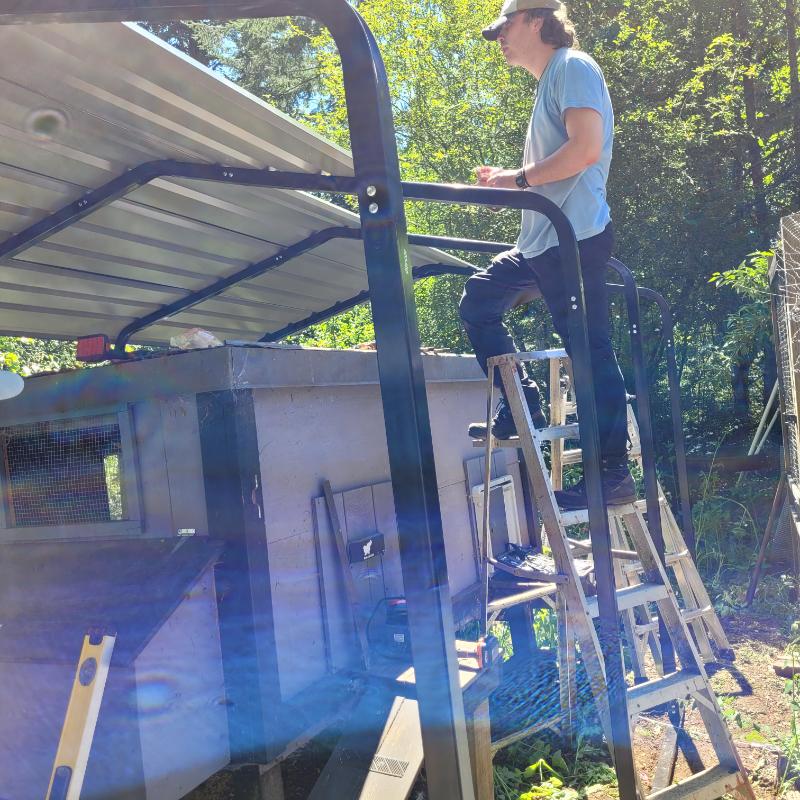

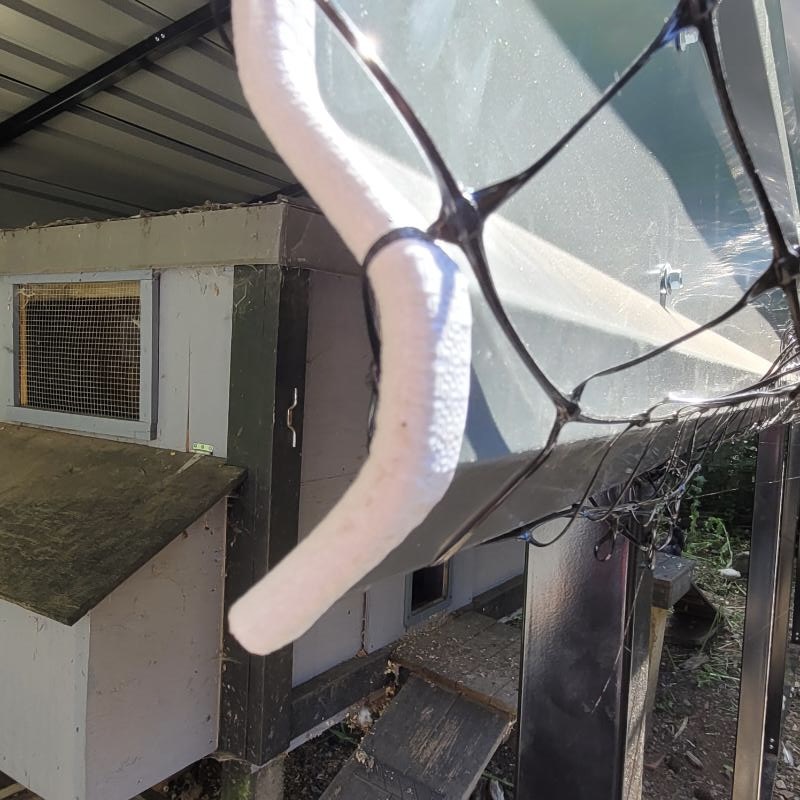
At 7’ at the top of the sides and just over 8’ at the peak it is still high enough for what I need. I didn’t pay extra for side walls since I didn’t need them. In the 9’ model the last row of roofing extends slightly below the top of the walls. The consequence of building only to 7’ is that last bit of roofing comes down even lower. It’s great for shade and keeping rain off my coop, but I will have to learn to duck as I have hit my head more than once on the bottom corner. Protective edging is supplied and the white trim does give it a finished look.
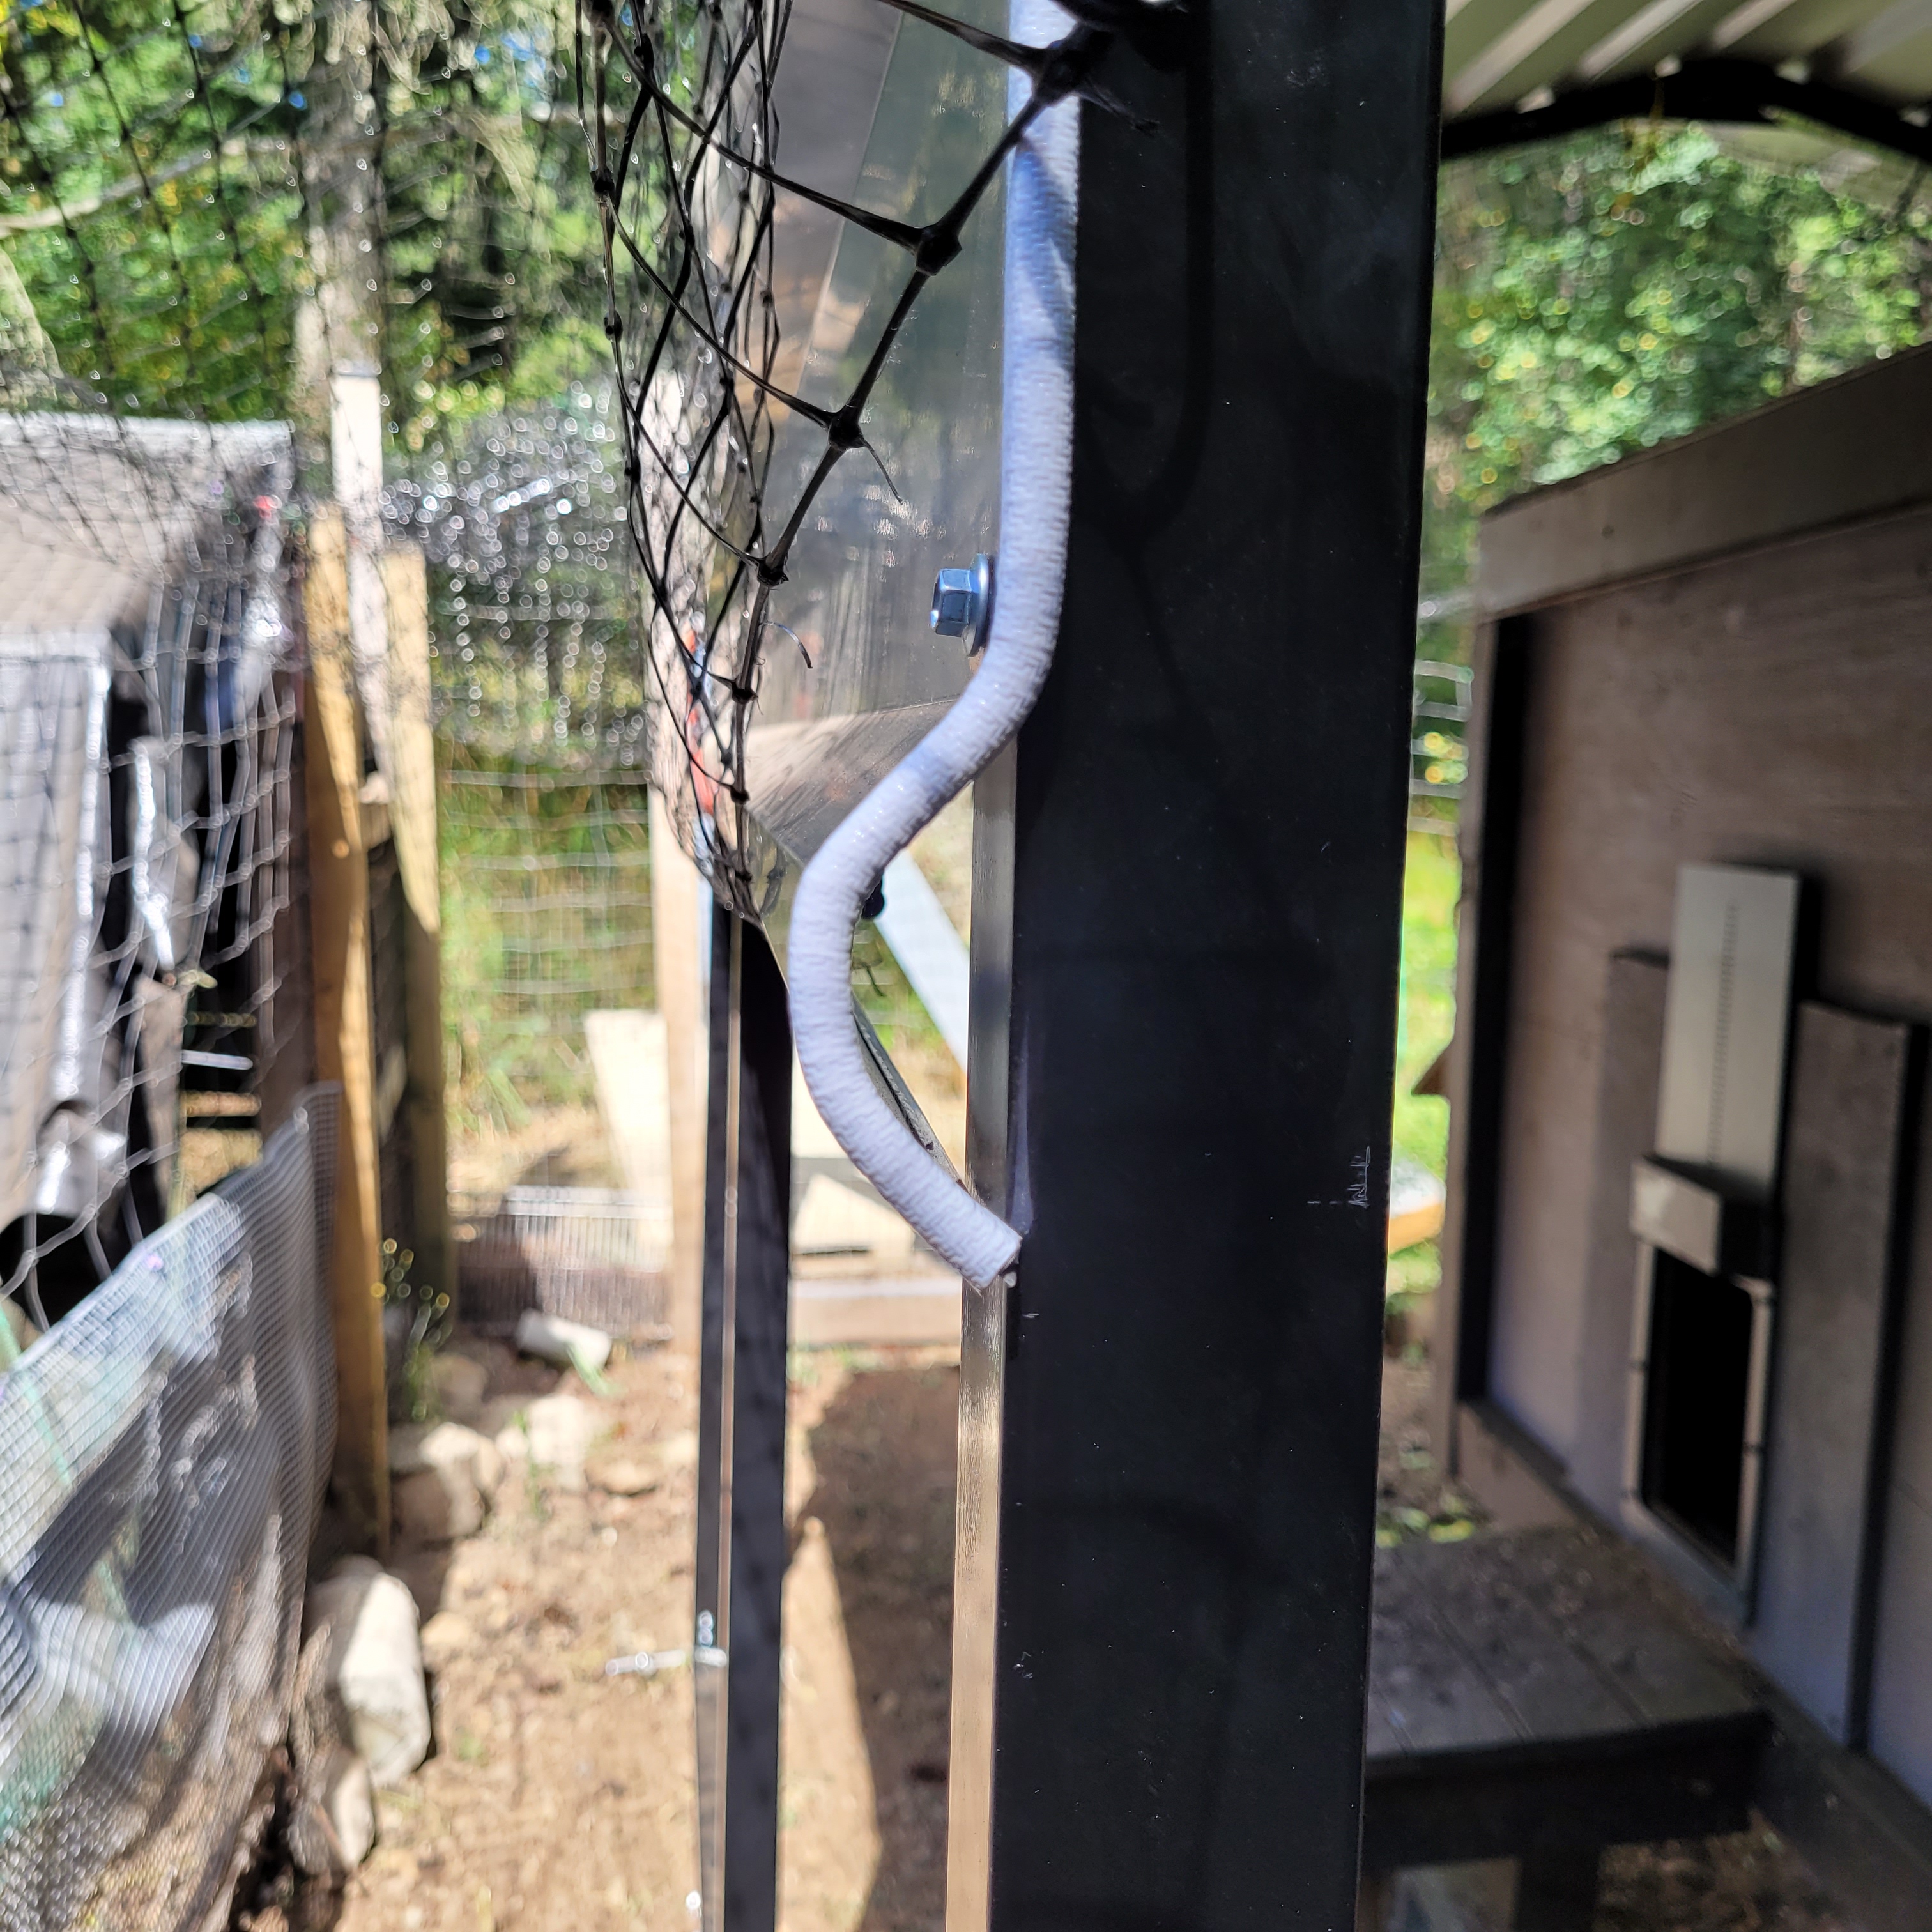
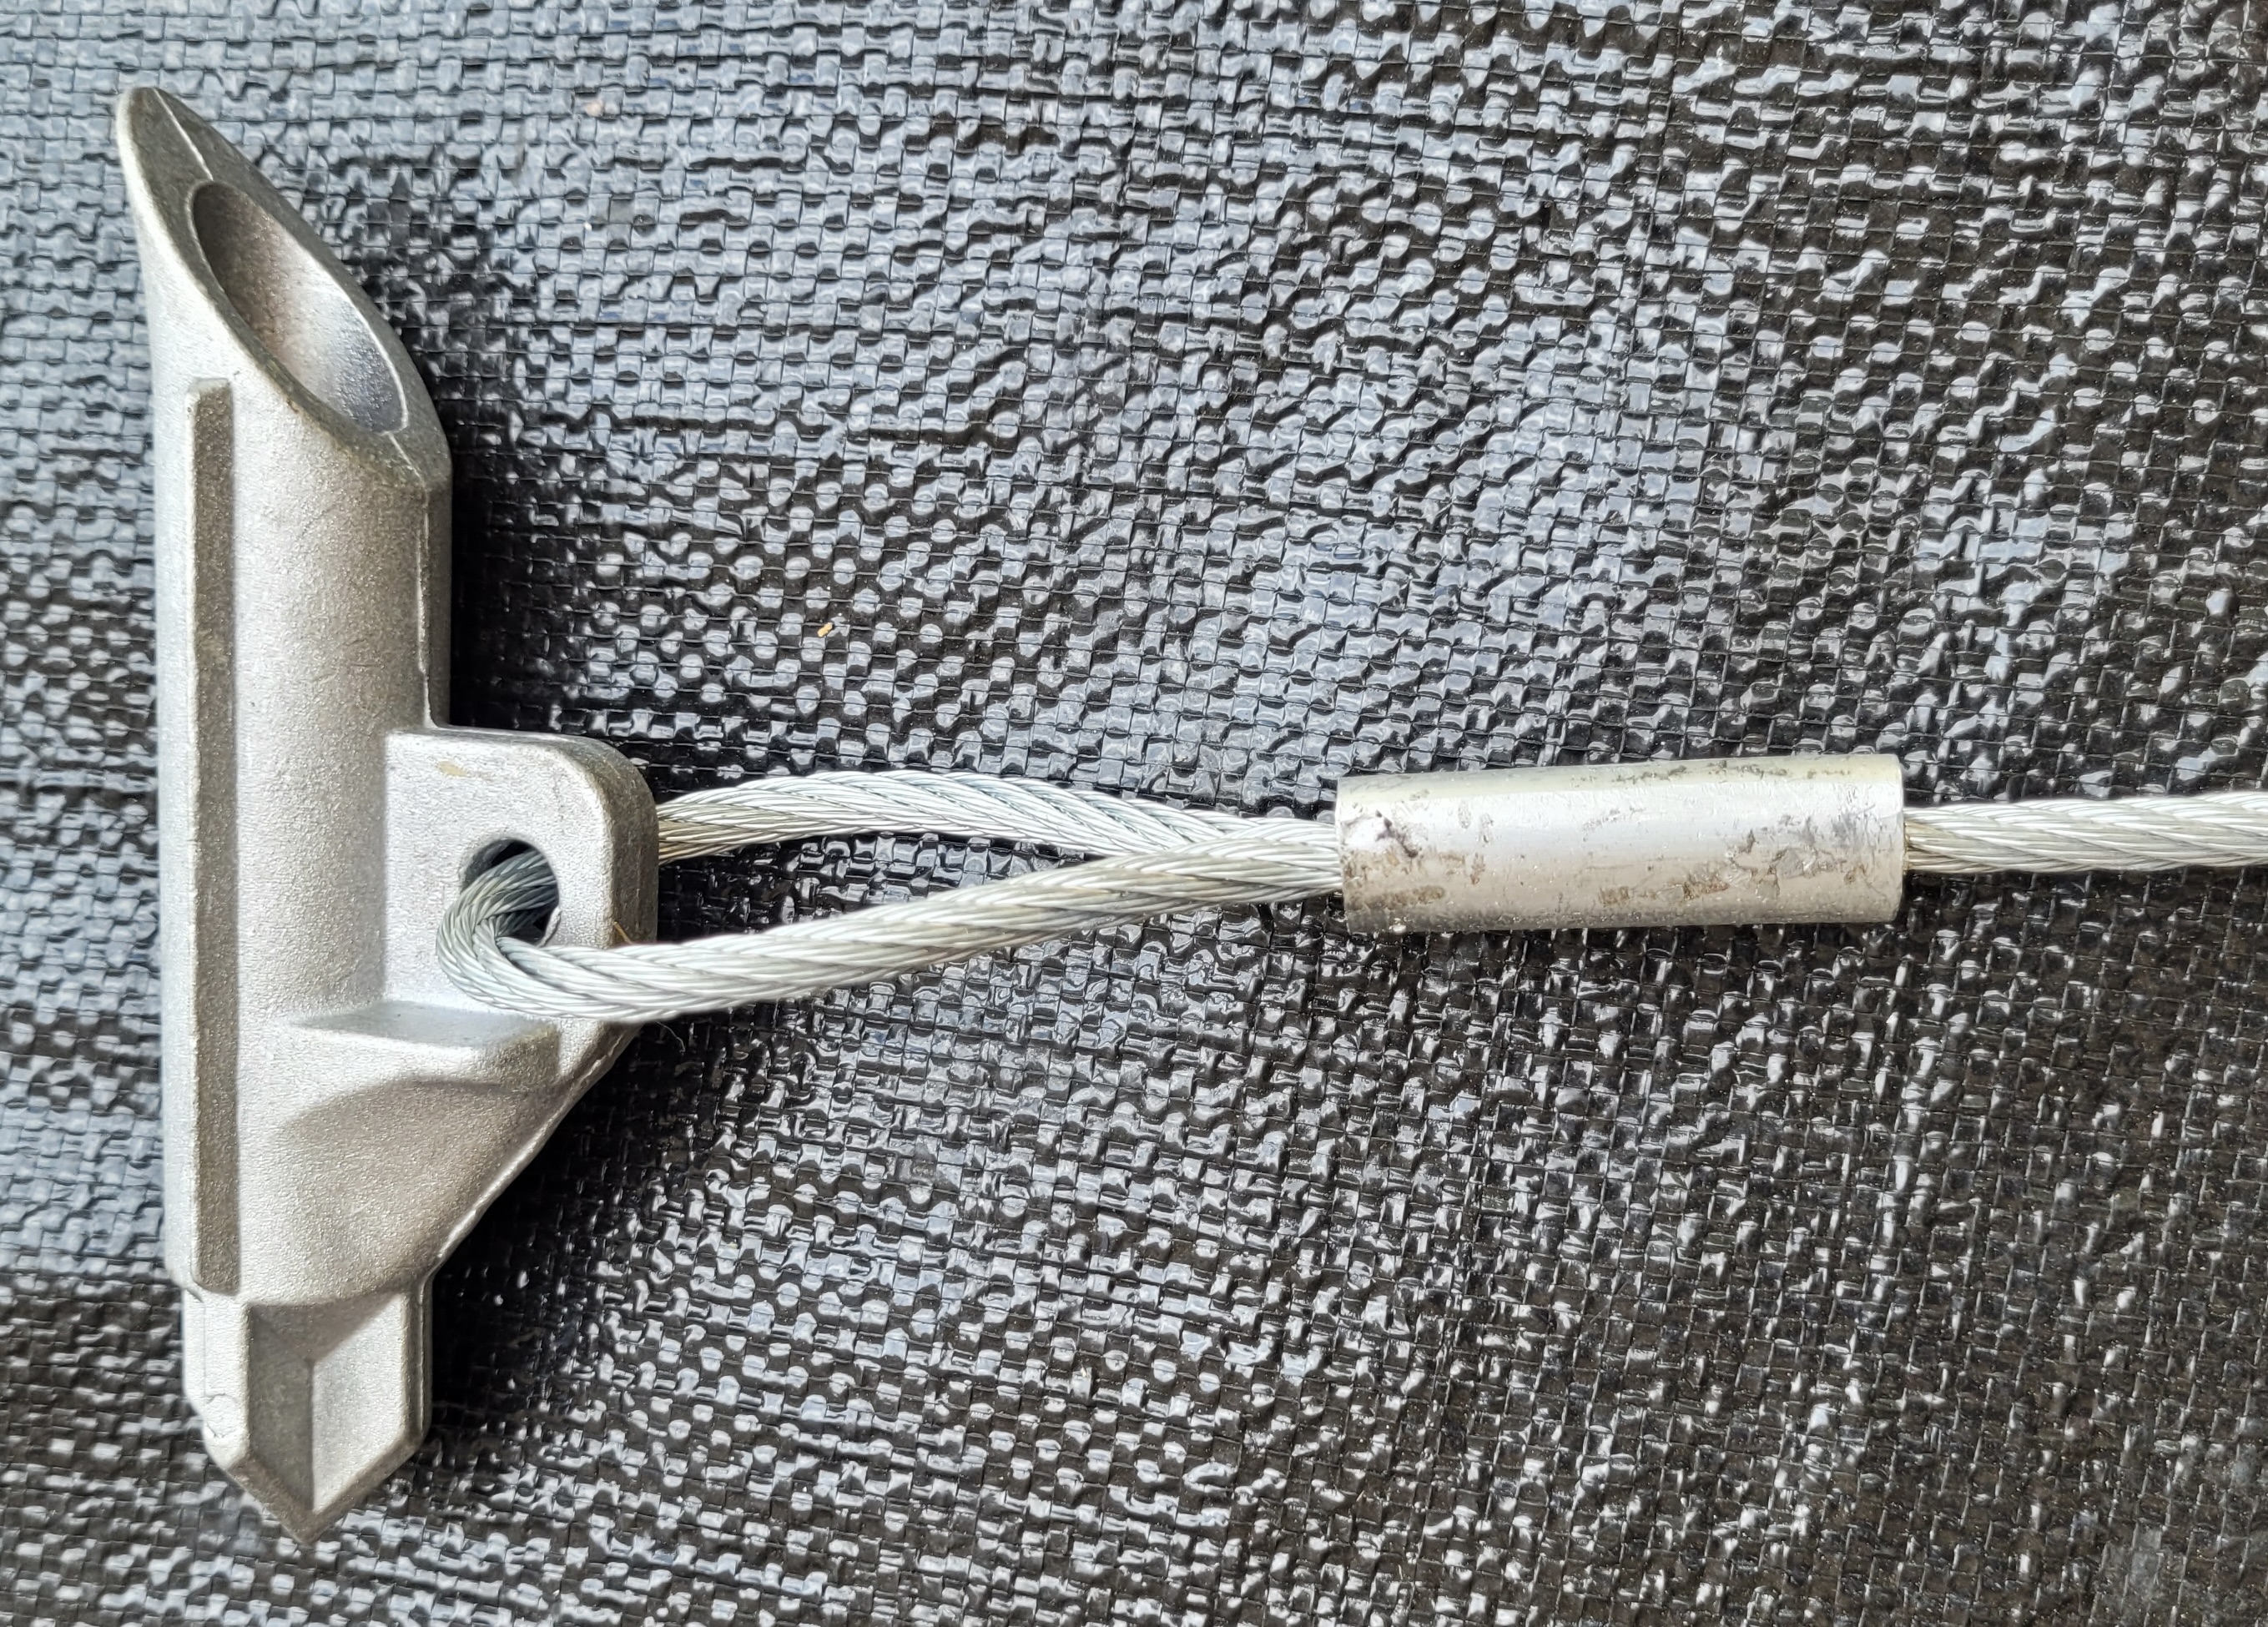
The manufacturer suggested anchoring the structure in case of high winds. Many car shelters come with large auger-style anchors which are difficult to get into rocky soil like mine. They also have a handle that sticks out forming a potential trip hazard. I was impressed with the eight anchors that came with my kit. The 4.5” metal hook anchors are pounded vertically into the ground with a rod. Once down a good 12”+ or so you pull hard on the attached cable and the anchor becomes horizontal. The cable is then bolted to the frame. The guys attached this one a bit farther than I would have as I can see it catching my foot on it. The remaining ones will be installed closer to the base frame.

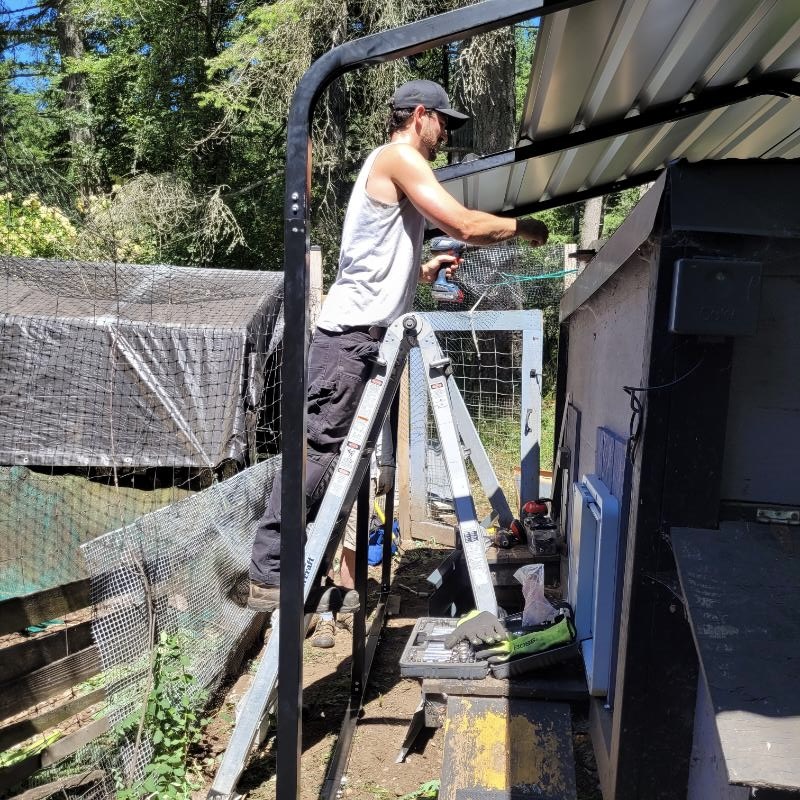
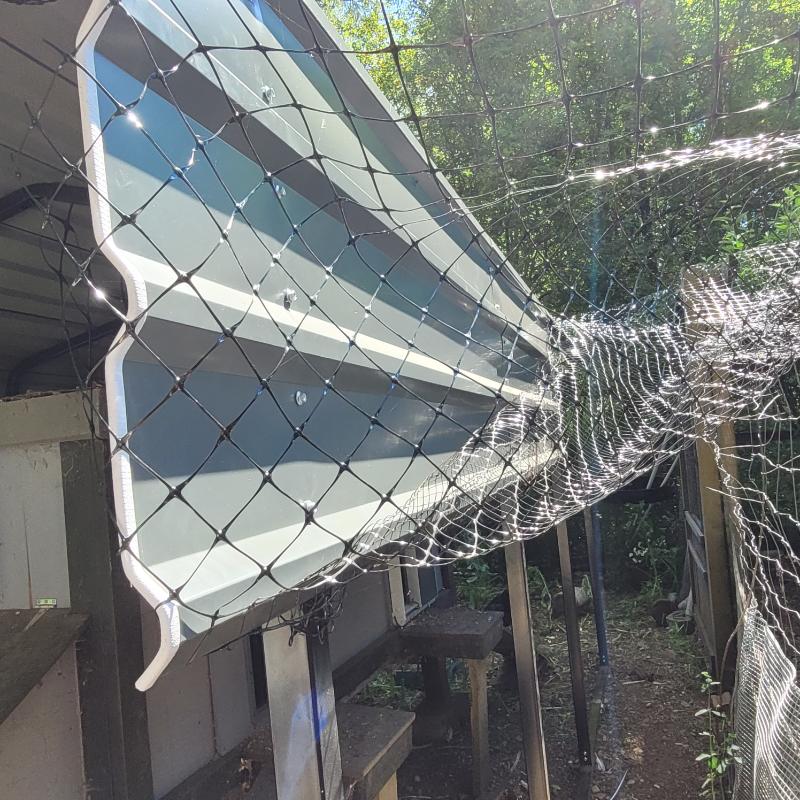
The following day I set out to net the top so I could let my broody hens and their chicks finally enjoy getting out of the coop. Planning and preparation always seem to take more time than allotted for. I took down all the old netting which wasn’t enough to cover the now larger area since my new carport is several feet smaller than the last one. I also wanted to use more durable mesh with larger openings to make it less likely to come down when it snows. A 75’ x 7.5’ roll of plastic deer fencing with 2”x 2” openings cost $225 so I wanted to make the most of it.
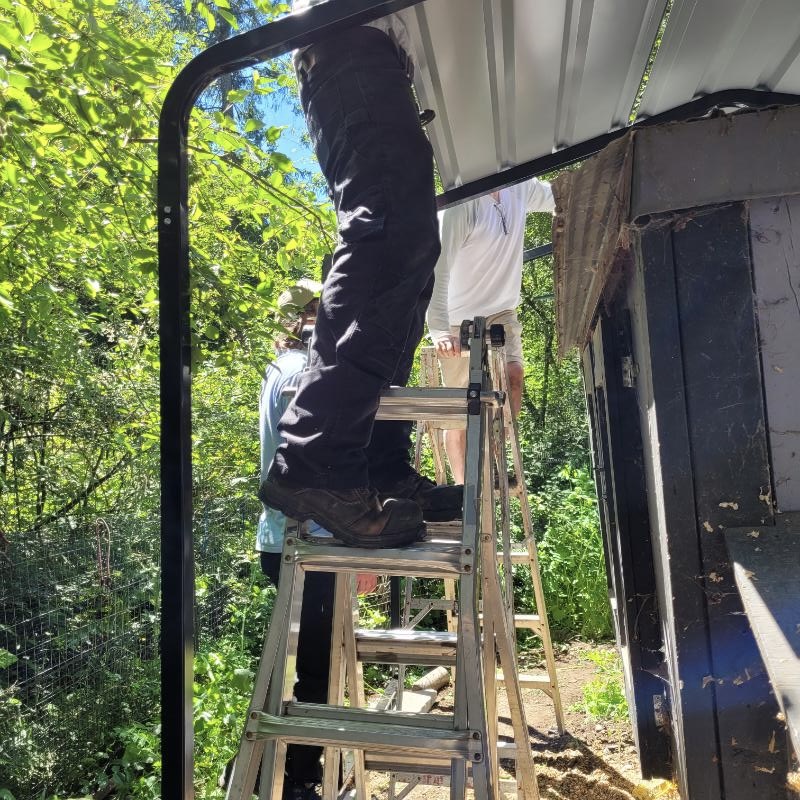
The adage ‘measure twice, cut once’ has often evaded me and I didn’t want to screw up. Our Irish helper and I worked to figure out how to affix the netting between the perimeter fences and to the carport. I didn’t want to waste netting by stringing it over the roof, but there aren’t a lot of places to attach it to the frame. We ended up using bungee cords in the ridge gaps on the inside to hold it in place, which seemed to work. Because that pen is only used for hatching season I might be proactive by releasing the side netting so I can access the roof if I ever need to brush snow off.


That adventure took 5.5 hours working all day in the sun. I was chewing Tylenol like candy and by the time we finished I was ready to collapse. Late in the day I was able to let one of the broody hens and her five chicks out. Sadly, I missed seeing them come out for the first time. I set up the Run Chicken auto door and by bedtime she’d taken them all in for the night.
Just as it was getting dark I moved the two co-broody hens and their 11 chicks from the temporary pen I had put them in the week before back to the other side of the coop where they’d incubated and hatched the chicks. That side of the coop has an Omlet auto door.


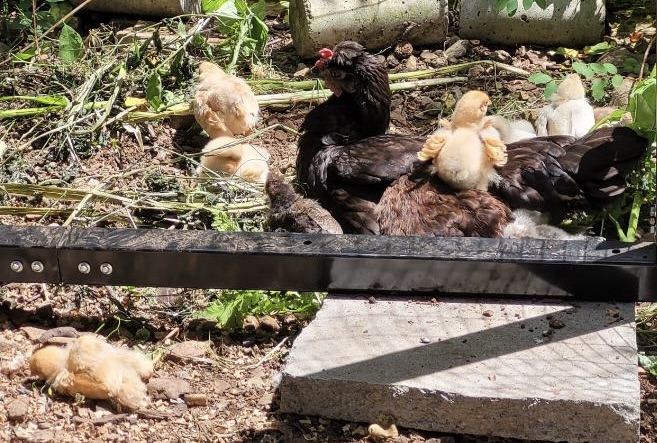


Judging by my flocks’ response they are happy with the new carport.
Arrow Carport Specifications
- 29 gauge steel roofing
- Powder coated steel frame
- Wind rating: 160 kph/100 mph
- Snow rating: 16 kg/35 lbs/square foot
- 10 year limited warranty
Full disclosure: Sadly I didn’t make a dime from this review and wrote it without the knowledge of either Delightful Yard or Arrow’s knowledge. I wanted to share my experience as I am happy with this product and think it will be a longterm solution to keeping my birds safe and protected.

I have sat here speechless for several minutes. What a huge undertaking made harder by the curves life keeps throwing you. It is so easy to feel hopeless these days. The next time it strikes me, I will be chanting “Remember that carport!” I love your can do attitude to life.
LikeLike
I’m very fortunate to have folks I hardly know offer to pitch in and help.
LikeLike